Quick Start Guide for Richter Optica Eyepiece Camera
Installation & First Use
1.
Insert the disk with the software
and drivers into a CD reader on
your computer.
Do not yet plug
in the camera to the computer.
a. The software autoplay
feature will load, select Run
autorun.exe.
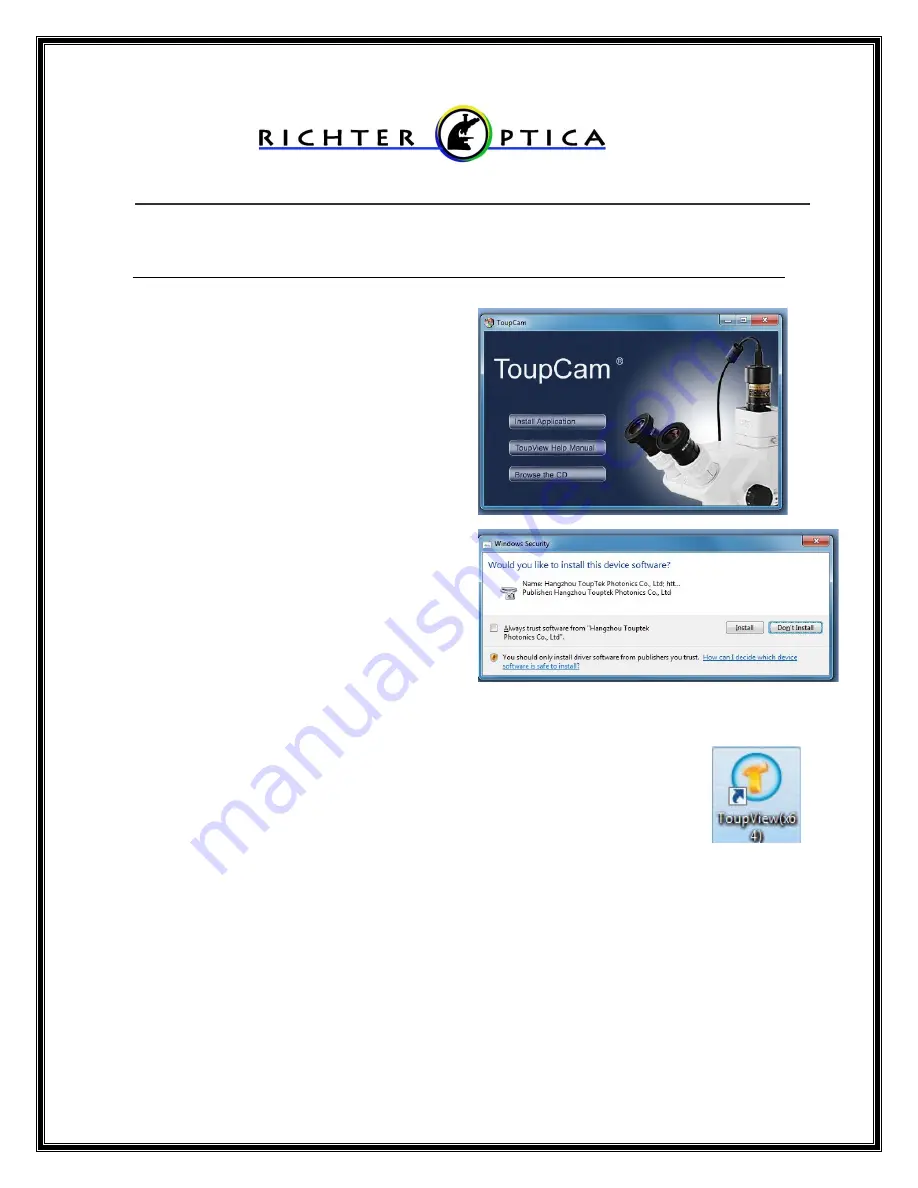
b. The ToupCam Start Screen
(shown right) will appear,
select Install Application.
i. Allow software to
make changes to
computer.
c. The Setup Wizard will
begin. Click Next, then I
Agree to the software
license terms.
d. Choose installation folder.
Default location is recommended. Click Install.
e. When prompted to install the driver from Touptek Photonics,
Click Install to complete installation. (shown above)
f. When complete, click Finish and then restart computer.
2. When computer has restarted, plug the camera into a USB port.
3. Open the ToupView software by double-clicking the desktop
icon. Use x64 version (shown right) for 64-bit computers or
X86 version for 32-bit computers.
4. In the upper left corner, there is a box
"Camera List."
Your camera,
named SCMOS03000KPA
, should be displayed in this box. Click on this
camera to open a live image display.
5. Also on the left you will see a box titled
“Capture & Resolution.”
Click
here to capture pictures or video clips.
6. Please notice the remaining boxes to the left are disabled for this camera.
However, you can access image enhancements by clicking on the menu
buttons at the top of the window. See page 2 for more information.
7.
There is a complete user manual on the same CD as the software
that
will help with any questions using ToupView functions.


