I N D U S T R I A A R G E N T I N A
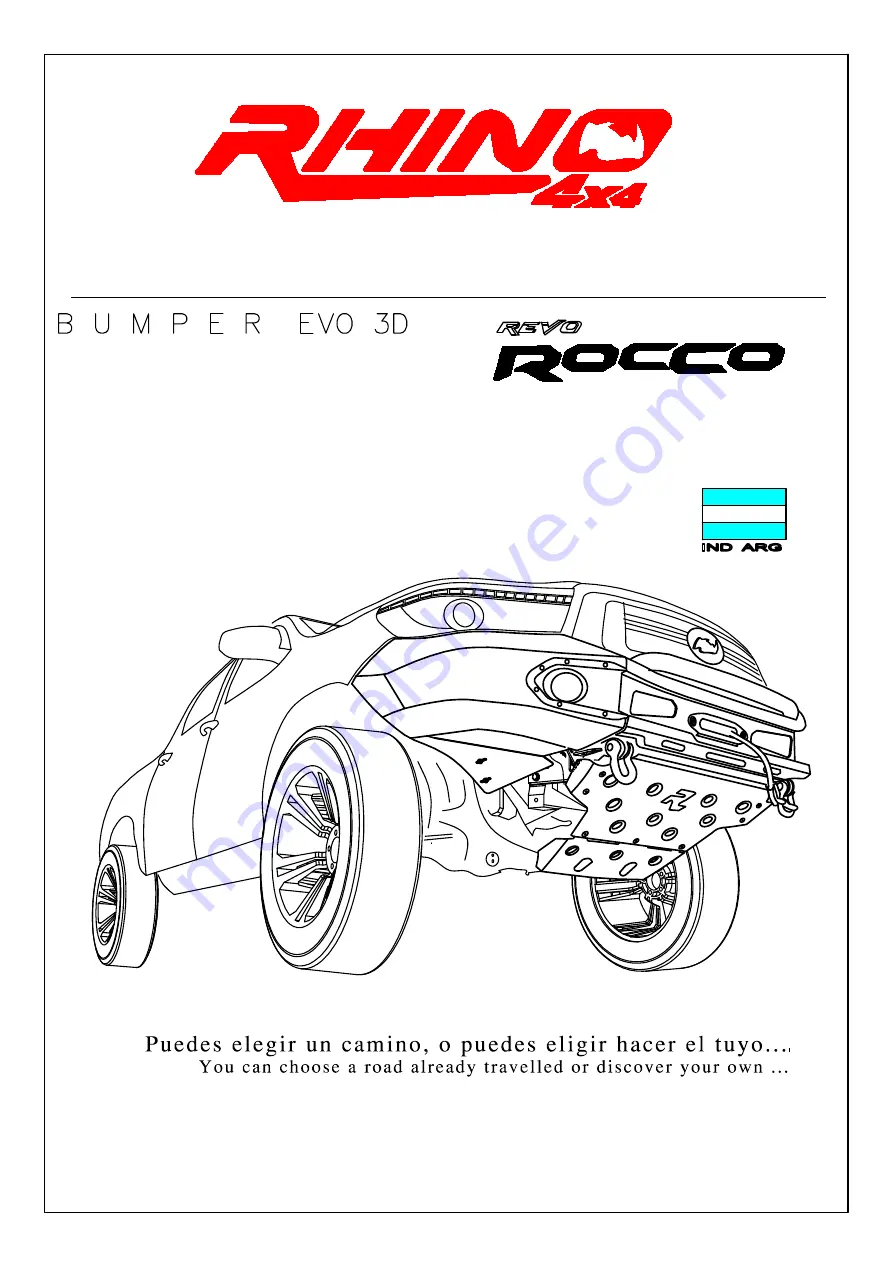
INSTRUCCIONES DE ARMADO RPDE3D-TR 19+
INSTALLATION INSTRUCTION MANUAL RPDE3D-TR 19+
w w w . r h i n o 4 x 4 . c o m . a r
Page 1: ...I N D U S T R I A A R G E N T I N A INSTRUCCIONES DE ARMADO RPDE3D TR 19 INSTALLATION INSTRUCTION MANUAL RPDE3D TR 19 w w w r h i n o 4 x 4 c o m a r...
Page 2: ......
Page 3: ...s individually We do not cut the original plastic bumper thus it can be stored and reinstalled at any time Before commencing with the installation it is important that you read and understand these in...
Page 4: ...o reinstall them later Remove the plastic bumper and its brackets clamps PASO 1 Antes de sacar el paragolpes original del asegurarse de desconectar los componentes antiniebla sensores de estacionamien...
Page 5: ...Fit the left and rigth Rhino bumper mounting brackets to the front chassis end as shown below Keep the screws loosely KIT FIJACION FASTENING KIT AR 10 1 5 x 30 Arandela Washer D10 Tuerca Nut 10 1 50...
Page 6: ...Ajustar el lado del chasis STEP 3 Install the wing brackets Place it with the provided bolts Adjust chassis s side KIT FIJACION FASTENING KIT Arandela Washer D10 Tuerca Nut 10 1 50 02 b c 08 04 AR 10...
Page 7: ...6 12 06 d e f STEP 4 Mount the winch cradle on the brackets from Step 2 Keep the bolts loosely Install winch if it is necessary PASO 4 Colocar la bandeja portamalacate sobre los soportes del Paso 2 No...
Page 8: ...ntera Dejar entre 1 5 y 2 cm extra entre la y la puntera para lograr una prolija Colocar las punteras una en cada lado de la bandeja sin ajustar los tornillos Luego Colocar el soporte de parrilla en l...
Page 9: ...center section aligning the edges Tighten it properly PASO 6 Colocar la carcasa superior y alinear correctamente Luego ajustar KIT FIJACION FASTENING KIT AR 10 1 5 x 30 Arandela Washer D10 Tuerca Nut...
Page 10: ...P 7 Fit the lower center section to the winch cradle Before tightening ensure that wings are property aligned with headlights and quarter panels leaving a 1 1 5 cm gap between vehicle body and bumper...
Page 11: ...uste los tornillos como muestra el dibujo STEP 8 Place the low cover and tight the bolts as per drawing PASO 8 STEP 8 KIT FIJACION FASTENING KIT j k l Allen Button 6 100 x 15 Arandela Washer D6 Tuerca...
Page 12: ...Mount fog lights to plastic covers Check that are correctly aligned Then adjust the foglight and mount the cover on the wings Connect fog lights to OEM wiring Connectors can be switched for reverse po...
Page 13: ...0 Colocar el chapon alineando las perforaciones con los soportes instalados en el paso 2 Luego colocar el soporte de chapon Finalmente instalar el chapon inferior KIT FIJACION FASTENING KIT q 04 05 LL...
Page 14: ...TERMINADO FINISH...
Page 15: ...racket The number plate can also be mounted to the front of the aluminium bashplate Please make sure that the number plate does not overlap the airflow provided between the winch plate and bashplate E...
Page 16: ...e the Light Mounting Bar on the central case and tight the bolts as per drawing OPCIONAL BARRA PORTAFARO Colocar la barra portafaro en la carcasa central Ajustar los tornillos como muestra el dibujo K...
Page 17: ...10 1 5 X 20 n GRAPA STAPLE ARANDELA WASHER D 12 RPDE3DCC TR 19 RPDE3DCI TR 19 14u 22u 18u 10u 6u 16u 2u TUERCA NUT 3 8 4u ALLEN FRESADO ALLEN COUNTERSUNK 10 1 5 5u 6u 4u PLACA ROSCADA THREADED PLATE 1...
Page 18: ...I 2053 CP X5014AUB CORDOBA ARGENTINA PHONE NUMBER 54 0351 4563954 BRANCH OFFICE AV COLON 3655 CP X5003DDH CORDOBA ARGENTINA PHONE NUMBER 54 0351 4880522 Designed and manufactured in Argentina w w w r...