Page 12 of 91
© Retrotec 2017
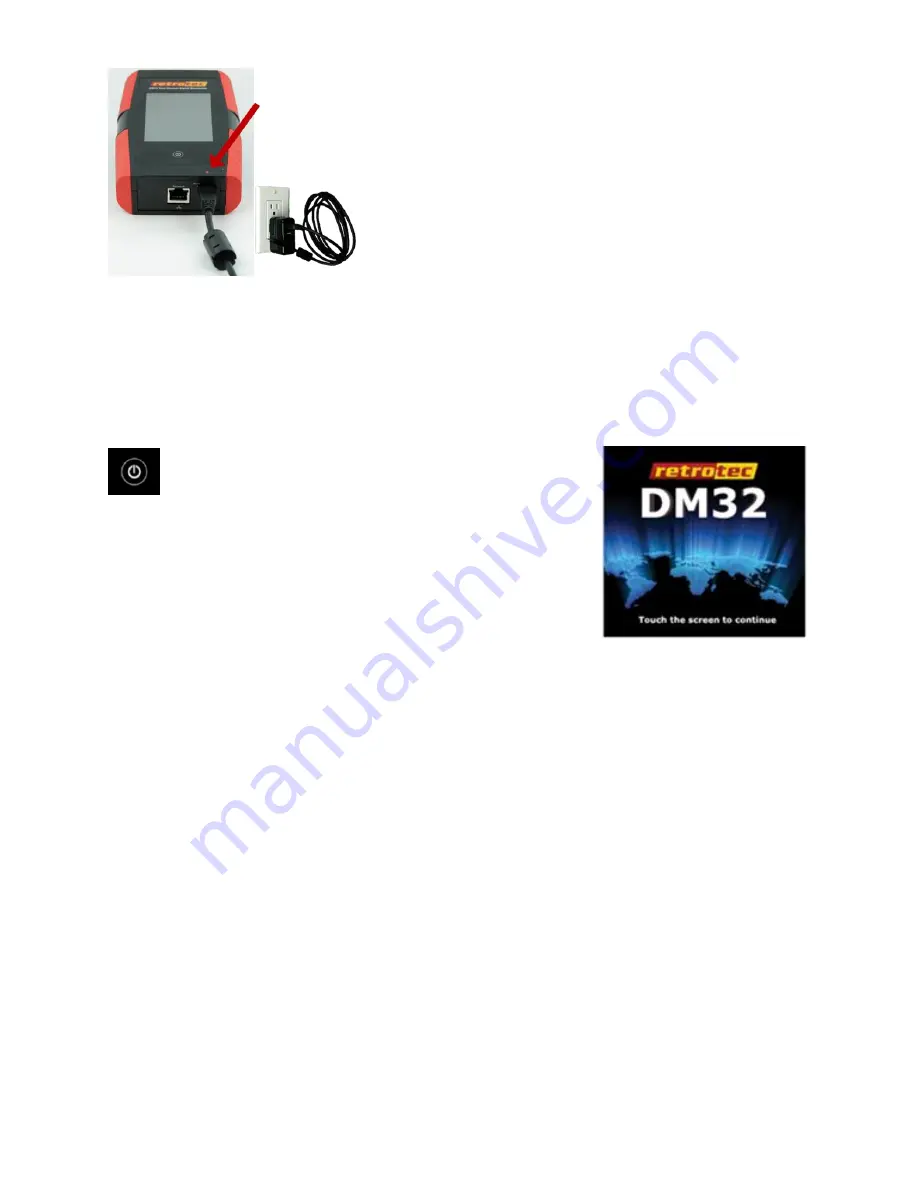
Figure 4: Red light shows that gauge battery is charging
When connected to the computer USB port, the gauge still discharges very slowly. Connection to the
computer USB is just a way to extend the time available on a charge, so that you can run longer tests if you
have a computer nearby.
2.3
Power the gauge on and off
–
press for 2 seconds
Warning:
Gauge does not turn on immediately.
You don’t need
to press the screen overly hard. You may break the glass.
Figure 5: Gauge [Home] key and power on/off key
Press the power on/off key and remove your finger. After two
seconds, you will hear a click as the gauge starts up, then the Splash
Screen will be displayed. Press on/off for 2 seconds to power off.
The Splash Screen is visible until the user taps anywhere on the screen
or until the gauge self-check sequence finishes and automatically
displays the
Home
screen.
Information displayed on the Splash Screen during start up includes:
•
Internal gauge software (Firmware) Build and Version Number
•
Gauge Serial Number
Upon gauge start up, the
Home
screen will display the Device, Range, and Result to be displayed settings
that were set on the gauge before it was last powered off, so the user can immediately start testing if they
are using the same equipment.
2.4
Read Results and control the gauge from the Home screen
The
Home
screen is the main display that allows a user to control the gauge. The gauge includes
convenience functions to support operation of pressure measurement systems with calibrated fans, and
calculate results for air leakage testing.
In this manual, words that are in square brackets indicate keys that can be tapped to change something on
the gauge.
Figure 6: DM32 splash screen shows
while gauge starts up


