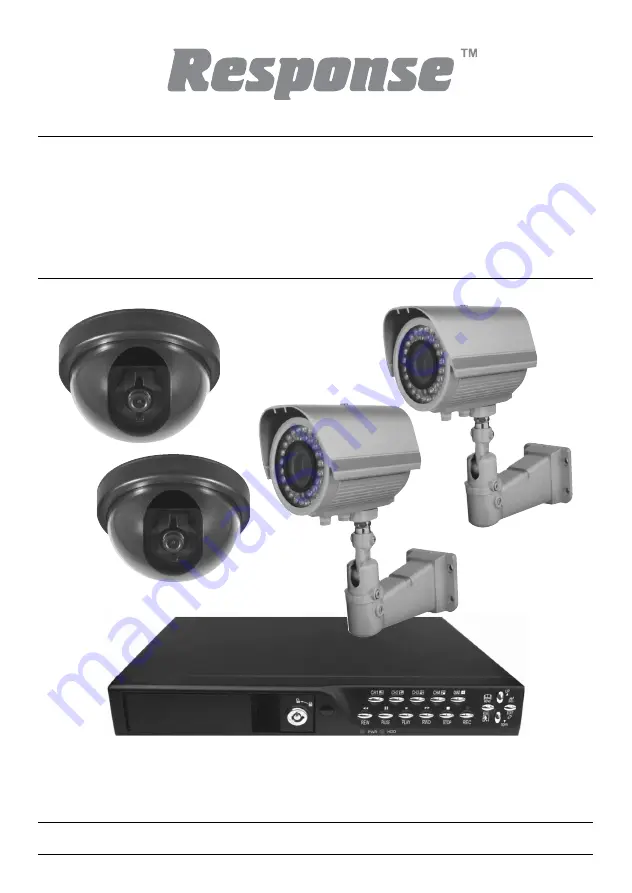
4 Camer
a Wired ColouredCCTV Kit
CWK5
Installa
tion and Operating Instructions
T
hese instructions should be retained in a safe place for future reference.
Page 1: ...4 Camera Wired Coloured CCTV Kit CWK5 Installation and Operating Instructions These instructions should be retained in a safe place for future reference...
Page 2: ...nt REC Duration 20 6 3 3 Motion Detection 20 6 4 Screen 21 6 4 1 Border 21 6 4 2 Auto Sequence 21 6 4 3 Video Adjustment 22 6 5 System 22 6 5 1 Hard Disk Setup 23 6 5 2 Account Setup 24 6 5 3 Password...
Page 3: ...se of a cable pipe detector is advisable When installing any cameras with this unit it is advisable to use cable conduit to protect any video power extension cables from being exposed externally and t...
Page 4: ...head position For each heavy duty camera bracket 4 x 3 5mm x 27mm screws and 4 x No 8 28mm wall plugs For each dome camera mounting base 2 x 3 5mm x 19mm screws and 2 x No 7 29mm ceiling plugs 1 x Opt...
Page 5: ...fps quad NTSC max 60fps quad Recording mode continuous motion detection time schedule 123 hours continuous recording at 25fps with the 160GB hard drive for only x 1 channel recording Recording and com...
Page 6: ...Use this button for full screen display of channel 2 on the monitor or to move the cursor down CH3 Use this button for full screen display of channel 3 on the monitor or to move the cursor left Also...
Page 7: ...fast forward button To play the recorded stream faster press the FWD button There are three levels of fast forward playback speed a FF1 Play two times faster x 2 than the normal play b FF2 Play three...
Page 8: ...PS 2 mouse connection VIDEO INPUT Use these BNC ports CH1 to CH4 to connect cameras to the DVR system You will need to use the supplied BNC to RCA adoptors when connecting a camera with a male type RC...
Page 9: ...needs be transferred to your TV set or monitor Connect VIDEO IN of the monitor to VIDEO OUT of the DVR system using the supplied cable Connect the BNC male end to the DVR and the RCA male end to the m...
Page 10: ...le mounting holes and the cable connector s hole on the ceiling 3 Drill 2 x 5mm holes for the mounting bracket s ceiling plugs and 1 x 20mm hole for the camera s video and power plugs to pass through...
Page 11: ...ark out the x 4 mounting holes and cable connector s entry hole on the chosen location of the wall Fig 4 Drill 4 x 5mm holes for the mounting bracket s wall plugs and 1 x 20mm hole for the Camera s vi...
Page 12: ...he hole in the wall starting with the largest connector and then mount the main bracket on to the wall using the fixing screws and wall plugs 3 Adjust the Camera head viewing position as required and...
Page 13: ...h camera operating on 12VDC voltage only Note If this DVR is used with the Wireless Colour Camera CCTV Kit CWFK1 the video output from the receiver can be connected to either channel 1 channel 2 chann...
Page 14: ...the DVR Connect the power adaptor s mains lead into the adaptor and plug into the mains 240VAC wall socket and switch ON The DVR will boot up The screen shown in Fig 5 01 will be displayed during boot...
Page 15: ...ogging in to the system press the MENU button to make any changes to the DVR settings and you will see screen on the monitor as Fig 6 03 on page 16 Press the UP or DOWN key on the DVR front panel to m...
Page 16: ...m for the first time Suggestive window options Channel 1 view Channel 2 view Channel 3 view Channel 4 view All channel view Manual recording or Stop manual recording Play record list Menu option Logou...
Page 17: ...gs 6 04 and 6 05 6 2 Record This section allows the user to set the DVR to record over timed periods and via motion detection Note If at any time you wish to start manually recording then press the RE...
Page 18: ...or click the left mouse button to select icon to increase the record frame rate for each channel Press button CH3 or click the left mouse button on the icon to decrease the record frame rate for each...
Page 19: ...period Green bar The time period with a green bar is for built in motion recording See also the following chapter MOTION DETECTION 6 3 Alarm Optional An internal buzzer built in the DVR will activate...
Page 20: ...t recording although no approaching objects may be seen during playback If the sensitivity is set too high natural activity such as rain for example may cause the system to start recording It is also...
Page 21: ...select deselect or reselect the motion detection area for recording The area can only be selected from up to down and from left to right When the block is covered by blue shadow it s active to record...
Page 22: ...e information of the hard disk drive installed in the DVR change the system password adjust keypad tone browser event list or adjust current time on the system If the user logs into the system at admi...
Page 23: ...o data stored on the hard drive will be deleted Remember that the system has no restore option once the hard drive is formatted When you select this option it will ask you for the password before form...
Page 24: ...user accounts Account Password In setup Menu display move the cursor to change the highlighted option to Account and then press the SEL button to call up Account Password as shown Fig 6 19 All number...
Page 25: ...ation measure can be used to input the new password and confirm When the password change has succeeded the user will see the message Fig 6 23 When the password change has failed the user will see the...
Page 26: ...on Press the DOWN key and SEL button to apply the new time set Alternatively move the mouse to move the cursor up and down and click the left button to change the numeric value Once you finish the tim...
Page 27: ...corded video data 6 6 Language The system supports multi language OSD In the Language menu move the cursor on the desired language and select it by pressing the SEL button on the front panel or also b...
Page 28: ...EL button to change the value of the playback start date time and press the PLAY button again Playback will start from the date time indicated by the user Mouse Control Click the right mouse button mo...
Page 29: ...t process 6 After the process is complete the USB stick is now ready to use with your DVR Before you back up a stream of video data have the USB memory stick ready and attach it into the USB port loca...
Page 30: ...will grow until it s completed with the message below WRITING Then it will show the following message on the screen FIXATING Remove the USB stick and insert it into a USB slot on your PC once transfe...
Page 31: ...mate recording time basing on a 160GB hard drive The best record quality is 3 and the lowest record quality is 1 Record Speed REC Quality DATA RATE Record Time GB Hour Hour 3 4 4 36 50F sec 2 2 8 57 1...
Page 32: ...operating systems including Vista 1 Insert the Driver Program CD in your CD ROM 2 Install by setup Fig 10 01 3 Set up the install directory Fig 10 02 4 Execute Start Program Vx4SLPlayer 10 2 Program I...
Page 33: ...ious Frame 5 Pause 6 Next Frame 7 Play 8 Fast forward 9 Still Capture 10 Split 1 11 Split 4 12 Volume Scroll Bar 13 Mute On Off 14 Playing Scroll Bar 15 Minimize the window 16 Close the window 1 Click...
Page 34: ...en display date time format Fig 10 06 Always on top A The client window will always display on top of all the windows Use DirectDraw Show a piece of run dialog Show playback time T The playback time w...
Page 35: ...the window Export To AVI Secondly select the channels you want to export Thirdly click to select the input file and the output file and click to select video compression mode Finally click to start an...
Page 36: ...ht mouse button to select the option Capture then left click Mark Out Last left click Export and there will be a window Capture on screen The Output Size is the size of the output file Left click to s...
Page 37: ...le must be set to Motion record green colour bar for the required period See pages 18 19 When set to motion record Point the camera away from tree branches or the DVR seems to start bushes which may s...
Page 38: ...devices are compatible with this DVR model Working Device List Maker Model Size Sony MICROVAULT SOK USM1GJ 1GB Samsung SUM LCB1 1GB Transcend JF V30 2GB Apacer Weblink SYE5003358 2GB Sandisk CRUZER mi...
Page 39: ...mpression method Enhanced M JPEG Video Quality Low 12kBytes Normal 15kBytes High 20kBytes Recording mode Manual Motion detection Time schedule Recording time 123 hours continuous recording at 25fps wi...
Page 40: ...le 50 Lens size 6mm Night vision range Up to 20m Number of infra red LEDs 55 IP rating IP54 Operating temperature 10 C to 50 C Power supply 12VDC 500mA Cable type connections Fitted with 1m cable term...
Page 41: ...on 420 TV lines Viewing angle 72 Lens size 3 6mm Night vision range N A IP rating IP40 Internal use only Operating temperature 10 C to 50 C Power supply 12VDC 300mA Cable type connections Fitted with...
Page 42: ...t CA3 Wireless Colour Accessory Camera requires CWFK1 CCTV KIT to operate CA5 Professional Heavy Duty Camera CCTV Kit CA6 Dummy Professional Heavy Duty Camera CA8 Wired Internal Colour Dome Camera CCT...
Page 43: ...quipment WEEE Directive It should not be disposed of with other household or commercial waste At the end of its useful life the packaging and product should be disposed of via a suitable recycling cen...
Page 44: ...oes not in any way affect the statutory or other rights of a consumer and applies to products installed within UK and Eire only If an item develops a fault the product must be returned to the point of...