Bedienungsanleitung
!"#$"%&&
ᜪ◅一⥢⩌߭瞦綣砞煿砖߭佈⥢ᆺ
.BEFJO(FSNBOZ
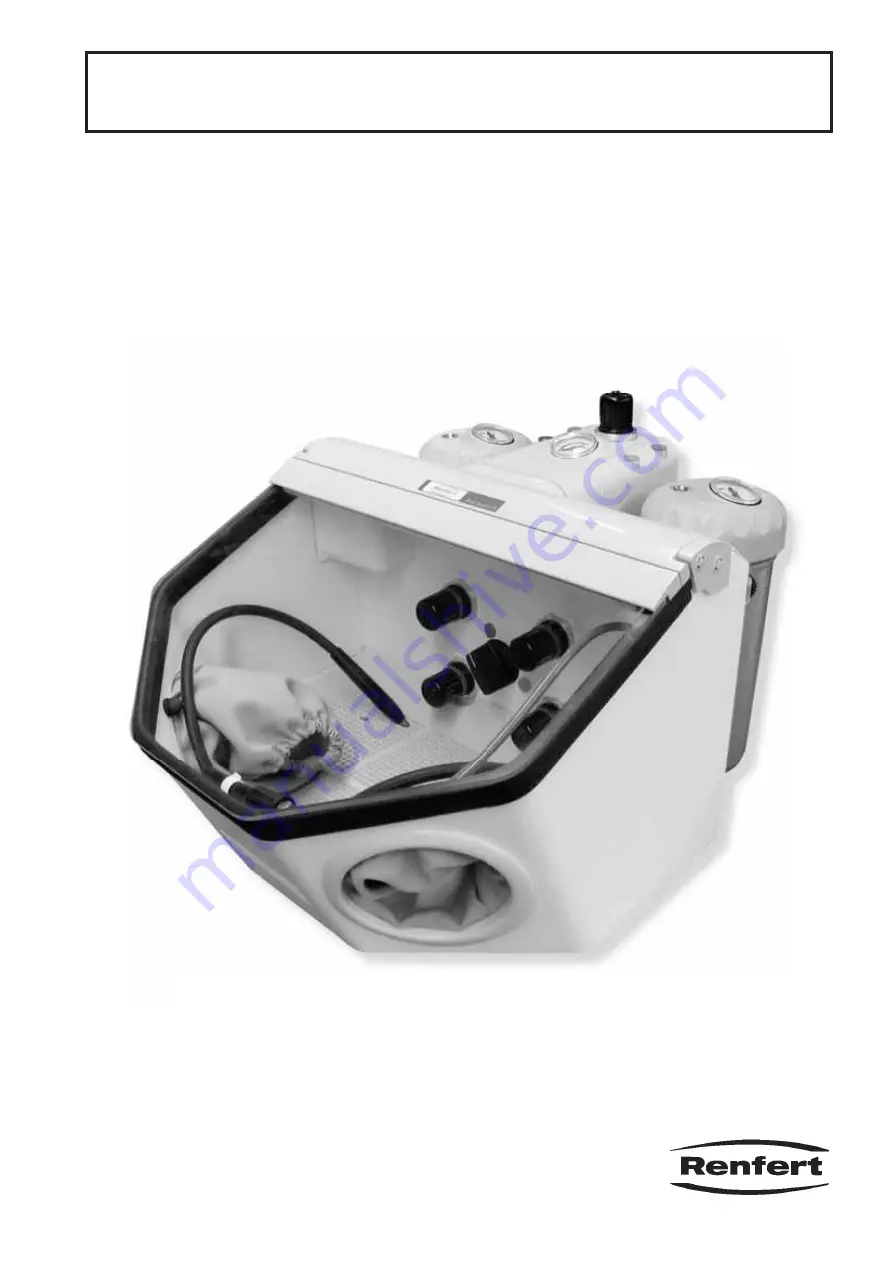
Basic quattro IS
No 2959
216640_A_01072012
Ideas for dental technology
Page 1: ...Bedienungsanleitung ᜪ 一 瞦綣 砞煿砖 佈 ᆺ BEF JO FSNBOZ Basic quattro IS No 2959 216640_A_01072012 Ideas for dental technology ...
Page 2: ...s 6 5 2 Cold silanization in the sandblasting unit 6 6 Cleaning Maintenance 6 6 1 Cleaning the Interior 6 6 2 Condensation 6 6 3 Blasting Nozzle Replacement 6 6 4 Cleaning the dosing nozzle 6 6 5 Lamp cover 7 6 6 Spare Parts 7 6 7 Shipping Notes 7 7 Trouble shooting 7 8 9 Warranty 8 10 Disposing of the Unit 8 10 1 Information on disposal for countries within the EC 8 1 Introduction 1 1 Employed Sy...
Page 3: ... ation Always disconnect the unit from the compressed air and power sources prior to beginning any mainte nance work eyes Any residue of abrasive material on the gasket may lead to leakage and early wear of the gasket After 5 8 the lid only with a dry cloth Do not write or stick something on the tanks Do not unscrew the tank lid as long as the pressure had not been released Check the tanks and the...
Page 4: ...e of mechanical impact or if the unit is dropped Accessories or consumer products used which are not supplied or authorised by Renfert GmbH 3 Product description 3 1 General description The Basic quattro IS R Y J L Basic quattro IS _ blasting material 3 2 Components and functional elements 1 Pressure regulator 3 ON OFF switch j YG J Q j Y J 8 Selector switch Z 10 Protection screen 11 Base grid B 1...
Page 5: ... beads B Z BL v B Z LB v B B Z B B v BQ B Nozzles Round nozzles Z B L B Z L L BL Z B LB Z L L BB B LZ Z L L B B QL Z B B Z B x Q Slotted nozzles Z L BQLZ B L ZB BLQZ 4 Commissioning 4 1 Installation Choose a stable and non slip surface to stand the unit on 4 2 Foot switch connection YB J YBZJ YB J Y J R 4 3 Compressed air connection j YB J YBQJ come plied set and attach this to the other end of th...
Page 6: ...4 6 Filling the Sandblasting Tanks O Y J Y J Y j J 4 5 Y QJ Y J Before closing the tank be sure to clean the threads in the cover and the tank to remove any abrasive residue Caution Do not tilt the tank lid when unscrewing x Y J The sandblasting unit is now operational 4 6 1 Authorised sandblasting material Y J Y J YLq j J x is used 4 7 Adjusting the Operating Pressure YBJ Y J 4 8 Air nozzle xx Y ...
Page 7: ...vicing Switch off and unplug the device Disconnect the appliance from the compressed air supply 6 1 Cleaning the Interior Y J R B 6 2 Condensation YB J YB J 6 3 Blasting Nozzle Replacement For installation see accessory supplement 18a 18 BB 6 4 Cleaning the dosing nozzle xx and moist blasting sand G xx cleaning xx Y B J xx Y J xx Before remounting the dosing nozzle should be completely dry xx Q v ...
Page 8: ... connection j compressor Foot switch hoses cannot be disconnected from the unit j Y J j j Y J Quick stop not functio ning the nozzle blasts continuously j YBQ BJ small Y J seating pressure is displayed on the manometer Y BJ pressure regulator on the maintenance unit at Y J Sound of rushing air when the unit is ope rating Y J switch at the same time a pressure release opening which must not 6 5 Lam...
Page 9: ...Unit x health hazardous residues in the unit 10 1 Information on disposal for countries within the EC _ electronic units for proper disposal or recycling Within the European Union units with this symbol should not therefore be disposed of in unsorted domestic waste For more information regarding proper disposal please apply at your local authorities We reserve the right to make technical change EN...