Bedienungsanleitung
,QVWUXFWLRQPDQXDO0RGHGHPSORL
,VWUX]LRQLG¶XVR,QVWUXFFLRQHVSDUDHOVHUYLFLR
ɂɧɫɬɪɭɤɰɢɹɩɨɷɤɫɩɥɭɚɬɚɰɢɢ
ᜪ◅一⥢⩌߭瞦綣砞煿砖߭佈⥢ᆺ
.BEFJO(FSNBOZ
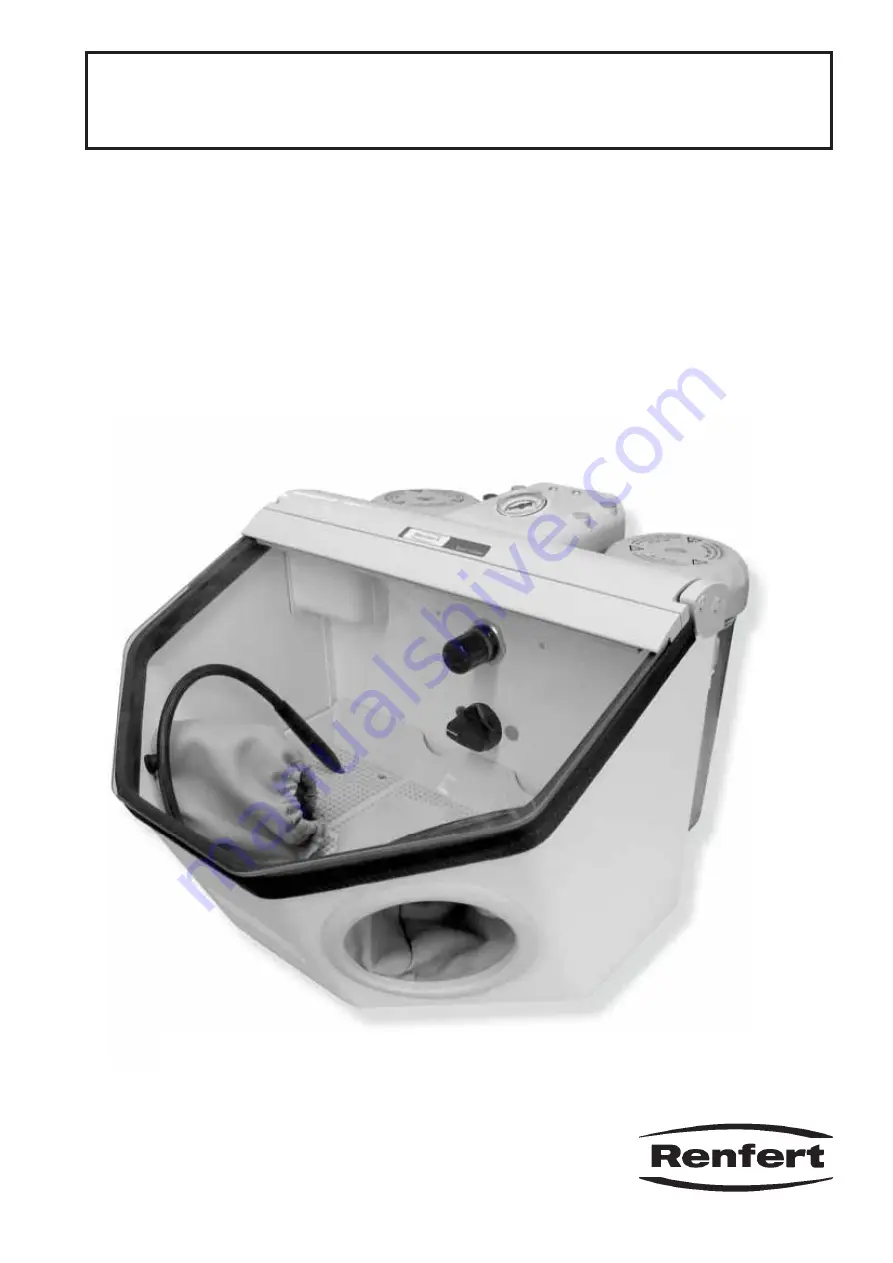
Basic master
No. 2948
216637_A_06022013
Ideas for dental technology
Page 1: ...sanleitung QVWUXFWLRQ PDQXDO 0RGH G HPSORL VWUX LRQL G XVR QVWUXFFLRQHV SDUD HO VHUYLFLR ɂɧɫɬɪɭɤɰɢɹ ɩɨ ɷɤɫɩɥɭɚɬɚɰɢɢ ᜪ 一 瞦綣 砞煿砖 佈 ᆺ BEF JO FSNBOZ Basic master No 2948 216637_A_06022013 Ideas for dental technology ...
Page 2: ...nance 6 6 1 Cleaning the Interior 6 6 2 Condensation 6 6 3 Blasting Nozzle Replacement 6 6 4 Cleaning the dosing nozzle 6 6 5 Lamp cover 7 6 6 Spare Parts 7 6 7 Shipping Notes 7 7 Trouble shooting 7 7HFKQLFDO 6SHFL FDWLRQV 8 9 Warranty 8 10 Disposing of the Unit 8 10 1 Information on disposal for countries within the EC 8 1 Introduction 1 1 Employed Symbols Q WKHVH LQVWUXFWLRQV RU RQ WKH XQLW LWVH...
Page 3: ... e g kinks cracks porosity or aging Units with damaged power supply cords tubes or other defects must not be used Ź Risk of Injury If unauthorised attachments are used there is a danger of injury 2nly original Renfert ttings and acces sories may be used Ź Please observe the accident prevention regulations provided by the employer s liability insurance associ ation Ź Always disconnect the unit from...
Page 4: ...nues to be employed despite obvious safety faults Ź In the case of mechanical impact or if the unit is dropped Ź Accessories or consumer products used which are not supplied or authorised by Renfert GmbH 3 Product description 3 1 General description The Basic line of sandblasting units are designed for use in dental laboratories to remove investment residues oxides on cast objects and for surface ...
Page 5: ...e 1 0mm 0 0394 inch 90003 3214 red 1 2mm 0 0473 inch 90002 1205 brown 1 4mm 0 0552 inch 90002 1206 bronze 2 0mm 0 0788 inch Slotted nozzles 90003 1739 light red 1 5x3 5mm 0 0591x0 1379 inch 4 Commissioning 4 1 Installation Choose a stable and non slip surface to stand the unit on 4 2 Foot switch connection Remove the foot switch from its shipping location in the blasting chamber Insert the end of ...
Page 6: ...Q WKRXJK WKH PDQRPHWHU PD LQGLFDWH SUHVVXUH WKH VDQGEODVWLQJ WDQNV DUH RQO XQGHU SUHVVXUH LI WKH IRRW switch is engaged GG DEUDVLYH XS WR WKH PD LPXP OO OHYHO the point where the tank jacket thickens just below the thread Reinstall the tank cover Before closing the tank be sure to clean the threads in the cover and the tank to remove any abrasive residue Caution Do not tilt the tank lid when unscr...
Page 7: ... WR WKHLU UHJXODU KRPRJHQHRXV MHW ÀRZ 3 J 6 Cleaning Maintenance Before cleaning or servicing Ź Switch off and unplug the device Ź Disconnect the appliance from the compressed air supply 6 1 Cleaning the Interior Use only solvent free cleansers e g soapy water Remove the grate and vacuum the blasting chamber Wipe out the tanks and lids only with a dry cloth J 6 2 Condensation Inspect the water sep...
Page 8: ...WLO RX IHHO LW FOLFN LQWR place Only air no or very little abrasive 7KH GRVDJH QR OH LQ WKH PL LQJ FKDP ber is blocked due to contaminated or moist sand OHDQLQJ WKH GRVLQJ QR OH see chapter 6 4 Only air no or very little abrasive 0L LQJ FKDPEHU OWHU FRPELQDWLRQ EOR cked EUDVLYH FRQWDLQV LPSXULWLHV RU LV PRLVW KDQJH OWHU FDUWULGJH J Wrench SW14 5HSODFH WKH DEUDVLYH Unit blasts continuously RRW VZLW...
Page 9: ...warranty is voided in case of improper use failure to observe the operating cleaning maintenance and con nection instructions in case of independent repairs or repairs by unauthorized personnel if spare parts from other PDQXIDFWXUHUV DUH HPSOR HG RU LQ FDVH RI XQXVXDO LQÀXHQFHV RU LQÀXHQFHV QRW LQ FRPSOLDQFH ZLWK WKH XWLOL DWLRQ instructions Warranty service shall not extend the original warranty ...