XPS1000_2000 Quick Setup Guide Rev. 11-4-05
Quick Setup Guide
For the XPS1000/2000
(Using PS2000 Controller)
This information should be used to adjust your XPS1000/2000 (PS2000 controller) before each use.
1.
Reset the PS2000 (“Non-Mechanical” Reset).
Powering the printer on while holding down the PROG key will perform this reset.
Important!
If you are using a Windows program with a PS2000 driver, the printer should be set to all defaults;
except for the following:
- The paper size (paper width) should always be set and “local locked”.
- The alignment values (LS Dist, Dist U1-2, etc..) must be set appropriately for your system.
- In some cases it may be necessary to manually set and “local lock” the Print Quality.
- In some cases it may be necessary to manually set and “local lock” the Orientation.
2.
Set the XPS Base Speed to Match the Desired Print Quality.
The desired print quality must be selected via the printer and or Windows software.
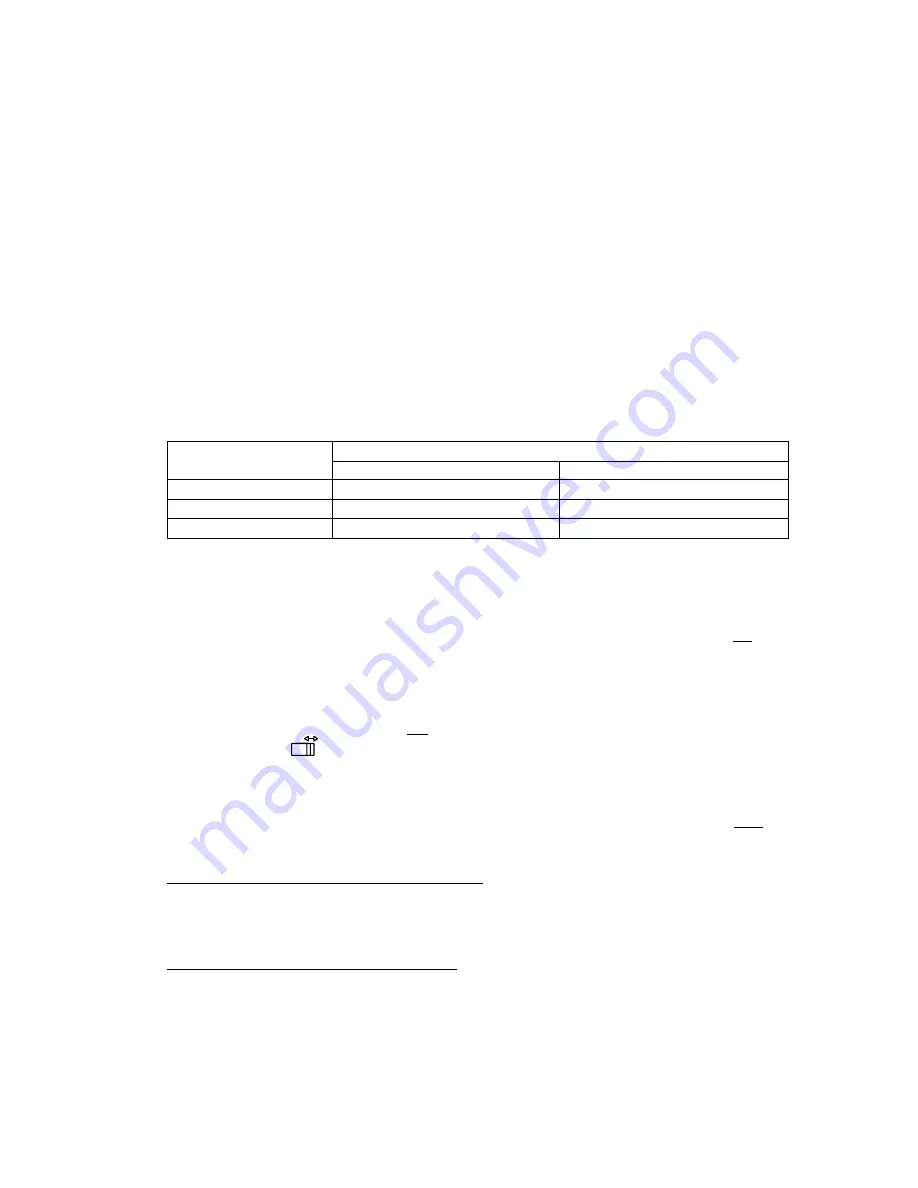
Max Transport Speed
(measured by the printer)
Print Quality
Flashware V2.50 or lower
Flashware V2.51 or higher
600D, 550D, 500D
*540 mm/s
*508 mm/s
450D, 400D, 300D
*1,080 mm/s
*1,016 mm/s
200D, 150D
*1,620 mm/s
*2,032 mm/s
* You can view the current transport speed by pressing the “<-O->” button while off-line.
If the base speed is set higher than the max speed for the chosen print quality, the error message
“Speed Error Reduce Speed!”
will be displayed. Lower the base speed until this message goes away.
It is suggested that you set the base speed slightly lower than the maximum speed that produces this error.
This adjustment should be done before sending data to the printer. This warning message will not be displayed
if you have already sent data (data is in print buffer) to the printer.
3.
Set and “Local Lock” the Paper Size (Paper Width).
This is an important step that should not be skipped!
-
Press and hold the
(
Auto Paper Width) key until “(L)” appears in the display.
- Release the Auto PW key. The printer will feed, measure, set, and “local lock” the measured value.
Important!
If you don’t get the proper measurement (- 4mm of the true length of the mail piece) this is an
indication that there is either a transport problem or a paper-sensing problem. These problems must be
corrected before you can begin printing.
Things to check for Auto PW that reads too long:
- Is the vacuum turned on. If the vacuum is not on, the mail piece may hesitate or slip.
- Is the mail piece getting caught (hesitating) under the print modules?
- Are the material side guides set too close together, causing the material to be held back (hesitate)?
Things to check for PW that reads too short :
- Is the entire length (leading edge to trailing edge) of the mail piece passing under the paper sensor?
- Does the mail piece have any holes in it that may be passing under the paper sensor?
- Are either of the vacuum feed belts stalling? If so they may need to be tightened.
- Is the encoder wheel driving properly against the vacuum belt? Material (envelopes) may be stuck between
the encoder wheel and belt. Make sure there is a little pressure (tension) between the encoder wheel and belt.


