background image

18 

19 

4.8 

HDMI-вход

Подсоедините HDMI-выход внешнего проигрывателя к HDMI-

входу фоторамки (HDMI кабель не  входит в  комплект поставки). 

Нажмите HDMI на  пульте управления для активации HDMI-входа 

(Рис 27).

Рис.22

4.9 

Меню настроек фоторамки

Выберите Установки в главном меню и нажмите OK. Клавиши 


 служат для выбора пункта меню настроек. (

Замечание:

 кла-

виша RETURN приводит к возврату в главное меню; клавиша SETUP 

приводит к возврату в предыдущее меню)

Рис.23

Рис.20

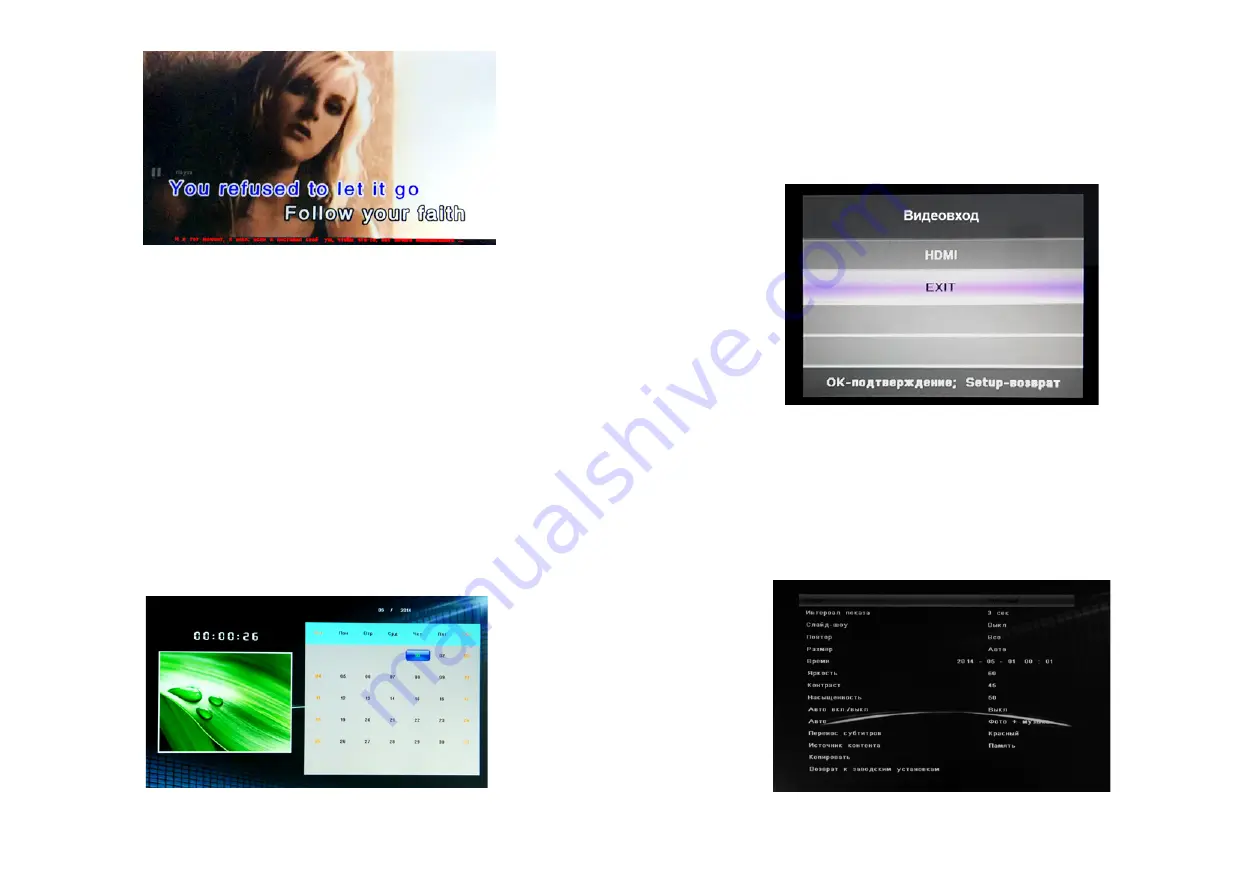
Выполните следующие шаги для создания субтитров

A)  Создайте файл с расширение TXT и именем SCROLL.TXT в фор-

мате Unicode. Поместите субтитры в файл.

B)  Скопируйте созданный файл на USB-диск или карту памяти.

C)  Вставьте USB-диск или карту памяти в  фоторамку. Субтитры 

будут демонстрироваться на экране во время проигрывания 

Фото, Видео или музыки.

Замечание:

 Файл с  субтитрами должен находиться в  корне-

вой директории. Субтитры будут применены только к файлам, на-

ходящимся в корневой директории.

4.7 

Календарь

Из главного меню выберите Календарь. С помощью клавиш 





 можно листать календарь.

Рис. 21

Summary of Contents for VisaVis L-137

Page 1: ...L 137...

Page 2: ...2 3 1 13 3 33 78 2 t JPEG BMP PNG 3 MP3 4 RM RMVB MOV MJPEG AVI MPG DAT VOB MKV MP4 MPEG1 MPEG2 MPEG4 H 264 5 SD SDHC MMC 6 4GB 7 USB USB 2 0 8 HDMI HDMI 9 10 11 12 13 14 15 1 1 2 1 3 1 4 1 5 1 USB...

Page 3: ...4 5 1 1 1 1 1 POWER 2 BGM 3 Mute 4 MENU 5 6 RETURN 7 8 9 10 SETUP 1 5 1 1 5 1 2 6 2 7 3 8 4 8 4 1 9 4 2 10 4 3 12 4 4 14 4 5 16 4 6 17 4 7 18 4 8 HDMI 19 4 9 19 5 21 6 22 7 23...

Page 4: ...6 7 1 2 3 4 3 1 SD MMC SDHC 2 USB 2 0 3 HDMI 4 2 4 CR2025 4 11 HDMI HDMI 12 OK 13 ZOOM 14 15 VOL 16 ROTATE 90 17 18 1 2 2 1 2 3 4 5 OK 6 7...

Page 5: ...8 9 RETURN 1 2 4 1 RETURN 6 RETURN 7 Menu OK 6 3 3 2 1 110 240V 4 3 3 2 2 3 2 3 2 4 5 VisaVis 3 5 USB SD...

Page 6: ...10 11 10 SETUP MENU 9 OK 9 7 4 2 OK RAM USB OK 8 OK 8...

Page 7: ...12 13 12 MENU 13 OK 13 10 11 4 3 OK RAM USB OK 12 OK...

Page 8: ...14 15 15 MENU 16 OK 16 Setup 17 Setup 14 14 4 4 OK RAM USB OK 15 OK...

Page 9: ...16 17 19 18 19 4 6 20 17 4 5 USB OK 18...

Page 10: ...18 19 4 8 HDMI HDMI HDMI HDMI HDMI HDMI 27 22 4 9 OK RETURN SETUP 23 20 A TXT SCROLL TXT Unicode B USB C USB 4 7 21...

Page 11: ...20 21 4 9 12 4 9 13 USB CD 4 9 14 CD USB 4 6 4 9 15 5 24 24 4 9 1 4 9 2 3 5 10 30 60 4 9 3 4 9 4 4 9 5 4 9 6 OK 4 9 7 0 100 4 9 8 0 100 4 9 9 0 100 4 9 10 OK 4 9 11 OK...

Page 12: ...0V 240V 50 60Hz 7 6 SD USB SD USB 6 13 3 33 78 1920 1080 TFT c LED cd m2 350 700 1 4Gb SD SDHC MMC USB USBx1 USB 2 0 HDMI HDMI JPEG PNG BMP 2 2W MP3 Full HD RM RMVB MOV M JPEG AVI MPG DAT VOB MKV MP4...

Page 13: ...1 L 137 USER MANUAL Thank you for your purchase of the Digital Photo Frame Please read this User Manual carefully to learn the correct way to use the Digital Photo Frame...

Page 14: ...rd or USB device Failure to do so may cause damage to the card USB and the unit To reduce the risk of fire or electric shock do not expose this appliance to rain or moisture This device is designed fo...

Page 15: ...4 7 Calendar 41 4 8 HDMI IN Function 41 4 9 Setup Menu 42 5 Stand Instruction 43 6 Technical Specifications 43 7 Troubleshooting Guide 44 1 PRODUCT DIAGRAM 1 1 Remote Control 1 POWER Switch On Off 2 B...

Page 16: ...17 Move back to previous music or video file 18 Move forward to next music or video file 1 2 Rear and Left Side of Frame 1 POWER 2 UP PREVIOUS 3 VOL LEFT 4 DOWN NEXT 5 PLAY PAUSE OK 6 VOL RIGHT 7 MENU...

Page 17: ...the start up logo and then show the main interface after 3 5 seconds If there are pictures and music s in USB SD or memory it will play the slideshow and enter to the main menu after pressing RETURN b...

Page 18: ...elect the picture you want to play and press OK to confirm Delete function In thumbnail mode Use to select the picture you want to delete press MENU to enter into Delete interface and then press OK to...

Page 19: ...de lete press MENU to enter into Delete interface and then press OK to confirm Music Play When the music is playing press SETUP to enter music information bar and select following itmes by Pause FB FF...

Page 20: ...and then press OK to confirm 4 5 Copy function for picture music video files It supports copy all the files from USB flash drive to built in memory Enter into Setting interface select copy in the lis...

Page 21: ...disk or Memory card you want e Insert the USB disk or Memory card it will show the Subtitle when playing Photo or Music or videos Remarks Pls don t put all picture music video into a folder in USB dri...

Page 22: ...off Use to enter to select Alarm ID you want Use to choose off on When select on then you can setup Hour Min you want to Auto power on off 4 9 11 Auto Play Press OK then then use to select the auto p...

Page 23: ...h nical Support No power Please check whether the plug is inserted correctly Remote control no function Please check whether the battery has power the battery can be used for half a year in normal con...

Reviews: