


O
CTOBER
2015
RDX Q
UIK
S
TATION
4
1
1
Product Overview
The RDX QuikStation 4 is a multi-drive, network-attached, removable disk-based
array built on RDX technology, which combines the removability, durability and
economy of tape with the random accessibility and performance of disk. The RDX
QuikStation 4 can be used with different RDX media sizes and configurations;
therefore, the storage capacity can be adapted to match online storage needs with
unlimited off-line capacity. The RDX QuikStation 4 can offer as much as eight
terabytes of online capacity when used with 2TB RDX media.
This chapter provides an overview of the RDX QuikStation 4’s features and
components.
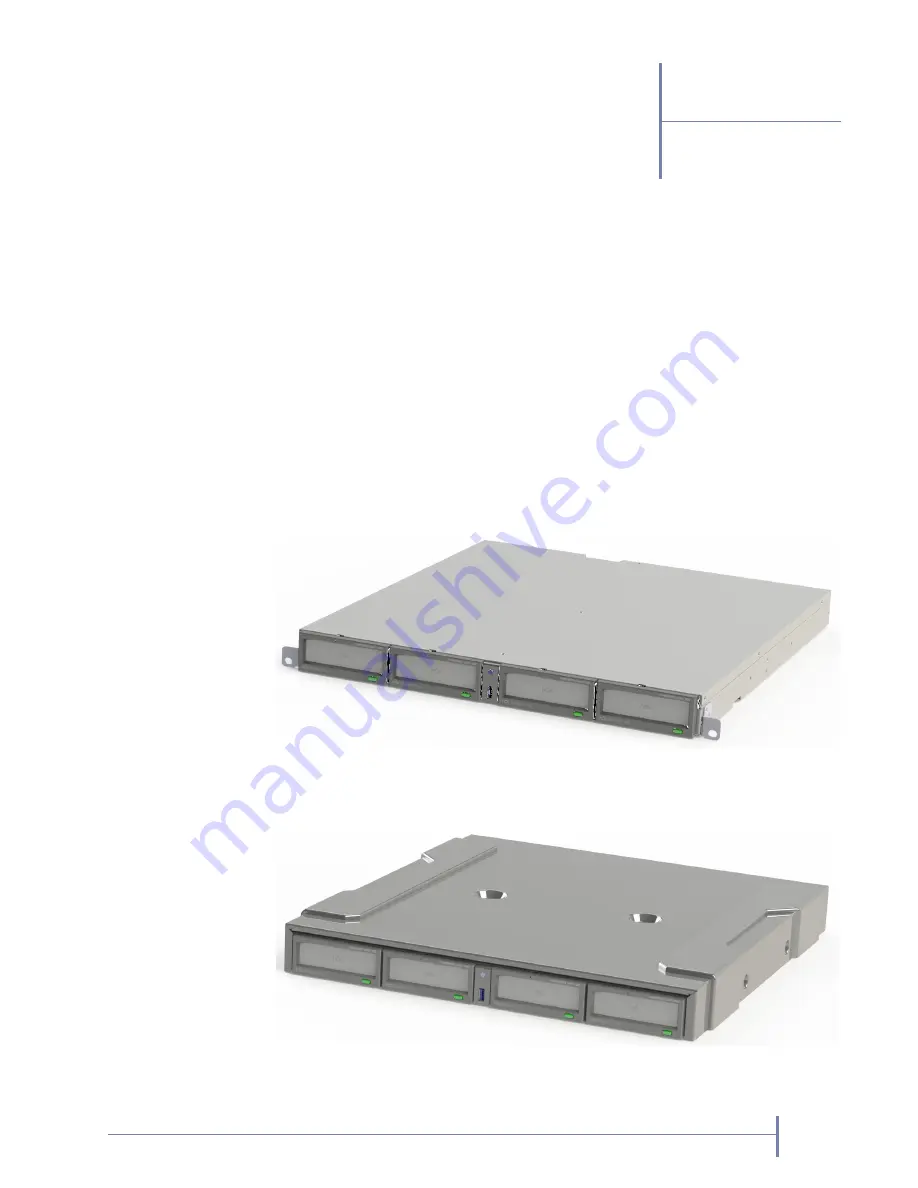
Figure 1-1
RDX QuikStation 4 Rack Mount Unit
Figure 1-2
RDX QuikStation 4 Desktop Unit
Summary of Contents for QuickStation 4
Page 1: ...RDX QuikStation 4 Part Number 1021829 Rev B October 2015...
Page 4: ...IV PRODUCT MANUAL 1021829 NOTES...
Page 26: ...16 PRODUCT MANUAL 1021829 CHAPTER 2 INSTALLATION AND SETUP...
Page 46: ...36 PRODUCT MANUAL 1021829 CHAPTER 3 ISCSI CONFIGURATION...
Page 68: ...58 PRODUCT MANUAL 1021829 CHAPTER 4 SYSTEM CONFIGURATION...
Page 80: ...70 PRODUCT MANUAL 1021829 CHAPTER 5 LOGICAL DEVICE MANAGEMENT...
Page 112: ...102 PRODUCT MANUAL 1021829 CHAPTER C SAFETY GUIDELINES...


