7
First-Time Operation
Using the LCD Monitor:
A. Open the monitor 90 degrees
from the camcorder body.
B. Tilt the monitor 180 degrees
forward or 90 degrees down
as required for convenient
viewing while recording.
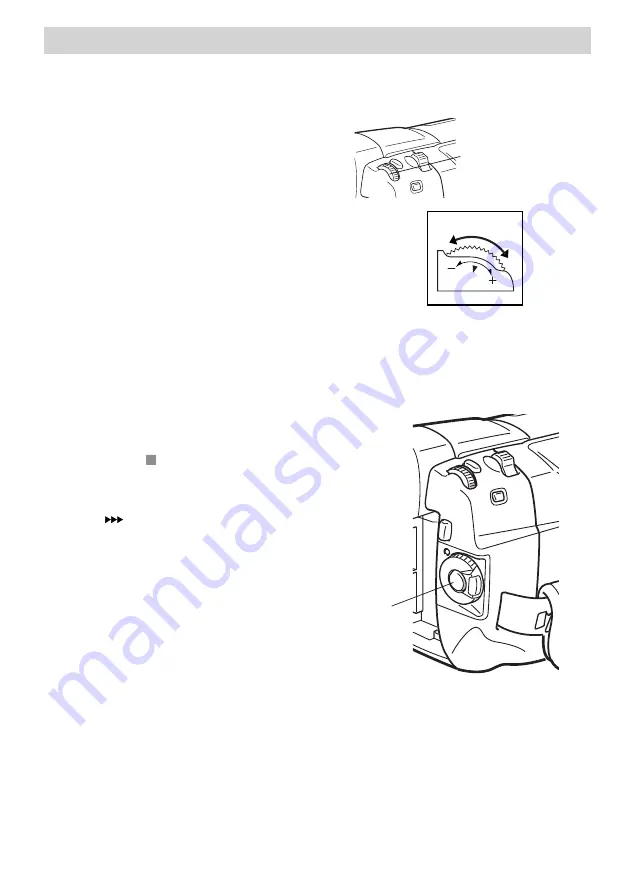
C. To adjust the brightness of the
LCD monitor’s image, rotate
the MENU/BRIGHT dial .
Note
: Adjusting the LCD monitor
brightness does not affect the
recorded image on cassette.
8. Start and stop recording.
A. Remove the Lens Cap.
B. Put the camcorder in
automatic record mode by
pressing the Lock Button in
and rotating the Power Switch
to the
A
icon.
C. Press and release the Thumb
Trigger to start recording. The
REC
icon appears in the
viewfinder or LCD monitor
(but does not show up in the
recording). This indicator
reflects that recording has
started.
D. When finished recording,
press and release the thumb
trigger again to stop
recording. The camcorder is
now in the record-pause
mode. The
PAUSE
---
icon appears in
the viewfinder or on the LCD
monitor.
MENU/BRIGHT
dial
Rotating the MENU/BRIGHT
dial adjusts the brightness of
the LCD monitor.
Thumb
Trigger


