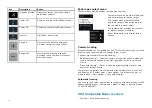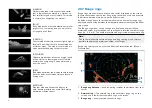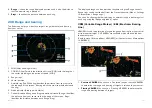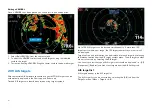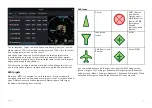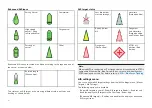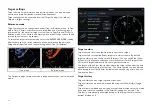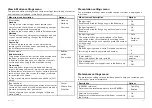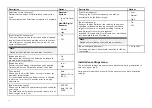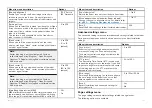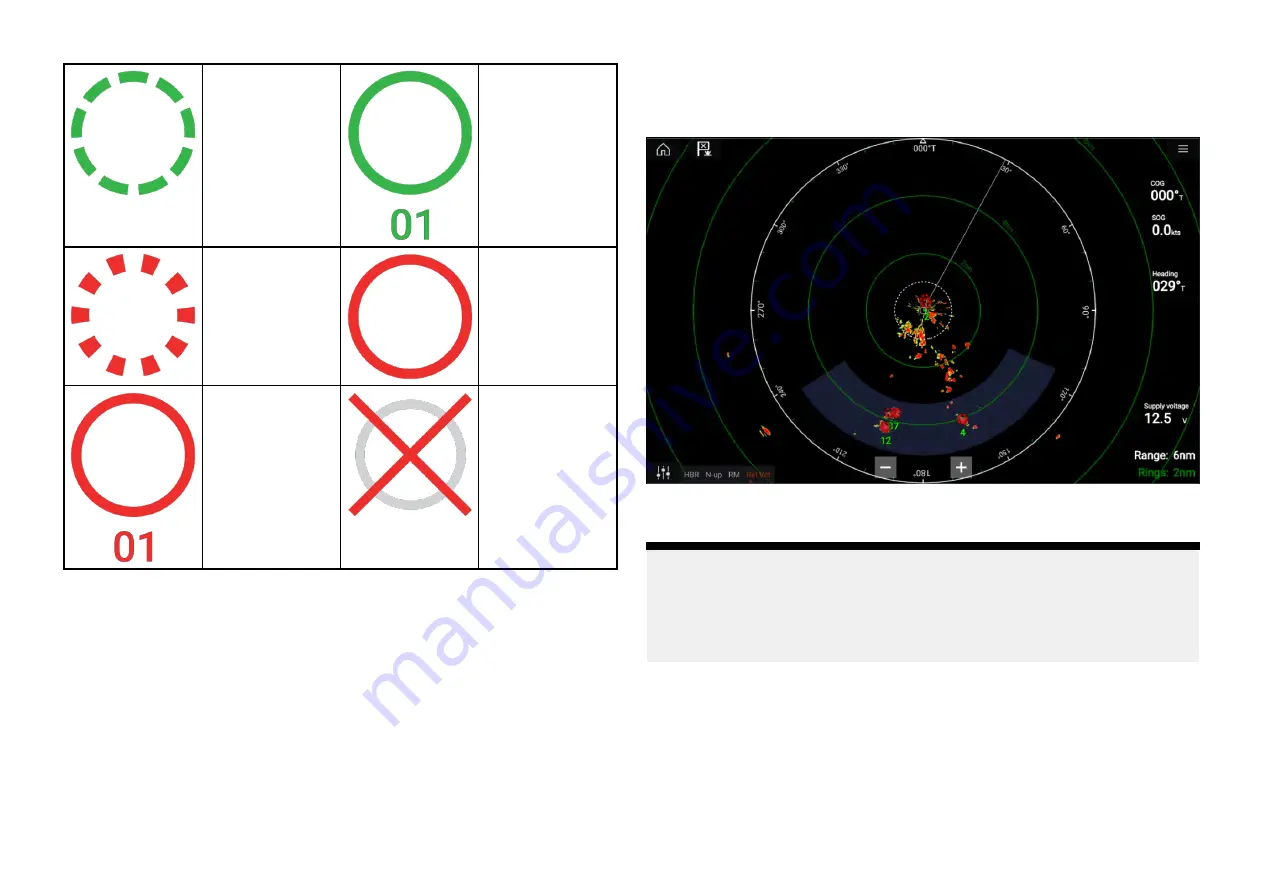
Acquiring target
(manual) — Thin
dashed Green
circle
Acquired target
(manual) —
Green circle with
Target ID
Acquiring
target (auto) —
Thick dashed
Red circle,
flashes until
acknowledged
Unacknowl-
edged acquired
target (auto)
— Red circle,
flashes until ac-
knowledged
Dangerous
target — Red
circle with Target
ID, flashes until
acknowledged
Lost target
(Target not
detected for 4
Radar scans)
— Gray circle
with Red cross
through
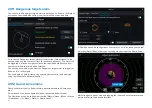
Once acquired the target’s COG (Course Over Ground) and SOG (Speed
Over Ground) can be displayed below the target ID.
The Target info is colored Blue if COG and SOG values are True or Orange if
values are Relative. Target info will turn Red if the target becomes dangerous.
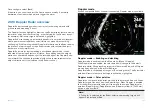
Acquiring a target manually
To acquire a Radar target manually using MARPA (Mini Automatic Radar
Plotting Aid) follow the steps below.
1. Select the object / target.
The context menu is displayed.
2. Select
[Acquire target]
.
Once acquired the target will be tracked.
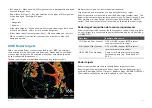
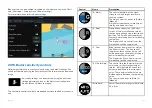
Automatic target acquisition
With a compatible Radar scanner connected, Radar targets can be acquired
automatically.
Once configured, targets which enter or appear in your chosen
[Guard
Zone]
(s) will be automatically acquired.
Note:
• Automatic target acquisition cannot be enabled at the same time as
[Timed Transmit]
or
[Dual Range]
.
• Automatic target acquisition will be temporarily paused if the Radar
display range is 12nm or greater.
292
Summary of Contents for LIGHTHOUSE 4
Page 2: ......
Page 4: ......
Page 20: ...APPENDIX C HARDWARE AND SOFTWARE COMPATIBILITY 478 APPENDIX D DOCUMENT CHANGE HISTORY 480 20...
Page 414: ...414...
Page 451: ...4 Select Delete again to confirm 5 Select OK YachtSense ecosystem 451...
Page 484: ......
Page 503: ......

