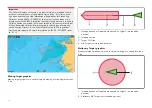
Radar settings
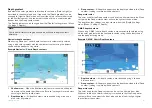
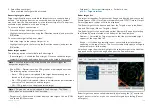
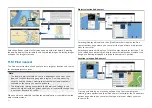
When the Radar layer is enabled in the Chart app you can configure the
[Radar settings]
from the
[Targets]
menu:
[Menu > Targets > Radar settings]
.
The following options are available:
•
[Radar selection]
— When more than 1 Radar scanner is connected you can
choose which Radar to use for the Radar layer in the Chart app.
•
[Transmit]
— Start the Radar scanner transmitting or put it in Standby.
•
[Dual range]
— Enables and disables dual range on compatible Radar
scanners.
•
[Channel]
— When Dual range is active, you can switch between channel
1
and
2
.
•
[Sync radar range with chart]
— Enables and disables the synchronization
of Chart app range with all Radar app instances on the same app page.
Note:
The current range is synchronized when the setting is enabled.
Subsequent range changes in either the selected Chart app instance or
any Radar app instance on the same app page will be synchronized.
•
[Show Radar overlay]
— Enables and disables the Radar layer in the Chart
app.
•
[Visibility]
— Determines the percentage visibility (opacity) of the Radar
layer.
•
[Palette]
— The Radar overlay can be displayed in the following colors:
–
Full Color
(256 colors)
–
Purple
–
Black
–
Red
Note:
When ‘Full color’ is selected, approaching objects are displayed
in Pink.
•
[Show sector blanking limits]
— Enables and disables blank sectors on
compatible radar scanners. For more information on blank sectors refer to
•
[DOPPLER]
— Enables and disables Doppler on compatible radar scanners.
For more information on Doppler refer to
Note:
If ‘Full color’ is selected for the Radar overlay palette,
approaching targets will appear Pink instead of Red.
•
[Use COG when no Heading data available]
— Enables use of the Radar
layer when Heading data is not available.
•
[Range]
— Determines the range used for the Radar layer.
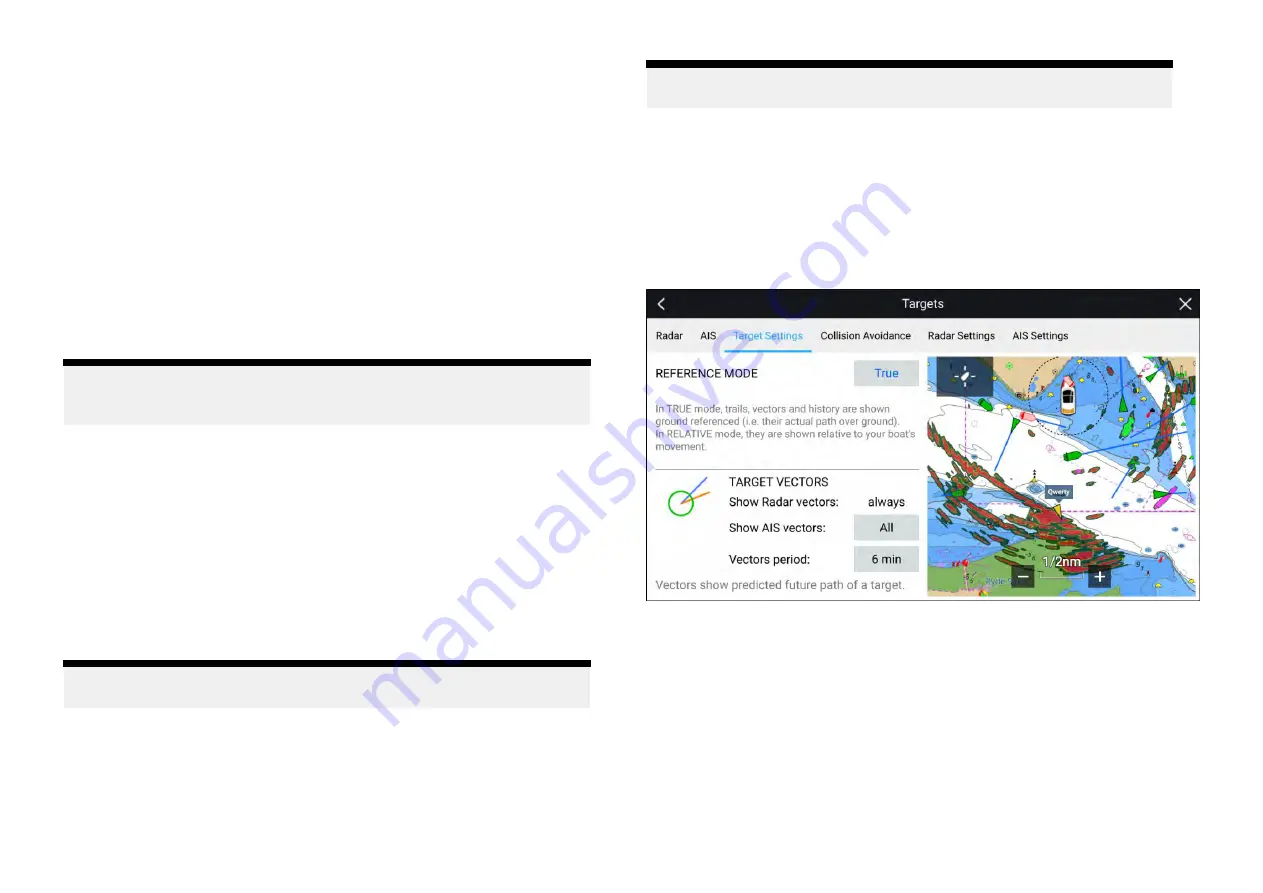
Target vector settings
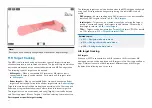
Target vectors show the predicted future path of the target.
Target vector settings can be accessed from the
[Targets]
setting menu:
[Menu > Targets > Target settings]
.
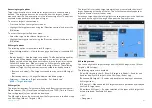
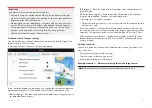
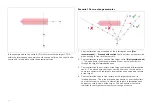
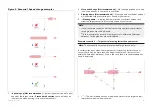
The reference mode for vectors can be set to
[True]
or
[Relative]
.
• In
[True]
reference mode, trails, vectors and history are shown ground
referenced (i.e. their actual path over ground).
• In
[Relative]
reference mode, trails, vectors and history are shown relative
to your vessel’s movement.
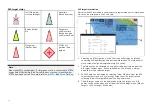
Vectors are always displayed for Radar targets. Vectors for AIS targets can
be set using the
[Show AIS vectors]
option. The available options are:
•
[All]
— vectors are displayed for all AIS targets.
•
[Manual]
— vectors only displayed when enabled individually for each
target using the target context menu.
186
Summary of Contents for LIGHTHOUSE 4
Page 2: ......
Page 4: ......
Page 20: ...APPENDIX C HARDWARE AND SOFTWARE COMPATIBILITY 478 APPENDIX D DOCUMENT CHANGE HISTORY 480 20...
Page 414: ...414...
Page 451: ...4 Select Delete again to confirm 5 Select OK YachtSense ecosystem 451...
Page 484: ......
Page 503: ......

