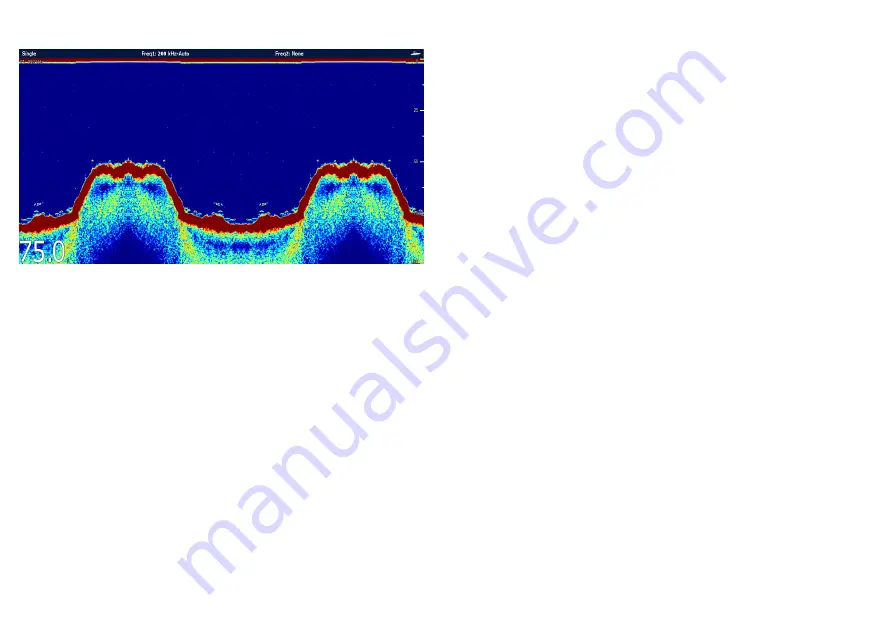
1. Select the fishfinder page.
2. Check the fishfinder display.
With the fishfinder active you should see:
• Depth reading (indicates the transducer is working). The
depth is shown in large white numbers at the bottom left of
the screen.
7.8 Setting up Autopilot, AIS and Navtex
Some setting up is required to enable integration of Autopilot, AIS
and Navtex equipment connected as part of your system.
1. Check the system integration settings.
i.
Access the
Menu > System Setup > System Integration
menu
ii. Autopilot control. This option should be Enabled if you wish
to control a compatible autopilot using the display.
iii. NMEA port settings. These should be set appropriately for
the connected devices.
iv. Bridge NMEA heading. This should be set ON only if the
display is used as a source of heading data for other devices
connected on SeaTalk or SeaTalk
ng
.
2. Check the display presentation settings.
The AIS presentation layer must be turned ON in order to display
targets.
i.
Select the
2D Chart Layers
from the chart window
ii. Select
AIS Targets
On or Off as appropriate.
Further changes to the system set up can be made as required,
however most other equipment will operate to a default level without
further configuration.
112
G-Series installation instructions
Summary of Contents for G-Series system
Page 1: ...G Series system Installation instructions...
Page 2: ......
Page 4: ......
Page 8: ...8 G Series installation instructions...
Page 14: ...14 G Series installation instructions...
Page 98: ...98 G Series installation instructions...
Page 124: ...124 G Series installation instructions...
Page 142: ...142 G Series installation instructions...
Page 146: ...146 G Series installation instructions...
Page 158: ...158 G Series installation instructions...
Page 180: ...www raymarine com...


