


Manual No. 016-3001-015 Rev. C
173
Advanced Settings and Features
7
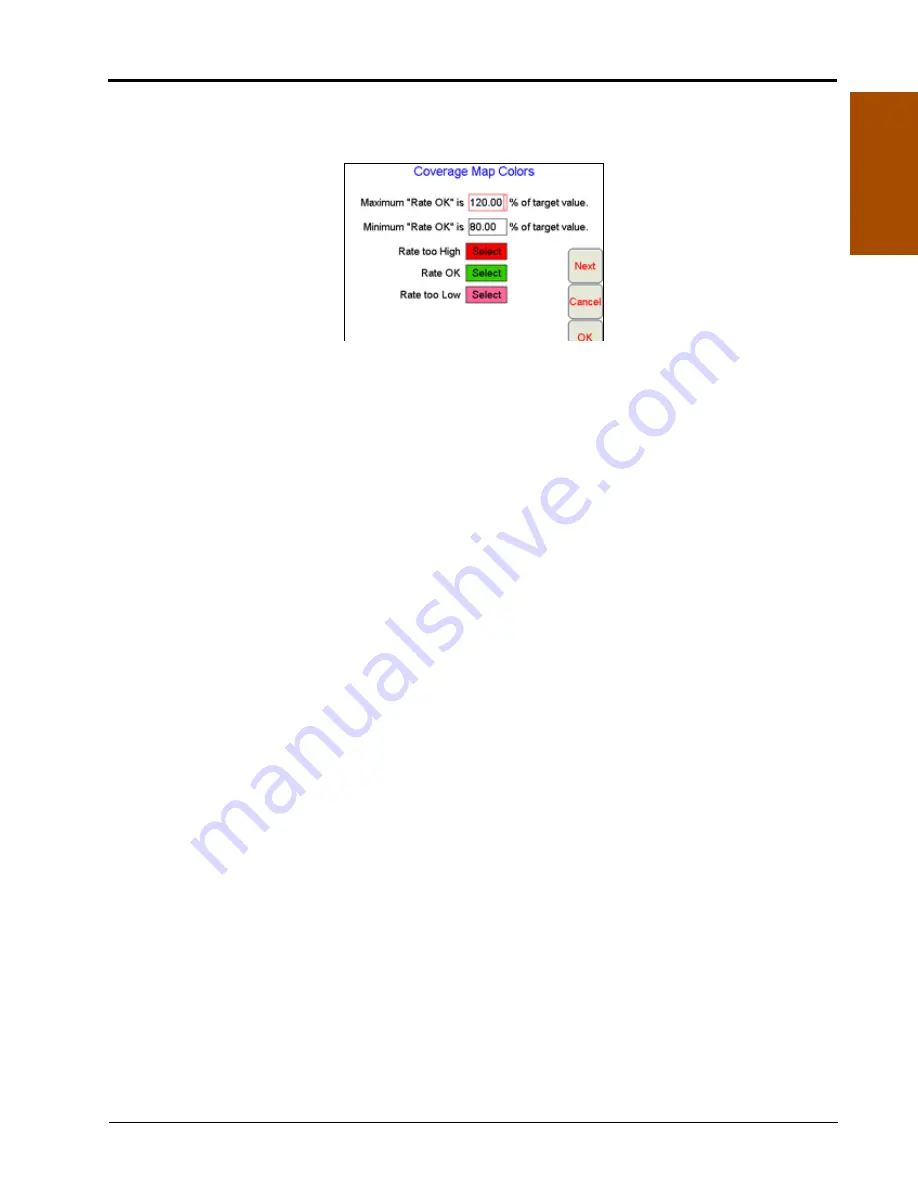
Customizing the Coverage Map Displays
1.
To customize the coverage map display from the Viper Pro main screen, touch
Menu
and then select
Setup
,
Maps
, and
Cov Map
. The Coverage Maps Colors screen displays.
2.
Touch within the maximum rate OK field and use the on-screen keyboard to enter the maximum percentage
of the target application rate acceptable for the application.
Note:
Enter a value at or above 100% for the maximum range. The default setting is 120%.
3.
Touch within the minimum rate OK field and use the on-screen keyboard to enter the minimum percentage
of the target application rate acceptable for the application.
Note:
Enter a value at or below 100% for the minimum range. The default setting is 80%.
The range between the maximum and minimum rate OK values sets the allowable range for the
coverage map display in the maps area during an active application.
While creating the coverage map, Viper Pro will display areas where application rates do not meet the
acceptable minimum or maximum range by “painting” the coverage area in a different color. To customize the
coverage map display colors:
1.
Touch the color
Select
button next to the rate too high, rate OK or rate too low field.
2.
Select the desired color to display on the coverage map for the selected range and touch
OK
to accept the
change.
3.
Touch the remaining color
Select
buttons as necessary to customize the remaining ranges.
4.
Touch
OK
to accept the coverage map display changes or touch
Next
to configure a zero rate tolerance for
specific product nodes or control channels.
Note:
Proceed to the next section for details on the zero rate tolerance setting.
Zero Rate Tolerance
The zero rate tolerance values set the minimum number of pulses detected by an encoder before the Viper Pro
will record coverage for the product.
For Example:
While monitoring product rates in rough field areas, an encoder may register false rate pulses due to
excess “bouncing” or “jarring” of equipment. These false signals will be recorded by the Viper Pro as an
area of product application. If these pulses are received in zero rate zones, the coverage map will display
an over application and false data will be included on the application report at the end of the job.
The zero rate tolerance feature may be used to eliminate encoder “chatter” due to these false rate pulses.
Each product may be set up with a different rate tolerance value to ensure each product is displayed
accurately on the coverage map and application report. On some machines, the main bin will supply a
relatively high volume of product and the tolerance may be set relatively high. Other bins that supply micro-
nutrients may apply material at a much lower rate and will require a lower zero rate tolerance value.
Summary of Contents for OmniSeed Viper Pro
Page 1: ...Viper Pro Software Version 3 10 OmniSeed Calibration Operation Manual ...
Page 10: ...Table of Contents viii OmniSeed Viper Pro Calibration Operation Manual ...
Page 98: ...Chapter 4 86 OmniSeed Viper Pro Installation Operation Manual ...
Page 150: ...Chapter 6 138 OmniSeed Viper Pro Installation Operation Manual ...
Page 222: ...Chapter 10 210 OmniSeed Viper Pro Installation Operation Manual ...
Page 240: ...Chapter 11 228 OmniSeed Viper Pro Installation Operation Manual ...
Page 251: ...Manual No 016 3001 015 Rev C 239 FIGURE 2 OmniSeed System Diagram 3 Bin D N 054 3001 026 ...
Page 256: ...Appendix A 244 OmniSeed Viper Pro Installation Operation Manual ...
Page 284: ...Appendix D 272 OmniSeed Viper Pro Installation Operation Manual ...
Page 292: ...Appendix G 280 OmniSeed Viper Pro Installation Operation Manual ...
Page 300: ...Appendix H 288 OmniSeed Viper Pro Installation Operation Manual ...
Page 304: ...Index 292 OmniSeed Viper Pro Calibration Operation Manual ...
Page 307: ......


