


Appendix F
206
Envizio Pro and Envizio Pro II Installation and Operation Manual
Wireless Communications Status
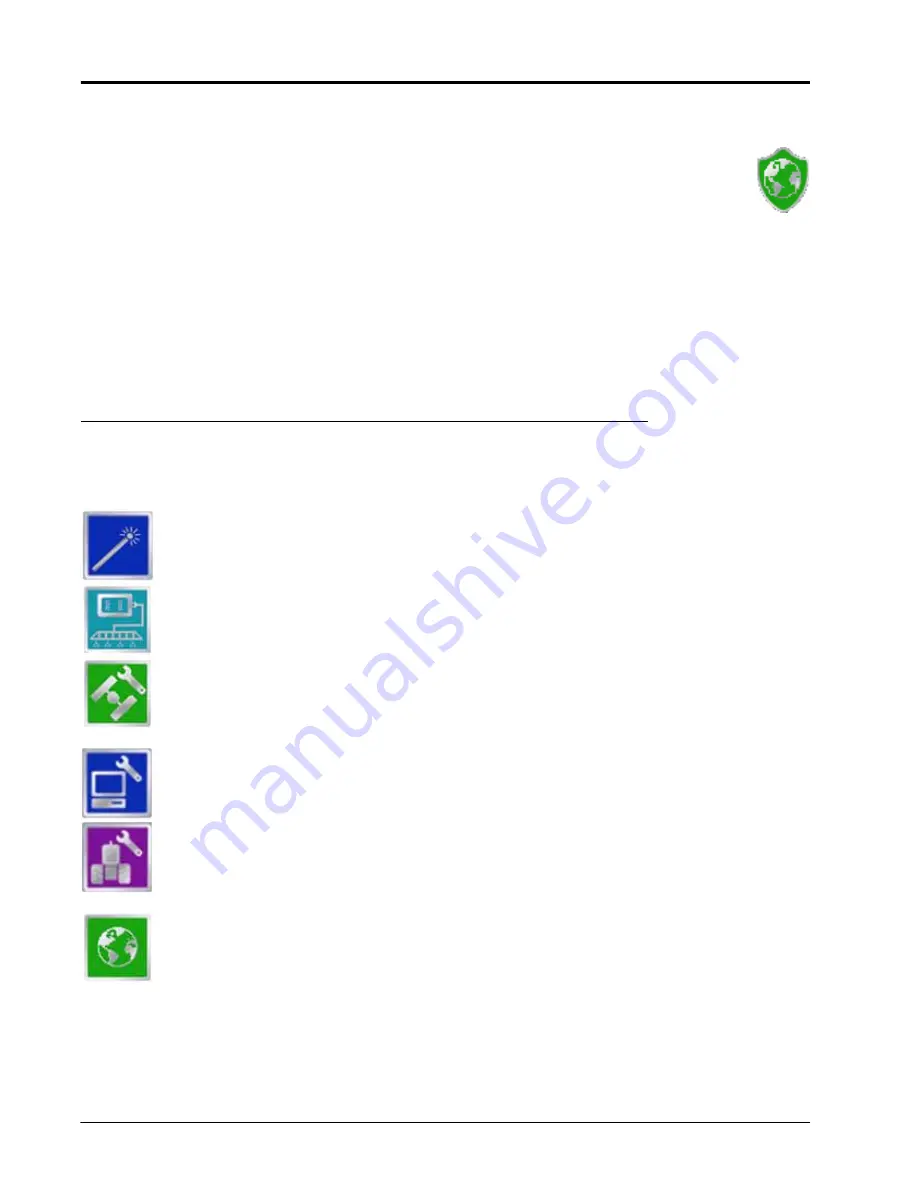
The current status of wireless communication is displayed along the top of the Home screen display.
This icon will appear:
•
Gray if no wireless communications device is connected to the field computer.
•
Green if communication is okay.
•
Yellow if an error condition has been encountered.
•
Red if wireless communication is not available.
Touch the shield icon to display the Wireless Status screen. Refer to the Appendix D,
Communications & Remote Service
for more information.
Tools Menu
The following icons may be found within the Quick Access Bar at the top of the Tools Menu screen.
The Setup Wizard Menu is available in the Tools menu. Review the
page 44 for more details on using the setup wizards.
Access the System Menu to setup the product control system or configure the optional AccuBoom
or AutoBoom systems.
The GPS Menu contains screens to setup the internal GPS receiver or to enable the field
computer to use signal from an external receiver. The GPS menu also contains screens to review
the status of GPS reception, set message outputs (for the internal DGPS receiver only), setup an
optional TM-1 Tilt Module or select the PRN.
The Computer Menu sets display and feature settings of the field computer. Access the Computer
menu to change the display brightness, language and units, adjust the on-screen or external
lightbar, as well as activate features or update the field computer software.
Access the Vehicle Menu to setup or modify vehicle profiles for each machine or implement with
which the field computer will be used. Profiles allow the operator to setup GPS antenna heights
and offsets as well as the swath width and section setup for each implement once and quickly
reload a vehicle’s profile when transferring the field computer between vehicles.
Select the Show All icon to show an overview of the Tools menu. The Show All screen is displayed
each time the Tools menu is accessed.
Summary of Contents for Envizio Pro
Page 1: ...Software Version 3 2 Envizio Pro Envizio Pro II Installation Operation Manual...
Page 36: ...Chapter 3 26 Envizio Pro and Envizio Pro II Installation and Operation Manual...
Page 148: ...Chapter 7 138 Envizio Pro and Envizio Pro II Installation and Operation Manual...
Page 158: ...Chapter 8 148 Envizio Pro and Envizio Pro II Installation and Operation Manual...
Page 174: ...Chapter 9 164 Envizio Pro and Envizio Pro II Installation and Operation Manual...
Page 178: ...Chapter 10 168 Envizio Pro and Envizio Pro II Installation and Operation Manual...
Page 184: ...Chapter 11 174 Envizio Pro and Envizio Pro II Installation and Operation Manual...
Page 210: ...Appendix D 200 Envizio Pro and Envizio Pro II Installation and Operation Manual...
Page 230: ...Index 220 Envizio Pro Envizio Pro II Installation Operation Manual...


