Appendix G: Old PX3 Character LCD Display
734
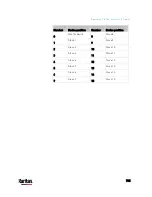
USB-Cascaded Device's Position
Note: As of release 3.3.10, the following cascading information is no
longer available in the Bridging mode, but remains available in the
Port Forwarding mode.
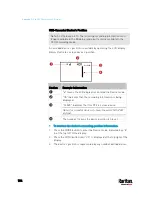
A cascaded device's position is available by operating the LCD display.
Below illustrates a slave device's position.
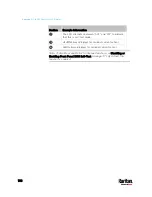
Section
Example information
"d" means the LCD display has entered the Device mode.
"CA" indicates that the cascading information is being
displayed.
"SLAVE" indicates that this PX3 is a slave device.
Note: For a master device, it shows the word "MASTER"
instead.
The number 1 means the device position is Slave 1.
To retrieve the device's cascading position information:
1.
Press the MODE button to enter the Device mode, indicated by a 'd'
in at the top left of the display.
2.
Press the FUNC button until "CA" is displayed at the top right of the
display.
3.
The device's position is represented by any number defined below:
Summary of Contents for PX3-3000 series
Page 5: ......
Page 18: ...Contents xviii Index 841...
Page 93: ...Chapter 4 Connecting External Equipment Optional 69...
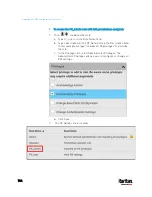
Page 787: ...Appendix J RADIUS Configuration Illustration 763 Note If your PX3 uses PAP then select PAP...
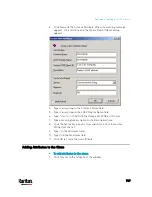
Page 792: ...Appendix J RADIUS Configuration Illustration 768 14 The new attribute is added Click OK...
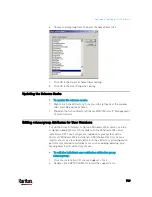
Page 793: ...Appendix J RADIUS Configuration Illustration 769 15 Click Next to continue...
Page 823: ...Appendix K Additional PX3 Information 799...


