Chapter 6: Using the Web Interface
318
2.
To enable the data logging feature, select the "Enable" checkbox in
the General Settings section.
3.
Type a number in the Measurements Per Log Entry field. Valid range
is from 1 to 600. The default is 60.
4.
Verify that all sensor logging is enabled. If not, click Enable All at the
bottom of the page to have all sensors selected.
You can also click the topmost checkbox labeled "Logging
Enabled" in the header row of each section to select all sensors
of the same type.
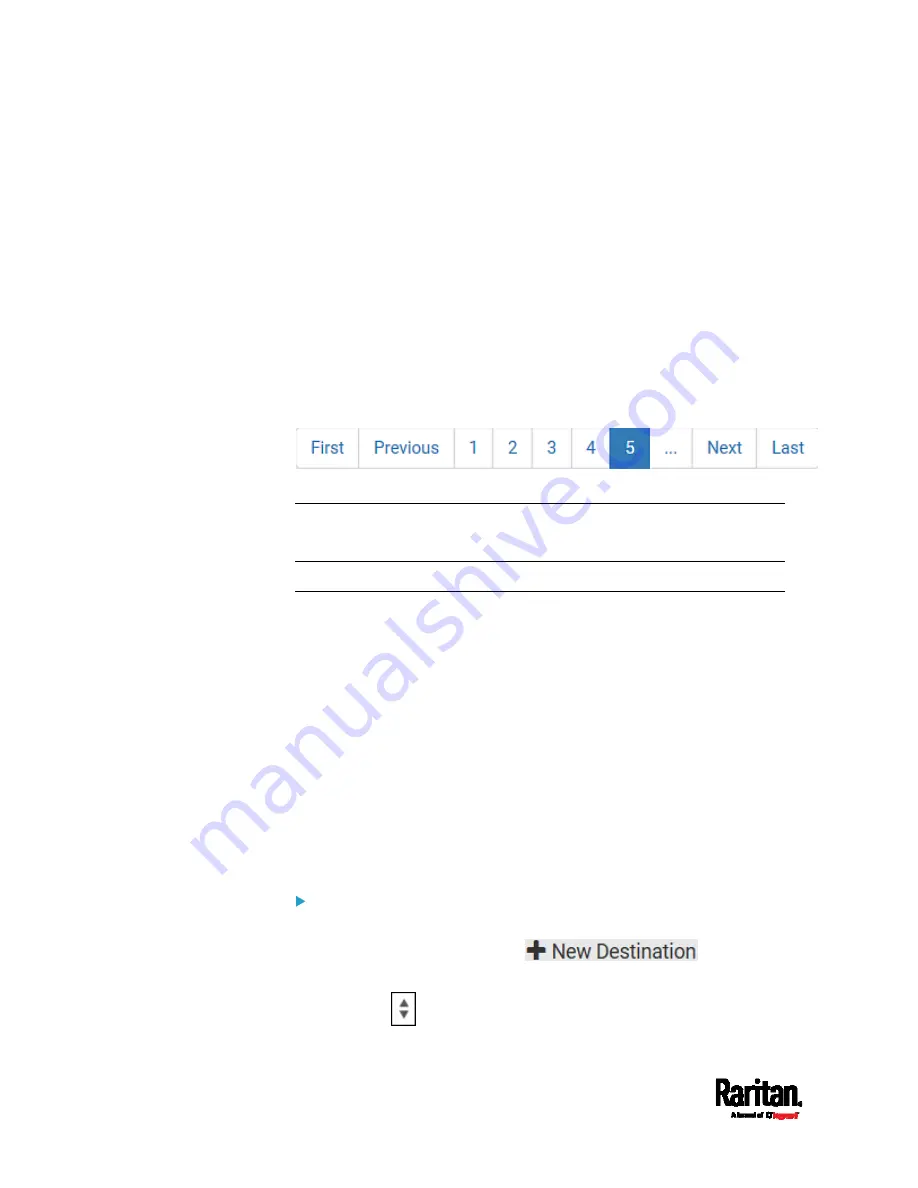
If any section's number of sensors exceeds 35, the remaining
sensors are listed on next page(s). If so, a pagination bar similar
to the following diagram displays in this section, which you can
click any button to switch between pages.
5.
Click Save. This button is located at the bottom of the page.
Important: Although it is possible to selectively enable/disable
logging for individual sensors on the PX3, it is NOT recommended to
do so.
Configuring Data Push Settings
You can push the sensor or asset strip data to a remote server for data
synchronization. The data will be sent in JSON format using HTTP POST
requests. You need to set up the destination and authentication for data
push on the PX3.
For instructions on connecting asset strips, see
Connecting Asset
Management Strips
(on page 72).
After configuring the destination and authentication settings, do either or
both of the following:
To perform the data push after the occurrence of a certain event,
create the data push action and assign it to an event rule.
To push the data at a regular interval, schedule the data push action.
See
Event Rules and Actions
(on page 272).
To configure data push settings:
1.
Choose Device Settings > Data Push.
2.
To specify a destination, click
.
3.
Do the following to set up the URL field.
a.
Click
to select
http or https.
Summary of Contents for PX3-1000 series
Page 5: ......
Page 92: ...Chapter 4 Connecting External Equipment Optional 70...
Page 668: ...Appendix J RADIUS Configuration Illustration 646 Note If your PX3 uses PAP then select PAP...
Page 673: ...Appendix J RADIUS Configuration Illustration 651 14 The new attribute is added Click OK...
Page 674: ...Appendix J RADIUS Configuration Illustration 652 15 Click Next to continue...


