Chapter 3: Using the Web Interface
170
5.
To configure the ETHERNET interface settings, see
Ethernet
Interface Settings
(on page 172).
6.
Click Save.
After enabling either or both Internet protocols:
After enabling IPv4 and/or IPv6, all but not limited to the following
protocols will be compliant with the selected Internet protocol(s):
•
LDAP
•
NTP
•
SMTP
•
SSH
•
Telnet
•
FTP
•
SSL/TLS
•
SNMP
•
SysLog
Note: The BCM2 supports TLS 1.0, 1.1 and 1.2.
Wired Network Settings
On the Network page, click the ETHERNET section to configure IPv4/IPv6
settings.
If the device's cascading mode is set to 'Bridging', the BRIDGE section
appears. Then you must click the BRIDGE section for IPv4/IPv6 settings.
See
Setting the Cascading Mode
(on page 183).
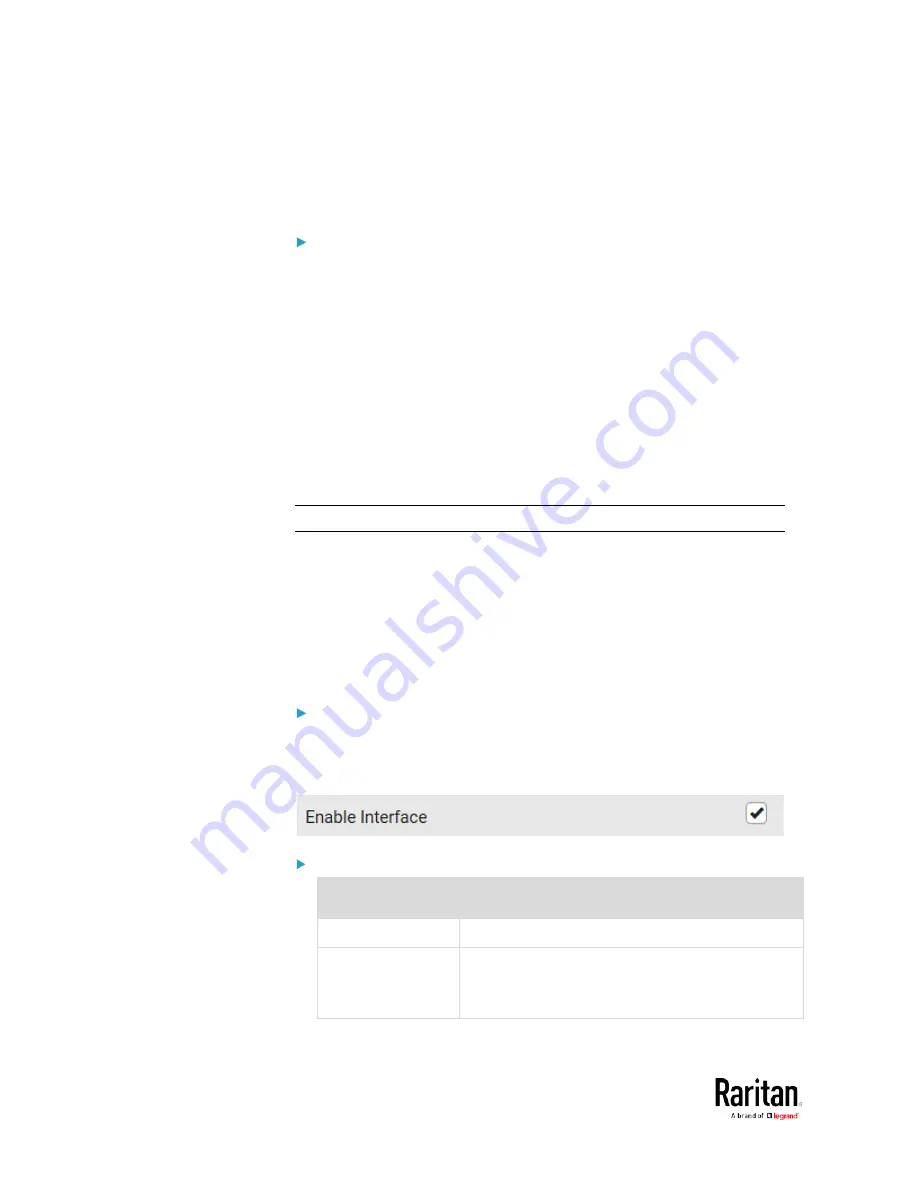
Enable Interface:
Make sure the Ethernet interface is enabled, or all networking through
this interface fails. This setting is available in the ETHERNET section, but
not available in the BRIDGE section.
IPv4 settings:
Field/setting
Description
Enable IPv4
Enable or disable the IPv4 protocol.
IP Auto
Configuration
Select the method to configure IPv4 settings.
DHCP: Auto-configure IPv4 settings via DHCP
servers.
Summary of Contents for PMC-1000
Page 3: ...BCM2 Series Power Meter Xerus Firmware v3 4 0 User Guide...
Page 23: ...Chapter 1 Installation and Initial Configuration 11 Panel Wiring Example...
Page 54: ...Chapter 1 Installation and Initial Configuration 42 Branch Circuit Details...
Page 76: ...Chapter 2 Connecting External Equipment Optional 64...
Page 123: ...Chapter 3 Using the Web Interface 111...
Page 558: ...Appendix D RADIUS Configuration Illustration 546 Note If your BCM2 uses PAP then select PAP...
Page 563: ...Appendix D RADIUS Configuration Illustration 551 14 The new attribute is added Click OK...
Page 564: ...Appendix D RADIUS Configuration Illustration 552 15 Click Next to continue...
Page 594: ...Appendix E Additional BCM2 Information 582...
Page 612: ......


