


C
HAPTER
2:
U
PGRADING AN
E
XISTING
P
ARAGON
II
C
OMMAND
C
ENTER
I
NTEGRATION
S
ETUP
13
37.
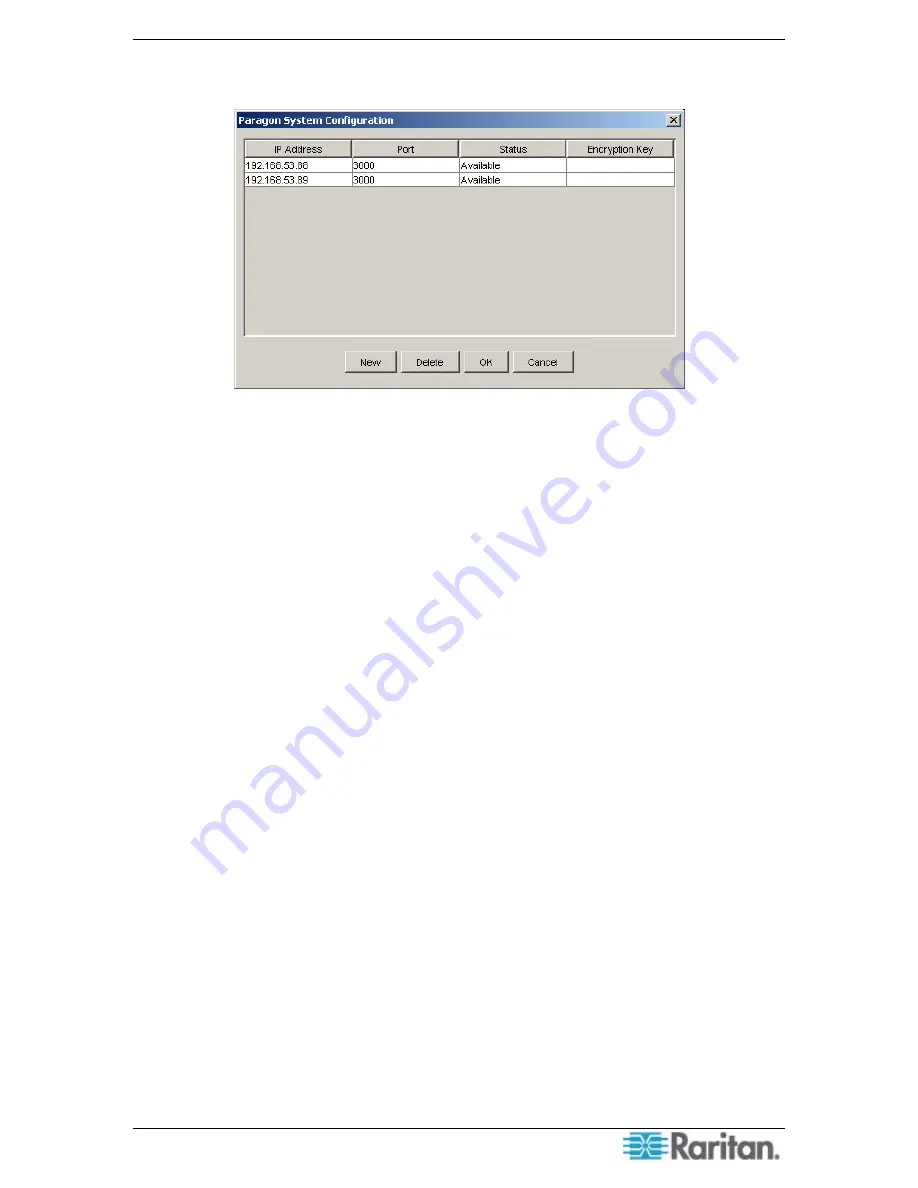
From P2SC Admin, click on the
Setup
menu, then
Base UMT’s
to bring up the list of base
switches being managed. The
Paragon System Configuration
window appears.
Figure 8 The Paragon System Configuration Window Listing Managed Base Paragon switches
38.
Select the base switches to be updated and click
Delete
to delete them from this list.
39.
Follow steps 2-19 in the previous section above to update the Firmware Loader, and then the
firmware of your base-tier Paragon switches.
40.
Follow steps 26-33 in the previous section above to perform a partial reset of the Paragon II
system.
41.
Return to P2SC Admin. From the
Setup
menu in P2SC Admin, click
Base UMT’s
to bring
up the list of managed Paragon switches.
42.
Click
New
to add a new entry to the list, and then fill out the
IP Address
and
Port
for each
base-tier Paragon switch being brought back under PCCI management.
43.
Return to CommandCenter Secure Gateway, right click on the associated P2SC and select
Resume Management
.
Summary of Contents for Paragon II
Page 4: ......
Page 8: ......
Page 12: ...4 PARAGON II COMMANDCENTER INTEGRATION SOLUTIONS DEPLOYMENT GUIDE...
Page 22: ......
Page 32: ......
Page 36: ...28 PARAGON II COMMANDCENTER INTEGRATION SOLUTIONS DEPLOYMENT GUIDE...
Page 40: ......
Page 50: ...42 PARAGON II COMMANDCENTER INTEGRATION SOLUTIONS DEPLOYMENT GUIDE...
Page 53: ...APPENDIX A P2SC COMPATIBILITY LIST 45...
Page 60: ......
Page 63: ......


