18
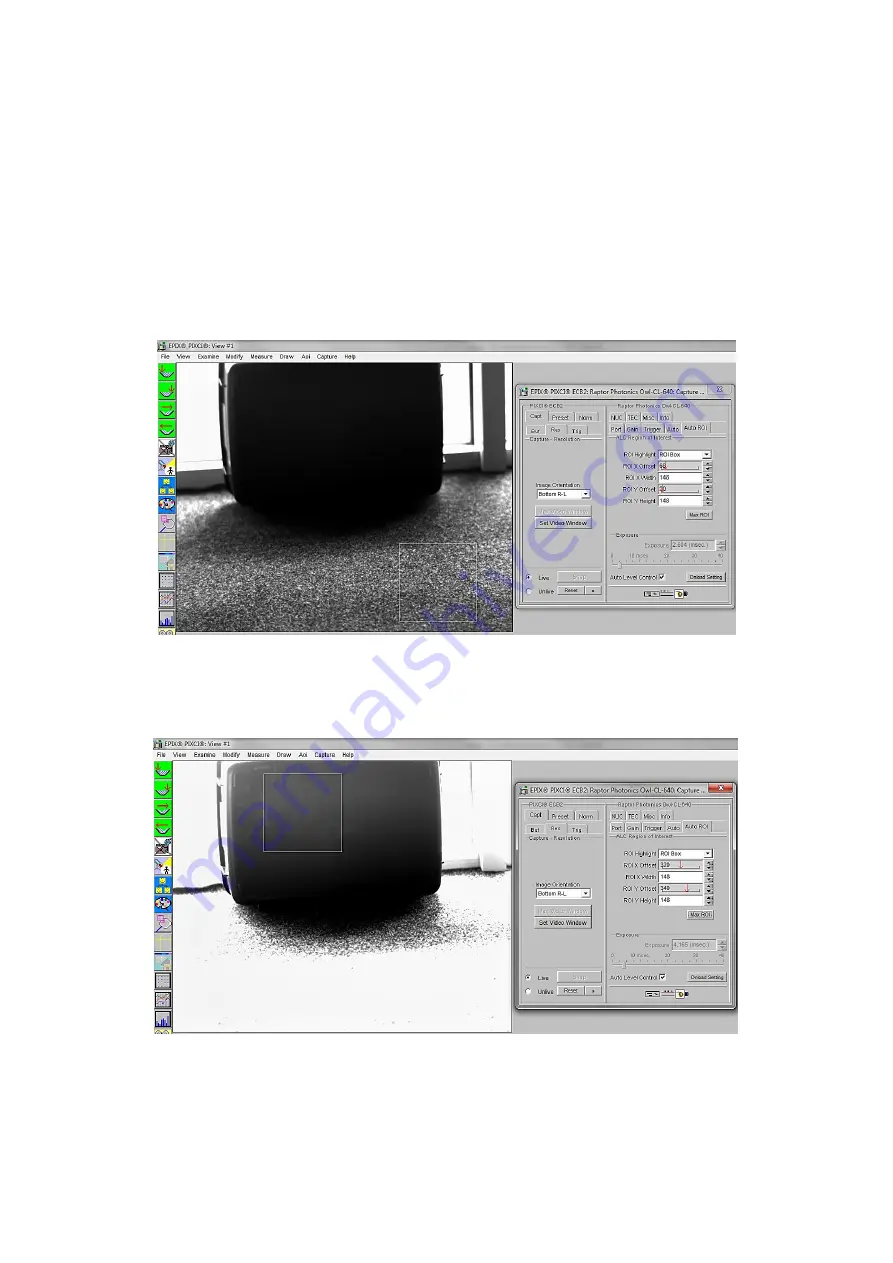
The ROI can be made smaller and moved around the image array by adjusting the width and height
and offset controls. Selecting “ROI Box” from the “ROI Highlight” drop down box will outline the ROI
on the imaging window that is currently set.
An example of this feature in action is shown in Figures 12
–
13. The images were taken using our
Owl 640 camera, but the exact same principle applies for the Ninox 1280, as both cameras have
these identical control feature.
In Figure 12, you can see that the ROI is 146x146 and is active over the carpet of the floor, which is
setting a good exposure time for the carpet region. However, the suitcase is very dark and under
exposed.
If the ROI is moved to an area on the suitcase, the pixels in this region will now drive the ALC. This
can be seen in Figure 13.
You can see from Figure 13 that the exposure value being set by the ALC is larger due to lower pixel
values driving the ALC. The suitcase is now better exposed. However, the exposure is still always
changed for the whole image array, saturating the rest of the image.
Figure 12: Auto ROI Example.
Figure 13: Auto ROI Example.


