INSTALLATION GUIDE
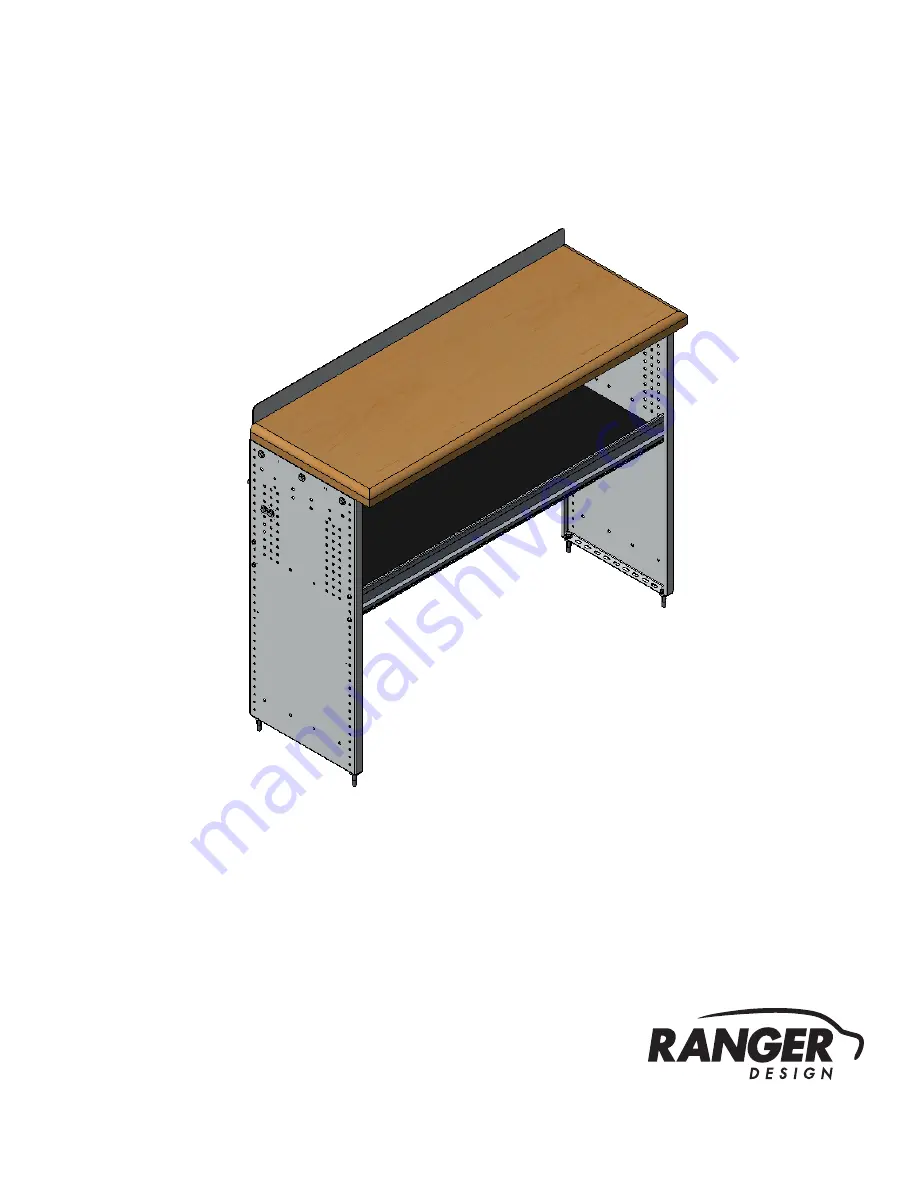
S3-WA48-1
W
orkbench
w/ Hardwood Top & One Shelf ( Aluminum )
Page 1: ...INSTALLATION GUIDE S3 WA48 1 Workbench w Hardwood Top One Shelf Aluminum...
Page 2: ...Attach Wall Brackets To The End Panels q 2 2 Mark Holes For Plus Nuts q 2 3 Attach Plus Nut q 2 4 Attach Partskeeper Cabinet To the Floor q 2 5 Attach Wall Brackets q Cordless Impact q Cordless Drill...
Page 3: ...Short Corner Cracket Left 1 40 708 Short Corner Bracket Right 1 40 738 End Panel 2 56 128 Rubber Edge Trim QTY in inches 2 60 13 875 48 Shelf Tray Plywood 1 70 810 Hardwood Top 1 70 816 Side Panel Bra...
Page 4: ...asher 5 16 O D 7 8 ZINC 4 Hex Bolt 5 16 18 3 4 ZINC 90 204 94 116 Serrated Nut 5 16 18 ZINC 4 4 90 212 Hex Bolt 5 16 1 1 4 98 122 Lock Washer 98 116 Flat Washer 94 132 5 16 Plusnut 94 132 5 16 Plusnut...
Page 5: ...SEMBLY 94 4801 Fastener Kit Fastener Assembly 90 204 Hex Bolt 5 16 3 4 98 116 Flat Washer 94 116 Serrated Nut 6 23 92 102 Screw 14 1 6 Hex Bolt 5 16 18 3 4 ZINC 90 204 94 116 Serrated Nut 5 16 18 ZINC...
Page 6: ...t 1 800 565 5321 S3 WA48 1 Installation Guide REV A2 Page 6 1 2 2 Attach side panels bracket to the end panel 90 204 Hex Bolt 5 16 3 4 98 116 Flat Washer 94 116 Serrated Nut HARDWARE USED 6 TOOLS q Co...
Page 7: ...kets with the back of the hardwood top flushed against one end of the panels NOTE Pre drill the hardwood using 3 16 drill bit first before screwing the side panel brackets to the hardwood to prevent s...
Page 8: ...re drill the hardwood using 1 8 drill bit first before screwing the backsplash to the hardwood to prevent spliting the wood 1 2 4 Screw the backsplash on the back end of the workbench 70 818 92 102 Sc...
Page 9: ...THE END PANELS 2 1 1 Lift the assembled workbench to the vehicle then put it in place Attach the wall bracket to the panels aligning the brackets to the horizontal rim of the vehicle HORIZONTAL RIM BR...
Page 10: ...ttaching the brackets mark the holes from the brackets and bottom shelf to the vehicle TOOLS q Marker MARK Mark 2 holes of the brackets head on the vehicle horizontal rim NOTE If you are using Ranger...
Page 11: ...ring Harness and Hose NOTE Use 1 2 drill bit with drill collar to stop drill at 1 2 depth 2 3 1 Remove the assembled workbench and place on the side Drill all the marks using 1 2 drill bit w drill col...
Page 12: ...HARDWARE USED Flat washer 5 16 Flat washer 5 16 BS 7 8 OD TOOLS q Cordless Impact q 1 2 Socket q 9 16 Wrench STEP 1 Assemble the 6491 plusnut tool with the hardware needed plus nut and the 9 16 wrench...
Page 13: ...the bottom shelf to the plus nuts PHASE 2 INSTALLATION 2 4 ATTACH SHELF UNIT TO THE FLOOR without ranger floor W Spacer W O Spacer most vehicle use 1 spacer when not over ribs Tips when to use spacer...
Page 14: ...the workbench to the floor mounting track by sliding bolts in the mounting tracks and screwing the bottom shelf to the floor 94 104 Hex Nut 98 116 Lock Washer 98 122 Flat Washer 90 490 Carriage Bolt...
Page 15: ...tallation is completed ensure all bolts are tightened PHASE 2 INSTALLATION 2 5 ATTACH WALL BRACKETS without ranger wall kits TOOLS q Cordless Impact q 1 2 Socket HARDWARE USED 4 90 212 Hex Bolt 5 16 1...
Page 16: ...s using channel nuts IMPORTANT After installation is completed ensure all bolts are tightened with ranger wall kits TOOLS q Cordless Impact q 1 2 Socket FASTENERS USED 4 wall kits fastener kit 90 212...
Page 17: ...us at 1 800 565 5321 S3 WA48 1 Installation Guide REV A2 Page 17 You have successfully installed your Workbench Thank you for doing business with us For any feedback or suggestions you may have pleas...