Getting Started
R&S
®
FSPN
72
User Manual 1179.4363.02 ─ 01
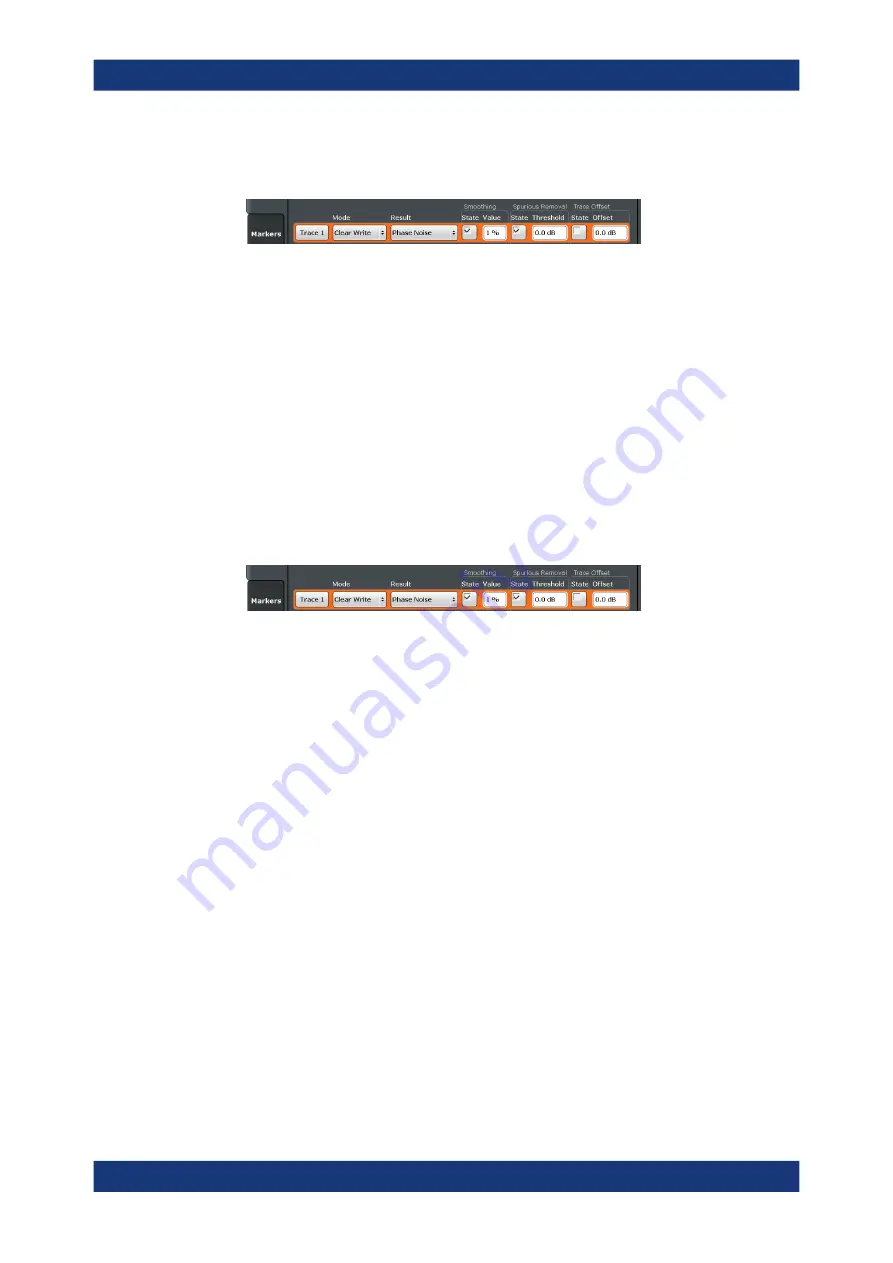
3. For any trace, turn on "Smoothing" and define the amount by which the trace
should be smoothed (in %) in the corresponding input field.
Trace smoothing is applied immediately after you have applied it to a trace.
More information:
●
How to remove spurs from a trace
By default, the application already shows a trace without spurs (the yellow one). How-
ever, you can decide for each trace individually whether it shows spurs or not.
Spur removal is done after traces have been smoothed in any way.
1. Enter the "Overview" dialog box, and from there, enter the "Analysis" dialog box.
2. Select the vertical "Trace" tab, and then the horizontal "Traces" tab.
3. For any trace, remove or display spurs individually. You can also enter a threshold
that defines a level from which a spur is recognized as a spur.
The application removes all signals that are above the threshold from the trace
spur removal is applied to. Signals with levels below the threshold are not regarded
as spurs and are still displayed.
More information:
●
Note:
Note that the threshold is always taken into account in the spur table,
regardless of whether spur removal is on or off.
3.4.3.2
Integration Ranges
How to define integration ranges
For the integrated measurements (residual AM, FM and PM and jitter), you can define
custom integration ranges.
By default, the integration range corresponds to the measurement range defined by the
frequency offsets. Custom integration ranges can have any range you desire.
Integration is done after traces have been smoothed in any way.
1. Enter the "Overview" dialog box and, from there, enter the "Noise Config" dialog
box.
2. Select the "Integrated Measurements" tab.
Trying Out the Instrument


