This is a class A product. In a domestic environment this product may cause radio
interference in which case the user may be required to take adequate measures.
WARNING
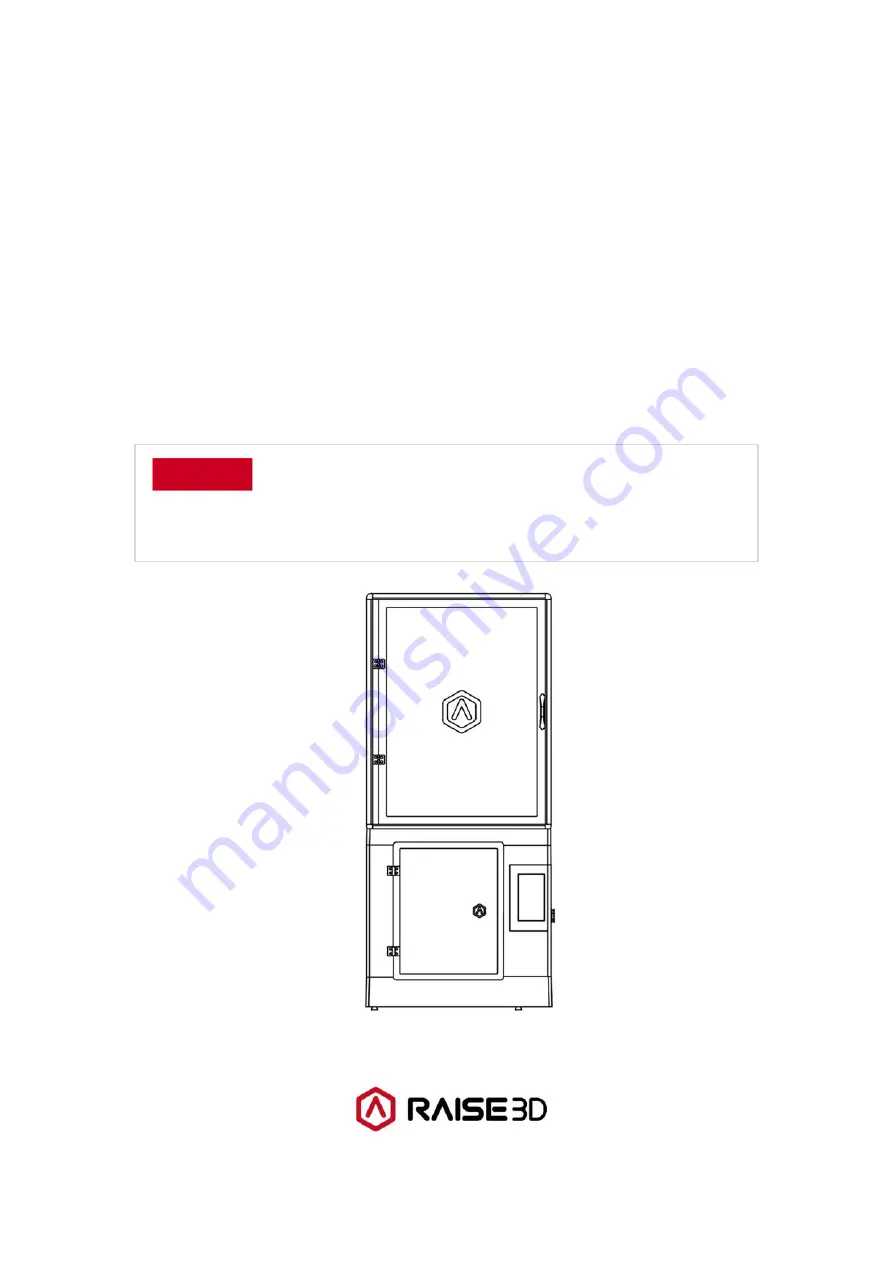
Forge1
3D Printer
User Manual
* Please review this entire guide before operating the printer.
www.raise3d.com
V 0.11
2022.03.18


