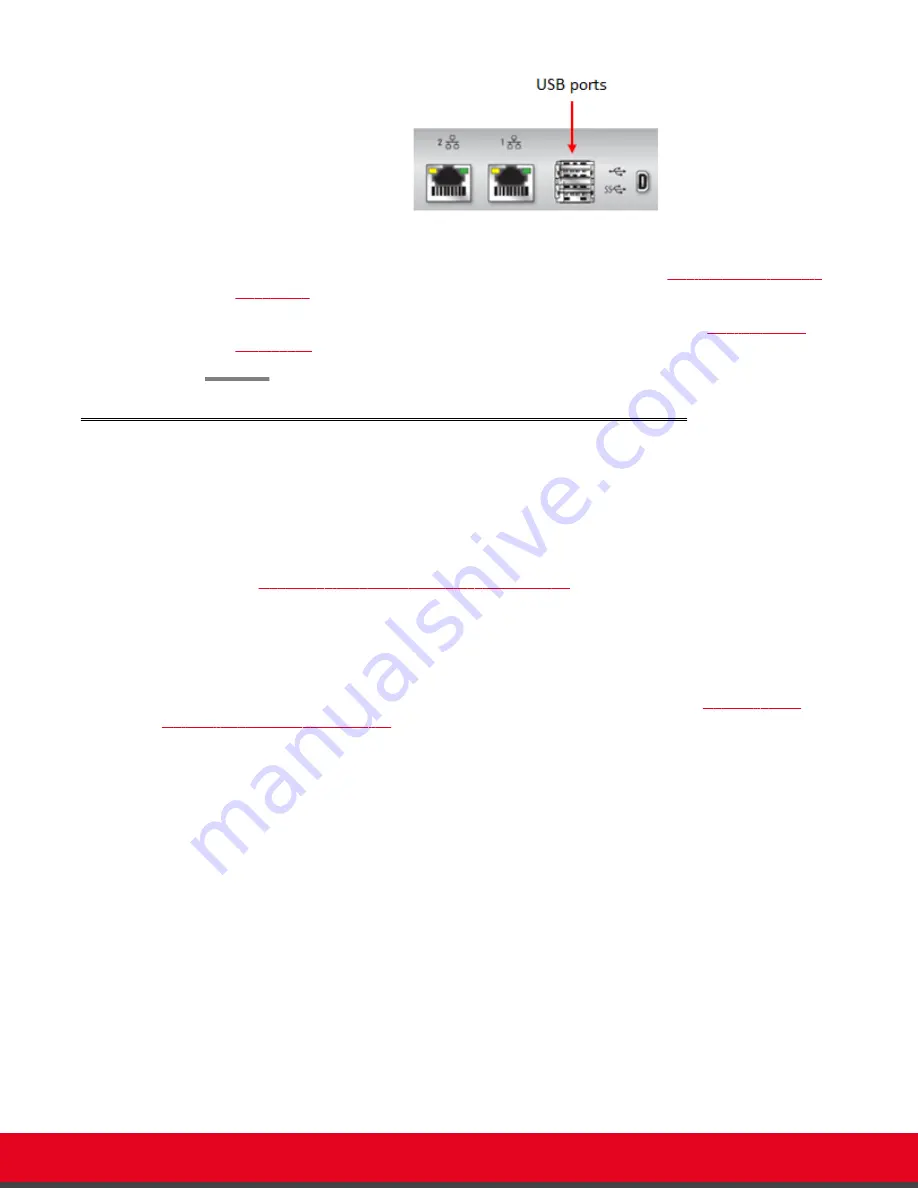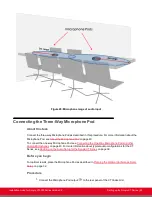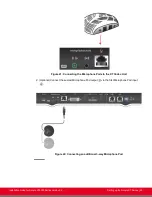
Figure 29: Connecting the USB camera to the XT Codec Unit
2. Enable the USB camera and configure its settings, as described in
3. Enable the built-in microphone and configure its settings, as described in
Connecting the Optional XT Premium Camera
About this task
You can connect the optional camera to the XT Codec Unit together with other devices to get the
number of video streams that best fit your conference. Typically, you connect the main camera to the HD
CAM connector and the optional camera to the DVI connector. For information about connecting a
computer, see
Connecting a Computer to the Scopia XT Series
on page 36.
You can control and include more than one HDMI camera in your video by connecting them to the
Scopia XT Camera Switch (purchased separately). Multiple cameras are typically used for larger
meeting rooms or auditoriums. For example, you may want to zoom one camera to focus on the
speaker, and use another camera for the audience. Connecting the Scopia XT Camera Switch also
allows you use multiple cameras while still keeping the DVI port open to connect a computer and share
content. For more information about connecting the Scopia XT Camera Switch, see
Optional Scopia XT Camera Switch
on page 53.
There are two ways of controlling the XT Premium Camera:
• Using the XT Remote Control Unit provided with the XT Premium Camera kit.
• Using the XT Remote Control Unit. In that case you control both cameras, main and optional, using
the same XT Remote Control Unit.
Before you begin
Verify that you have the following:
• An HDMI to DVI adapter, needed to connect the two cameras
• If the included video cables cannot be used for your system because of length requirements,
ensure you have a video cable with 1080p60 support
The XT Premium Camera kit contains a camera, remote control, power supply, 5-meter DVI-HDVI cable,
and 10-meter VISCA cross cable.
Procedure
1. Remove the camera stabilizing cartons.
Installation Guide for Scopia XT5000 Series Version 3.2
Setting up the Scopia XT Series | 50


