background image

16-3898

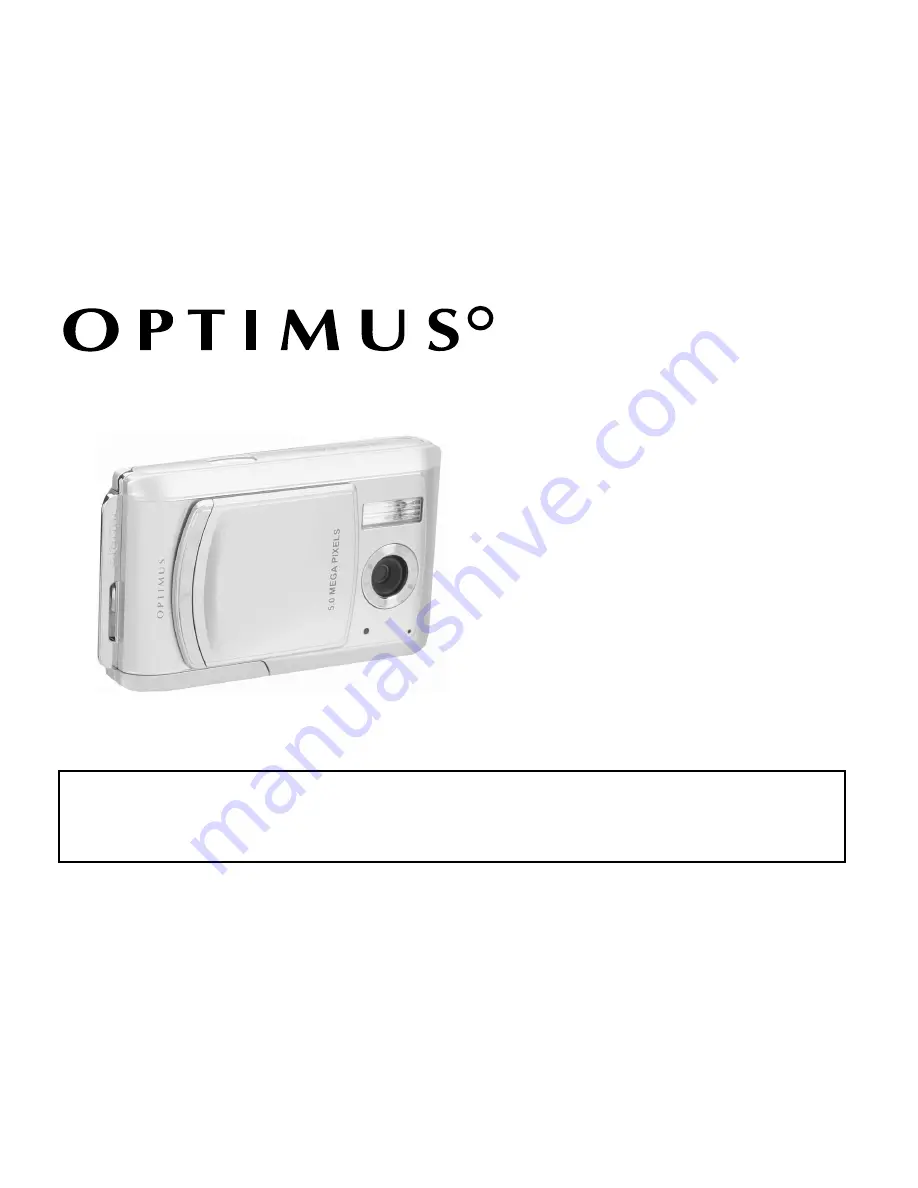
Digital Camera

Thank you for purchasing your
Optimus Digital Camera from
RadioShack.

WHAT’S IN THIS PACKAGE

Please read this user’s guide before installing, setting up and using your new product.

Digital Camera,Camera Strap,User’s Guide (in the Software CD),Quick Start Guide,
Software CD-ROM,USB Cable

,

Camera Pouch,Lithium ion rechargeable battery

(650mA),AC adapter

R

R

R

R

R

Summary of Contents for 16-3898 Optimus

Page 1: ...ck WHAT S IN THIS PACKAGE Please read this user s guide before installing setting up and using your new product Digital Camera Camera Strap User s Guide in the Software CD Quick Start Guide Software C...

Page 2: ...e equipment off and on the user is encouraged to try to correct the interference by one or more of the following measures Reorient or relocate the receiving antenna Increase the separation between the...

Page 3: ...ifferent from those described in this guide This is due to the fact that different retailers often specify slightly different product inclusions and accessories to suit their market requirements custo...

Page 4: ...nge or repair the camera This might cause fire or electric shock For repair or internal inspection ask the store of purchase Do not use the camera in areas near water This might cause fire or electric...

Page 5: ...cision instrument Do not drop it strike it or use excessive force when handling the camera This might cause damage to the camera Do not use the camera in humid steamy smoky or dusty places This might...

Page 6: ...me we recommend that you fully charge the battery and discharge it for at least one complete cycle before use The battery may become warm after long period of continuous use of the camera or the flash...

Page 7: ...9 Using Self Timer 31 Using Macro Mode 32 Setting Image Resolution and Quality 33 SELECTING PHOTOGRAPHY MODE 35 Auto Mode 35 Sports Mode 36 Night Scene Mode 37 Portrait Mode 38 Landscape Mode 39 Backl...

Page 8: ...CAMERA AS A PC CAMERA 57 Step 1 Install the PC camera driver 57 Step 2 Connect the digital camera to your computer 58 Step 3 Run your videoconferencing application software i e Windows NetMeeting 58...

Page 9: ...rage lets you capture and store images without memory card However you may wish to expand the memory capacity using an external memory card In addition to still images you can record short videos usin...

Page 10: ...l camera includes following Digital Camera Camera Strap User s Guide in the software CD Software CD ROM Quick Start Guide Camera Pouch USB Cable AC adapter Lithium ion rechargeable battery 650mA Optio...

Page 11: ...11 1 Strap eyelet 2 Lens cover and On Off Switch 3 Shutter button 4 Flash COMPONENTS GUIDE Front View 5 Lens 6 Microphone 7 Self timer LED 6 5 2 4 3 1 7...

Page 12: ...acro mode Normal mode 3 USB socket 4 Tripod socket 5 Battery SD card compartment 6 OK button Zoom button 7 Down MODE button 8 Right Flash button 9 Left Self timer button 10 Up MENU button 11 LCD monit...

Page 13: ...No Status LED Blinking green Image is being recorded to the memory card No Status LED Solid green USB communication data transfer in progress No Status LED Solid green The camera is ready to record im...

Page 14: ...to capture fast moving subjects 3 Night Scene mode Select this option to take photos of people against dark or nighttime background 4 Portrait mode Select this option to make people stand out with the...

Page 15: ...ode Night Scene mode Portrait mode Landscape mode Backlight mode 2 Image quality Fine Normal Economy 3 Image size pixels 7 3072x2304 5 2560x1920 3M 2048x1536 1280x960 640x480 7 ISO speed No icon Auto...

Page 16: ...ayed when recording still images 11 Flash mode Fill flash on Flash off A Automatic flash A Red eye reduction 12 Self timer mode 13 Macro mode 14 White balance No icon Auto Daylight Cloudy Tungsten Flu...

Page 17: ...played when playing images back 1 Playback mode 2 Card indicator 3 Battery level Full battery Fairly consumed Nearly exhausted Virtually no battery power 4 Protected indicator 5 DPOF icon 6 Index numb...

Page 18: ...ators are displayed when recording video clips 1 Movie mode 2 Recording indicator 3 Video counter 4 Card indicator 5 Battery level Full battery Fairly consumed Nearly exhausted Virtually no battery po...

Page 19: ...ng back video clips 1 Playback mode 2 Battery level Full battery Fairly consumed Nearly exhausted Virtually no battery power 3 Card indicator 4 Index number of total number 5 Movie mode 6 Elapsed time...

Page 20: ...attery 1 Turn your camera off 2 Slide the battery SD card cover away in arrow direction and lift it up 3 Insert the battery with correct orientation so its label is facing to the front side of the cam...

Page 21: ...ss II 5V 3A AC adapter Its center tip must be set to positive and its plug must correctly fit the camera s DC IN 5V jack The supplied adapter meets these requirements Using an adapter that does not me...

Page 22: ...y card all the way in If the card cannot be inserted check the orientation 4 Close the SD card battery cover securely Notes To prevent valuable data from being accidentally deleted from an SD memory c...

Page 23: ...all fields are set Choosing Language Follow the steps below to set the OSD On Screen Display language 1 Press the MENU button 2 Press the button to select Setup menu 3 Press the buttons to select Lang...

Page 24: ...slippage during use always hang the camera strap on your hand Attach the camera strap as follows 1 Thread the small loop of the strap through the strap eyelet on the camera 2 Pull the large loop throu...

Page 25: ...25 BASIC FUNCTIONS Turning Power On Off 1 Slide the lens cover to turn the camera on 2 The camera sounds one beep when turned on 3 Slide the lens cover back to turn off the camera ON OFF...

Page 26: ...isplayed on the LCD monitor may vary according to the current settings 1 Slide the lens cover to turn on the camera 2 Set the scene mode in the Capture menu based on the desired scenery Auto Sports Ni...

Page 27: ...here the distance to the subject is 1 0m to infinity Select this mode for general shooting including portraits and scenery 1 Set the focus to the position 2 Compose your image 3 Press the shutter butt...

Page 28: ...of 3072 x 2304 pixels 2048 x 1536 pixels 1280 x 960 pixels or 640 x 480 pixels Digital zoom cannot be used in Movie mode 1 Set the scene mode in the Capture menu based on the desired scenery Auto Spo...

Page 29: ...1 Set the scene mode in the Capture menu based on the desired scenery Auto Sports Night Scene Portrait Landscape Backlight 2 The camera has four flash modes Fill flash on Flash off Automatic flash an...

Page 30: ...h The flash fires automatically according to the ambient lighting conditions Select this mode for general photography A Red eye reduction The flash emits a precursor flash before the main flash fires...

Page 31: ...f timer lamp starts blinking slowly for the first 7 seconds or the first 2 seconds and then blinking rapidly for the last 3 seconds 1 Mount the camera on a tripod or place it on a stable surface 2 Sli...

Page 32: ...itch to the position 2 Compose your image 3 Press the shutter button To disable macro photography slide the focus switch back to the Normal mode Notes In Macro mode EV compensation Scene mode and ISO...

Page 33: ...but increase file size High resolution and quality settings are recommended for printed output and situations requiring the finest detail Lower resolution quality images take up less memory space and...

Page 34: ...ble for image storage SD Memory Card 32 MB 64 MB 128 MB 2560x1920 2048x1536 1280 x 960 640 x 480 256 MB 3M The above data shows the standard testing results The actual capacity varies according to the...

Page 35: ...sub menu select Auto using the buttons Auto mode icon A displays Press OK to confirm setting 3 To exit from the menu mode use the buttons to select Exit and press OK Notes The camera s default settin...

Page 36: ...to enter sub menu 2 After entering sub menu select Sports using the buttons Press OK to confirm setting Sports mode icon displays 3 To exit from menu mode use the buttons to select Exit and press OK...

Page 37: ...n to enter Capture menu and select Scene using the buttons Press OK to enter the sub menu 2 After entering the sub menu select Night Scene using the buttons Press OK to confirm setting Night Scene ico...

Page 38: ...the sub menu 2 After entering sub menu select Portrait using the buttonw Press OK to confirm setting Portrait mode icon displays 3 To exit from the menu mode use the button to select Exit and press O...

Page 39: ...menu and select Scene using the buttons Press OK to enter sub menu 2 After entering sub menu select Landscape using the buttons Press OK to confirm setting Landscape mode icon displays 3 To exit from...

Page 40: ...e using the buttons Press OK to enter sub menu 2 After entering sub menu select Backlight by using buttons Press OK to confirm setting Backlight mode icon displays 3 To exit from menu mode use the but...

Page 41: ...s the shutter button again Notes Under certain high light contrast situations the image on the display will show red artifacts This occurs only in the video clip mode due to over saturation of the sen...

Page 42: ...ack mode The last recorded image appears on the LCD monitor 2 View and select your recorded images using the buttons To view the previous image press the button To view the next image press the button...

Page 43: ...DE button twice to enter Playback mode The last image frame appears on the LCD monitor 2 View and select your images using the buttons 3 Enlarge the image by pressing OK Each press of OK magnifies the...

Page 44: ...to select Thumbnails 4 Press OK and nine thumbnail images appear on the LCD monitor if there are nine or more recorded images in the memory 5 Use the buttons to move the cursor to select the image to...

Page 45: ...images and presentations 1 Press the MODE button twice to enter Playback mode Then press the MENU button to enter the Playback menu 2 Select Slide Show using the buttons then press OK to enter sub men...

Page 46: ...Playback menu 2 Select Protect using the buttons and press OK 3 You can select to protect a single image or all images at once using the buttons and then press OK Single Protect one image at one time...

Page 47: ...ngle and press OK 5 Use the buttons to select Execute and press OK to confirm the deletion To cancel the action select Cancel 6 Continue the deletion if necessary If all images are deleted No Image po...

Page 48: ...Use the buttons then select Execute and press OK to confirm the deletion To cancel the action select Cancel Notes The deleted images cannot be recovered Exercise adequate caution before deleting a fi...

Page 49: ...then press OK to confirm To cancel the action select Cancel No Image pops up after the SD memory card or the internal memory has been formatted Notes Be sure the SD memory card is completely inserted...

Page 50: ...All using the buttons and press OK The DPOF sub menu options Single Sets DPOF for each individual image All Sets DPOF for all images at once 4 Select Print Num using the buttons and press OK 5 Set the...

Page 51: ...the USB driver Step 2 Connect the camera to your computer Step 3 Download the images video clips System Requirements System Requirements Windows Macintosh CPU Pentium III 600 MHz processor or higher P...

Page 52: ...install the USB driver 1 Insert the enclosed CD ROM into your CD ROM drive 2 When the welcome screen appears click Install USB Driver Follow the on screen instructions to complete the installation 3...

Page 53: ...d of the USB cable to the USB socket on the camera 4 The USB mode screen displays Use the buttons to select Disk Drive and then press OK 5 Look for a new Removable Disk icon appearing in My Computer w...

Page 54: ...Windows Open the removable disk by double clicking on it Double click on the folder contains your recorded images video clips Select the images video clips you prefer and then choose Copy from Edit me...

Page 55: ...n one tool for owners of digital cameras WebCams DV camcorders scanners or anyone who strives to effectively organize a large collection of digital media 1 Insert the enclosed CD ROM into your CD ROM...

Page 56: ...to editing tools photographic filters and special effects It lets you embellish projects by adding creative design elements such as frames callouts and stamp objects It also lets you share results wit...

Page 57: ...s Network or Internet connection Notes Video conferencing or video editing software is not included with the digital camera This mode is not supported by Mac Step 1 Install the PC camera driver The PC...

Page 58: ...C camera it is necessary to install the battery into the digital camera Step 3 Run your videoconferencing application software i e Windows NetMeeting To use Windows NetMeeting for videoconferencing 1...

Page 59: ...images 1 Press the MENU button and then scroll through the options using the buttons 2 Press OK to enter sub menu 3 After entering sub menu select your option using the buttons 4 Press OK to confirm s...

Page 60: ...is sets the scene mode for capturing images Auto The camera automatically adjusts the focus and exposure settings for shooting Sports Select this option to take photographs of fast moving subjects Nig...

Page 61: ...t EV press the buttons and press OK to confirm Effective Subjects and Set Values Positive Compensation Copy of printed text black characters on white paper Backlit portraits Very bright scenes such as...

Page 62: ...alance by averaging the various kinds of light that actually enters into the lens You may set in advance the white balance when taking photographs under specific lighting conditions Auto Automatically...

Page 63: ...Sensitivity equivalent to ISO100 200 Sensitivity equivalent to ISO200 Color To represent different feeling of an image the camera offers three types of color setting Full color Black White Sepia to ma...

Page 64: ...display a photographed image on LCD monitor immediately after you have taken a shot ON Displays quick view OFF Does not display quick view Date Imprint To record the shooting date of an image set dat...

Page 65: ...ntains images video clips Slide Show Automatically plays back still images one by one Refer to Automated Playback Slide Show in page 45 for further details DPOF Set the number of prints in the DPOF fo...

Page 66: ...V Refer to Capture Menu in page 59 for further details White Balance Refer to Capture Menu in page 59 for further details Exit Select this option if you wish to exit from the menu mode OK Adjust W Exi...

Page 67: ...rd or Internal Memory in page 49 for further details Beeper Sets whether the camera will beep or not when you press a button ON Beep is generated OFF No beep OK Adjust Playback Setup Date Time Next Me...

Page 68: ...as three automatic power off settings 3 5 10 minutes plus OFF which disables the automatic power off Go to Setup menu scroll to Power Off to select the desired setting as follows 3 Min 5 Min 10 Min OF...

Page 69: ...LCD Self timer 5 second 10 second delay Zoom 4X digital zoom Exposure compensation Automatic exposure with manual EV compensation 2 0EV in 0 5EV steps White balance Automatic with presets for Dayligh...

Page 70: ...ion temporarily It is being used in extreme low temperature Many shots are being captured in dark places inside requiring flash The battery is not fully charged The battery is not used for an extended...

Page 71: ...e distance to the subject is larger than flash effective range The image was captured in a dark place while the camera was set to no flash It is under exposed It is over exposed The image was captured...

Page 72: ...ymptom Cannot load the memory card Even the camera s button is pressed it does not operate The date and time are wrong Cause The card is loaded in wrong orientation The battery is running low Camera m...

Page 73: ...k franchisees and dealers For complete warranty details and exclusions check with your local RadioShack store RadioShack Customer Relations 300 RadioShack Circle Fort Worth TX 76102 04 04 c 2005 Radio...

Reviews: