Mounting the Video Camera and LCD Screen Assemblies
This subsection only applies to Cobra 2D systems equipped with the video
camera option. The procedure outlined below assumes that Steps 1 through 4 of
the
Mounting and Setting Up Cobra 2D
procedure have already been completed.
If they have not, they must be completed before starting this procedure.
Note:
The video camera option can only be used with the DRS-300 and
DRS-500 lasers; it cannot be used with the DRS-2000 or DRS-8000 lasers.
Tools and Materials Required
To mount the video camera and LCD screen assemblies onto your Cobra you
will need the following:
•
2 mm hex key (Allen) wrench
•
3 mm hex key (Allen) wrench
•
5/32" hex key (Allen) wrench
•
Small flat-head screwdriver
Mounting Procedure
To mount the video camera and LCD screen assemblies, follow the steps below.
1.
Unpack the video camera
accessory package. The
package includes the camera
and LCD screen assemblies,
three partially-threaded
screws, and the
interconnecting cables.
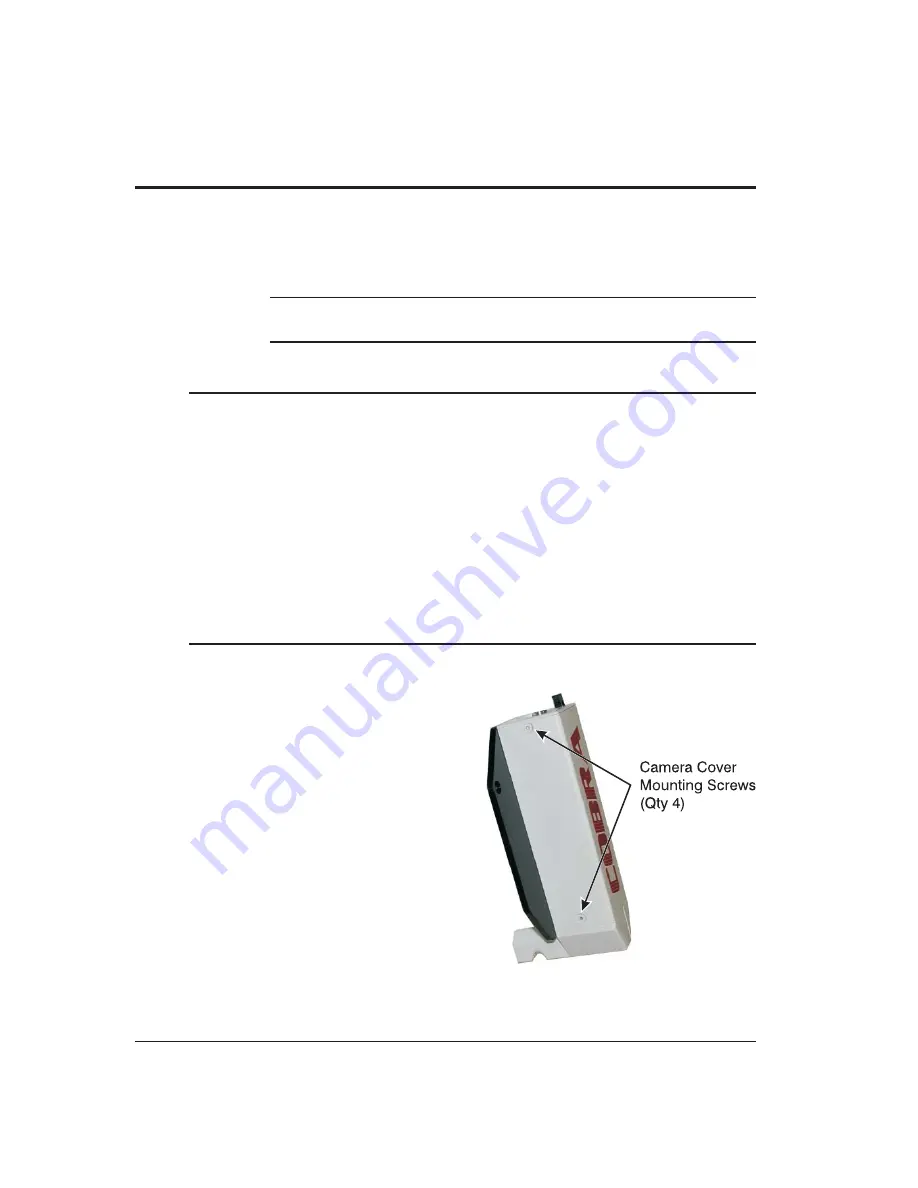
2.
Use a 2 mm hex key (Allen)
wrench to remove the four
screws securing the camera
cover to the camera
assembly (see Figure 2-4).
2-6
Installation and Setup
Figure 2-4. Removing the Camera Cover
Summary of Contents for Cobra DRS-300
Page 1: ......
Page 5: ...This page was left blank intentionally Cobra Laser Profile Scanner Users Guide...
Page 53: ...This page was left blank intentionally 2 32 Installation and Setup...
Page 67: ...This page was left blank intentionally 3 14 Getting Started...
Page 83: ...This page was left blank intentionally 5 6 Adjusting the Sensor Mounting Pad...
Page 87: ...This page was left blank intentionally 6 4 Troubleshooting...
Page 91: ...This page was left blank intentionally A 4 Setting the Display Properties...
Page 100: ......


