Getting Started
10
QL-800 User Guide
Installing the Printer Driver (Network)
Use the following instructions to install the printer via a network connection.
For detailed information about the topic of networking, refer to documentation
applicable to your network environment and/or contact your network administrator.
1
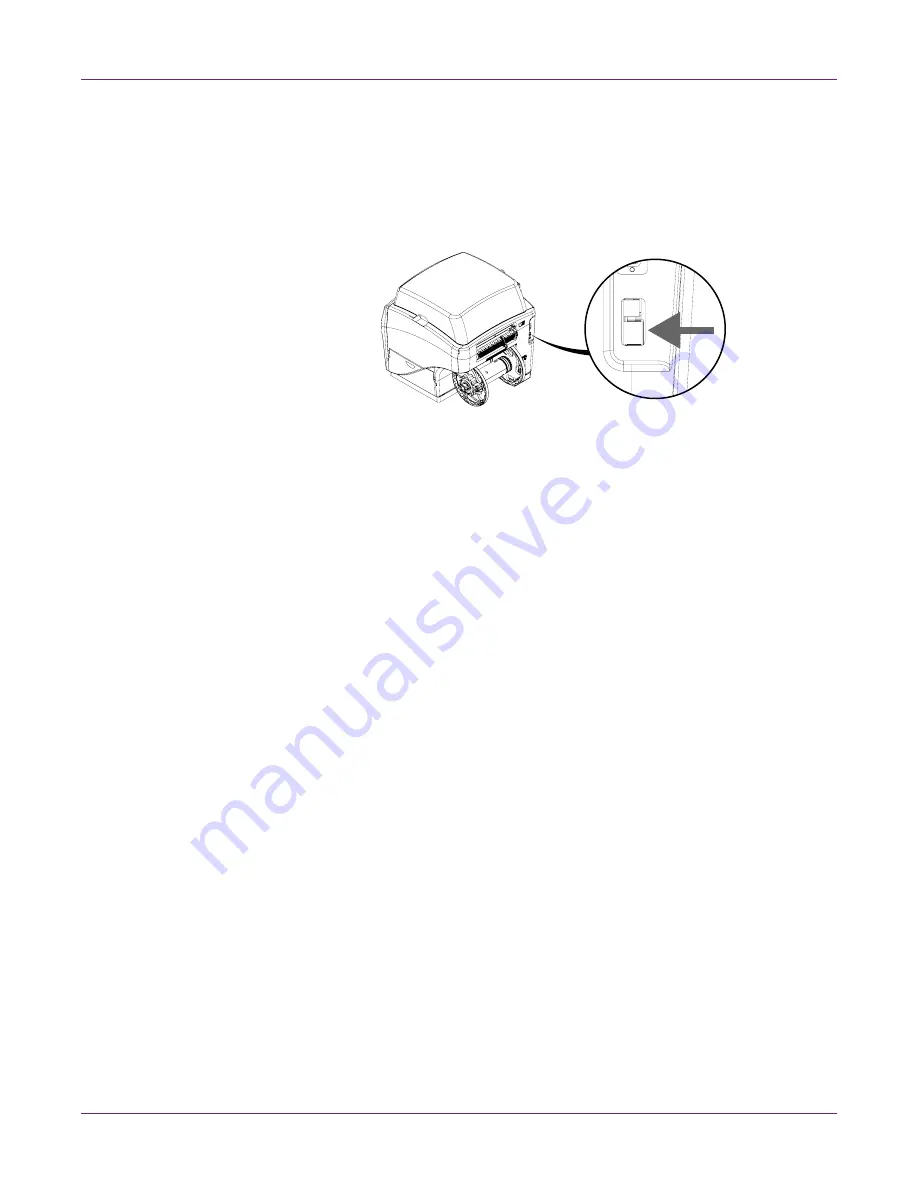
Ensure the QL-800 is powered on and connected to the network via a LAN cable.
2
Power on your PC and insert the QL-800 Installer CD in the CD drive. The Installer
CD wizard will open. Choose
Install Driver
.
If the autorun program does not start automatically, use Windows Explorer to
launch the “Setup.exe” file located on the CD.
Note:
If you do not have a CD drive, you can obtain the software from
www.QuickLabel.com/downloads.
3
Choose
Install Printer Software
. The software installation wizard will start.
Note:
If the Windows logo testing or publisher verification warning messages
appear during installation, choose to continue the installation.
4
When prompted to select a printer connection method, choose
Configure to print
over the network
. Then choose
Next
.
5
When prompted, view the list of printers discovered on your network.
•
If your QL-800 printer is on the list, select it.
•
If your QL-800 printer is not on the list, choose
Other Printer
. You can search
for the printer by entering its IP address.
See “Changing Printer Networking
When the printer is found, select it.
With your QL-800 printer selected, choose
Next
.
6
When prompted, select whether the QL-800 will be set as the default printer.
7
Choose
Finish
.
Summary of Contents for QL800
Page 2: ......
Page 10: ......
Page 14: ...Contents iv QL 800 User Guide...
Page 86: ...Printer Maintenance 72 QL 800 User Guide...


