Communication
Ethernet Communication
CubiScan 125 Service Manual
5 3
Ethernet Communication
This section describes how to communicate with a CubiScan 125 using Ethernet. You can connect
the CubiScan 125 to a network through a standard 10/100Base-T Ethernet TCP/IP port. There
are two options for connecting to a CubiScan 125 via Ethernet. One method uses a standard
Ethernet cable with RG-45 connectors, while the other method uses a standard Ethernet cable
and a crossover Ethernet to USB adapter.
Ethernet Cable
Complete the following steps to connect to the CubiScan 125 using a standard Ethernet cable.
1. Place the computer close to the CubiScan 125.
2. Route the Ethernet cable under the base so it cannot be crushed, bent, or pulled loose. Make
sure that the cable does not interfere with gate movement or the scale.
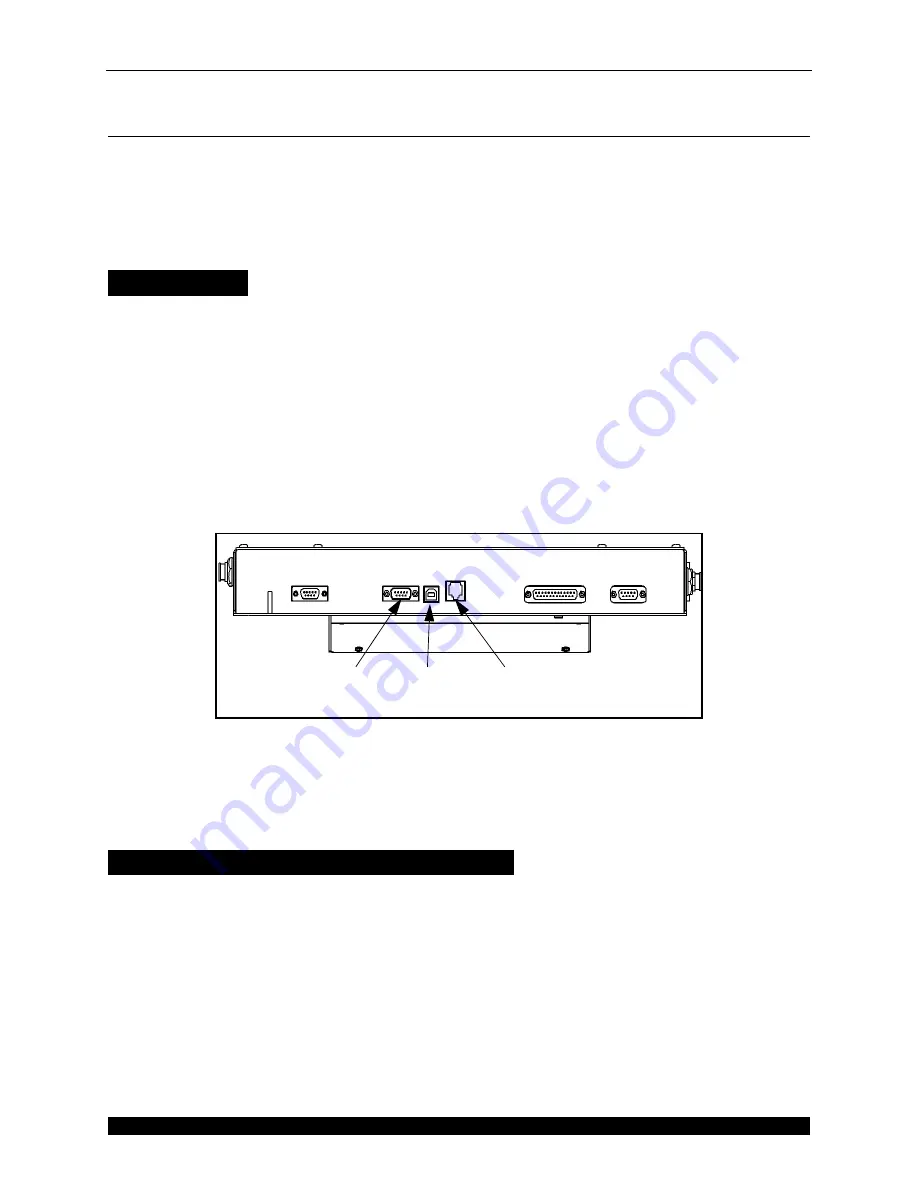
3. The CubiScan 125 control box is located just behind the touchscreen. Connect one end of the
Ethernet cable to the computer, and the other end to the CubiScan 125 controller. Push the
connector in until it locks. There should be an audible snap when the connector locks.
When it is turned on, the CubiScan 125 will recognize the cable connection and, if configured
correctly, will respond to a connection request from the host. For more information on the
Ethernet cable pin-outs, refer to
“Ethernet (TCP/IP) Cable Pin Assignments” on page 57
.
Ethernet Cable with Ethernet to USB Adapter
Complete the following steps to connect to the CubiScan 125 using a standard Ethernet cable and
Ethernet to USB adapter.
1. Place the computer close to the CubiScan 125.
2. Route the Ethernet cable under the base so it cannot be crushed, bent, or pulled loose. Make
sure that the cable does not interfere with gate movement or the scale.
3. The CubiScan 125 control box is located just behind the touchscreen. Connect one end of the
Ethernet cable to the controller. Push the connector in until it locks.
Figure 66
Controller Connections
Serial
USB
Ethernet


