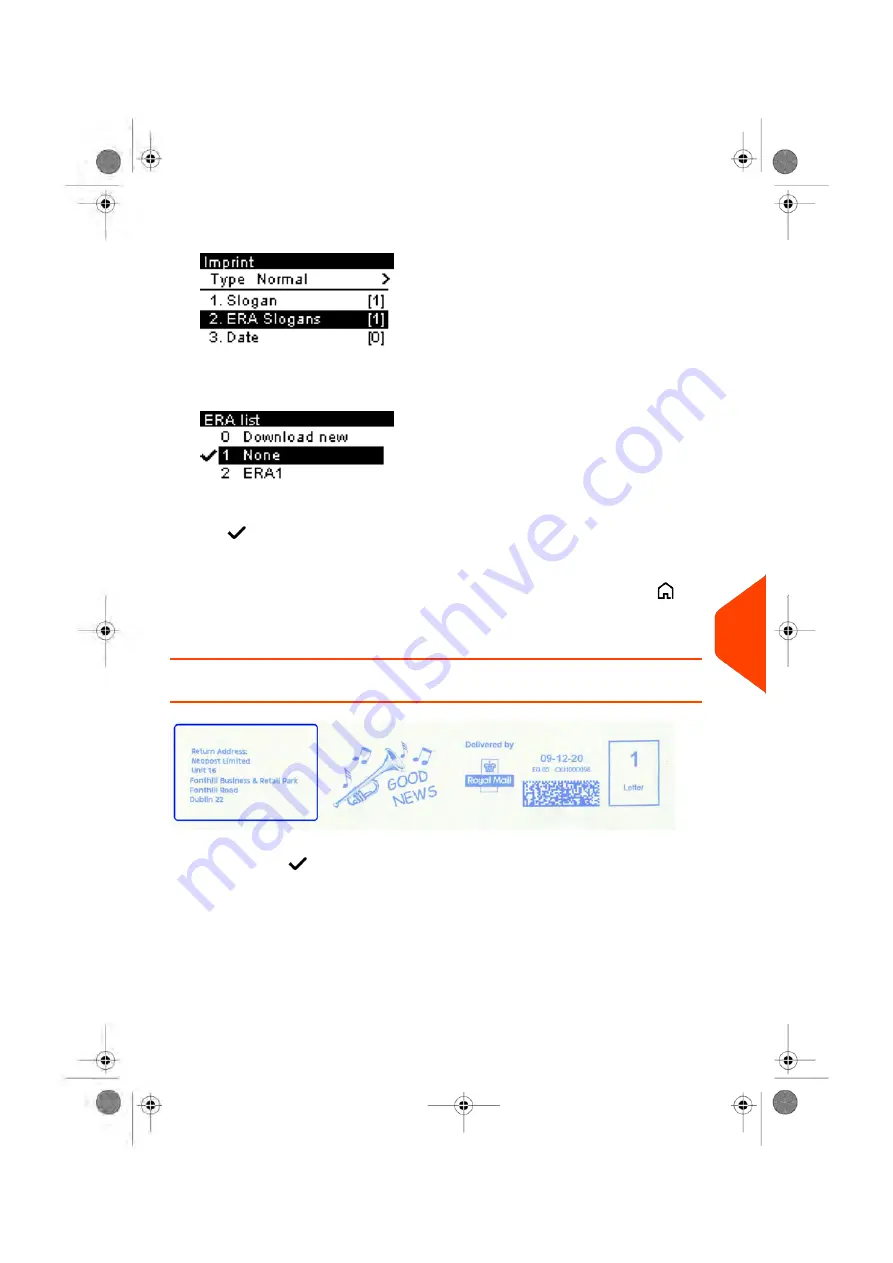
2.
Select
ERA Slogans
and press
[OK]
.
The ERA list screen is displayed.
3.
Select the desired ERA in the list or None for printing no ERA.
The
icon indicates the current selection.
4.
Press
[OK]
to validate your selection.
The Imprint screen is displayed with updated parameters (home screen:
).
See also
•
on page 216
How to Display the List of ERAs
The list of ERAs includes the ERAs that are installed in the Mailing System and indicates
with a check mark
the active ERA.
To display the list of ERAs:
11
Options
and
Updates
217
| Page 217 | Jun-21-2021 09:24 |
Summary of Contents for iX-3 Series
Page 1: ...User Guide iX 3 Franking Machine ...
Page 5: ... Page 4 TOC Jun 21 2021 09 24 ...
Page 7: ......
Page 15: ......
Page 17: ......
Page 31: ......
Page 81: ......
Page 83: ......
Page 97: ......
Page 99: ......
Page 111: ......
Page 113: ......
Page 148: ...Output Screen Content 6 Accounts and Access Control 143 Page 143 Jun 21 2021 09 24 ...
Page 153: ......
Page 155: ......
Page 158: ...4 Enter the desired Rate Code and press OK 7 Rates 153 Page 153 Jun 21 2021 09 24 ...
Page 163: ......
Page 176: ...Output Screen Content 8 Reports 171 Page 171 Jun 21 2021 09 24 ...
Page 177: ......
Page 179: ......
Page 187: ......
Page 189: ......
Page 213: ......
Page 215: ......
Page 243: ......
Page 245: ......
Page 261: ......
Page 263: ......
Page 274: ...4 Enter the IP Address 13 Troubleshooting 269 Page 269 Jun 21 2021 09 24 ...
Page 287: ......
Page 289: ......
Page 296: ...A0139548 B 22 06 2021 ...


