Automatic Date Advance
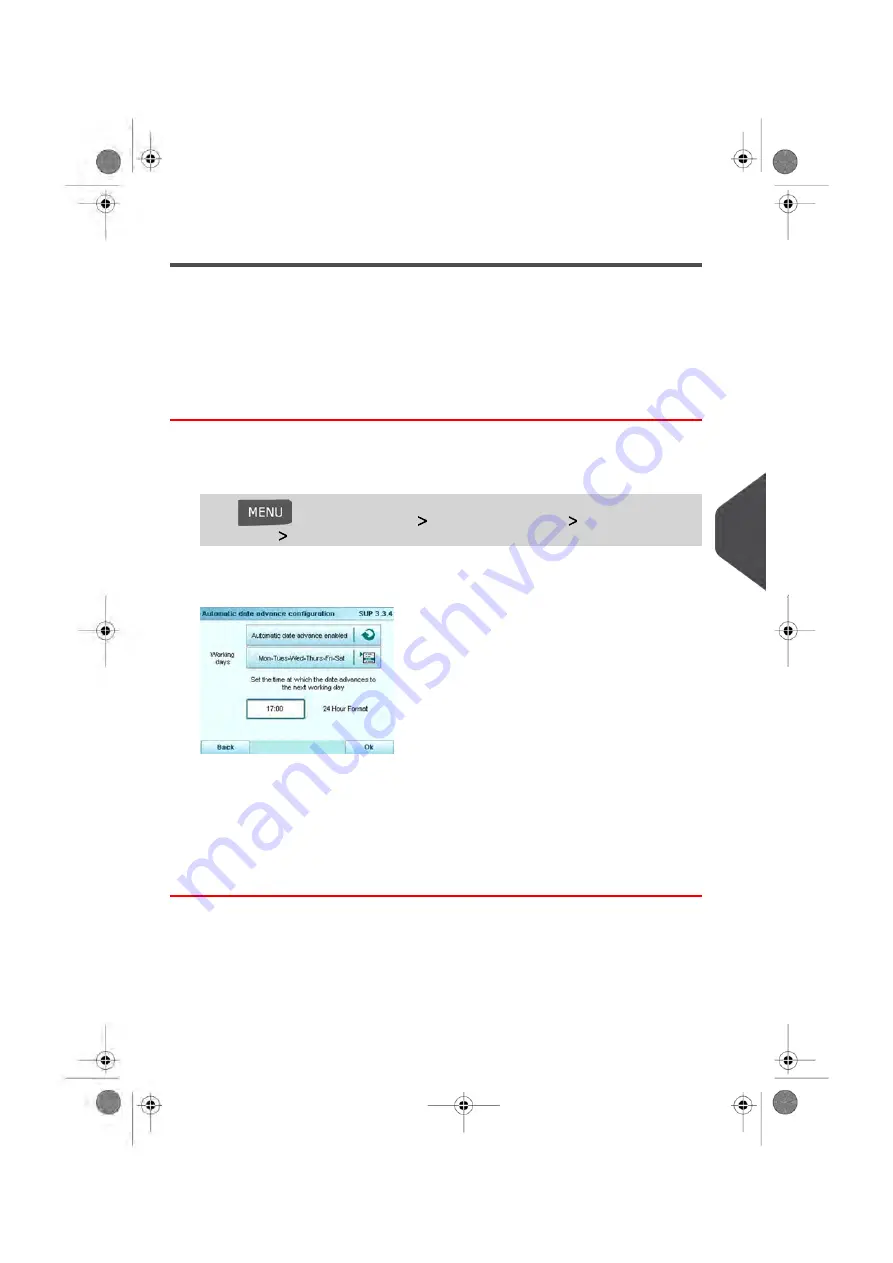
The Automatic Date Advance function automatically changes the date printed on mail
pieces at a pre-set time to the next 'working day' date.
Example: You can set the system to change dates at 17:00 hours and set Saturdays and
Sundays to be non-working days. From Friday 17:00 hours to Sunday 23:59, the system
will print Monday's date on the envelopes, after a confirmation message to the user.
How to Set the Automatic Date Advance Time
To set the auto date advance time and days:
1.
In supervisor mode (see
on page 180):
Press
and select the path:
Default user settings
Default imprint
parameters
Automatic Date Advance
The Automatic date advance configuration window appears:
2.
Press the Auto Date Advance button to Enabled status.
3.
Enter the Automatic Date Advance time (00:00 hours is not allowed).
4.
Select Working Day to gain access to working days selection screen.
5.
Tap the day or select the day and press Select/Deselect to select or deselect each
day.
6.
Press [OK] to exit.
8
Configuring y
our Mailing System
203
| Page 203 | Jan-13-2017 09:38 |
Summary of Contents for IN-700
Page 1: ...User Guide IN 700 Franking machine ...
Page 5: ... Page 4 TOC Jan 13 2017 09 38 ...
Page 7: ......
Page 15: ......
Page 17: ......
Page 97: ......
Page 105: ......
Page 107: ......
Page 145: ......
Page 173: ......
Page 181: ......
Page 203: ...Geodesic 198 Page 198 Jan 13 2017 09 38 8 Configuring your Mailing System ...
Page 204: ...Geodesic codes 8 Configuring your Mailing System 199 Page 199 Jan 13 2017 09 38 ...
Page 217: ......
Page 219: ......
Page 235: ......
Page 237: ......
Page 255: ......
Page 257: ......
Page 269: ......
Page 273: ...Envelope Weight 3 g Min 1 kg Max 268 Page 268 Jan 13 2017 09 38 12 Specifications ...
Page 280: ...A0013344 C 26 11 2019 ...


