7-6 Registering
destinations
Useful registration method 3
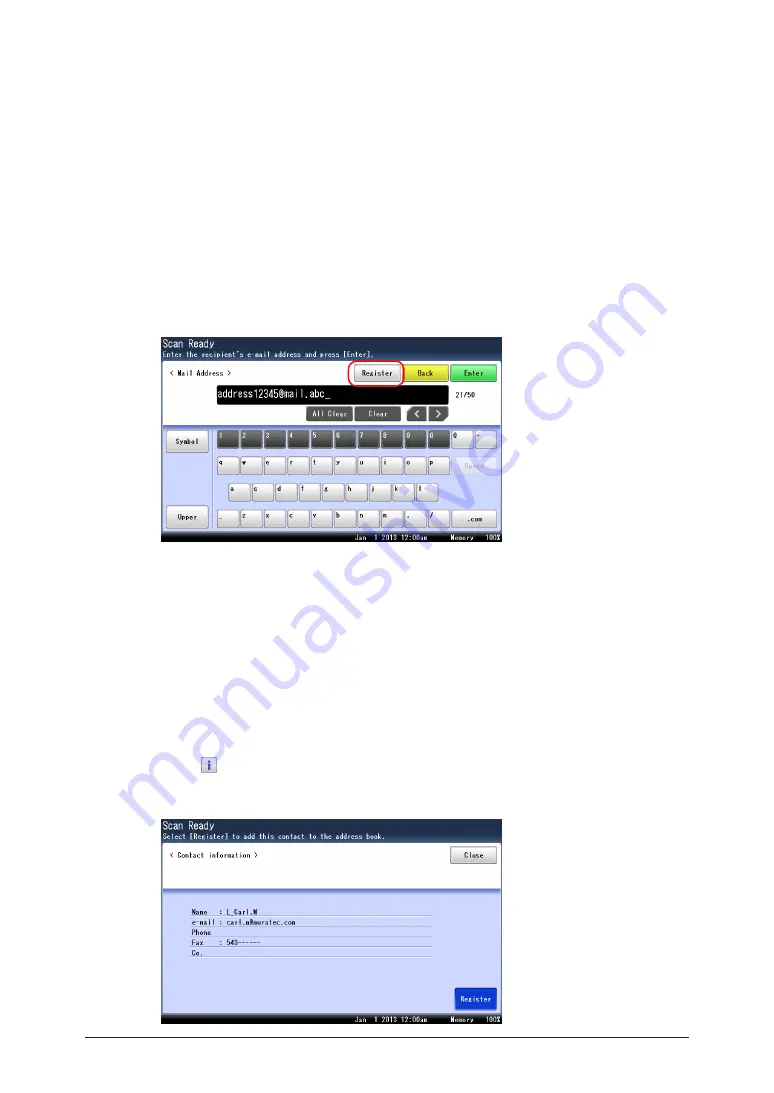
Registering an entered e-mail address
1
Press [Scan] on My MFP Menu screen.
If My MFP Menu screen is not displayed, press <Mode> repeatedly until “Scan Ready” screen
is displayed.
2
Press [Advanced].
3
Press [Mail Address].
4
Enter the destination e-mail address.
5
Press [Register].
6
The procedure is then the same as for registering an address book destination.
Continue from step 10 of
“ Registering or editing destinations” (page 7-3).
Useful registration method 4
Registering a search result
1
Search for a destination.
For details, see
“Searching for server destinations” (page 5-5)
.
2
Press on the screen displaying the search results.
3
Press [Register].
Summary of Contents for MFX-3590
Page 1: ...Scanner and Fax Guide Plain paper digital Fax Copier Printer Scanner...
Page 31: ...1 24 Scanning with a TWAIN driver This page intentionally left blank...
Page 63: ...2 32 Advanced scan functions This page intentionally left blank...
Page 147: ...5 16 Checking specified destinations This page intentionally left blank...
Page 161: ...6 14 Printing journals This page intentionally left blank...
Page 207: ...7 46 Registering other settings This page intentionally left blank...


