3.4
USB to Serial converter
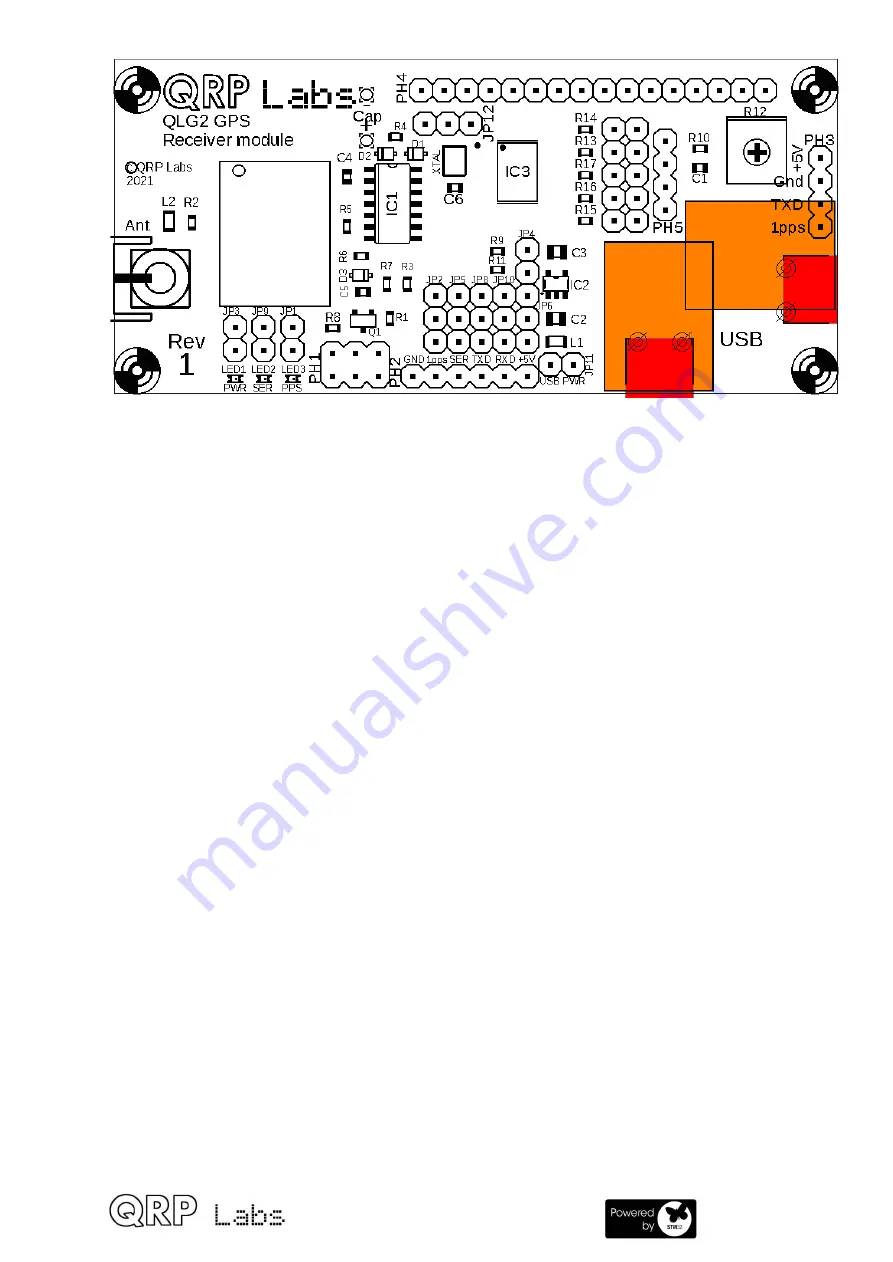
The primary application of the microcontroller on the QLG2 board, is to provide a USB to
Serial converter.
The microcontroller is programmed to appear as a standard Virtual COM Port USB device
class, which means that no additional drivers are required on any modern operating
system. The standard drivers are always already included. This greatly simplifies operating
the device. In comparison to some other Serial to USB converters which end up in an
endless fight with driver issues, QLG2 “just works”.
There are many Terminal Emulator programs available for PCs. Personally I normally use
PuTTY, which is available for both Windows and Linux operating systems. But it does not
matter, any favourite Terminal Emulator will work fine. The Serial Monitor of the Arduino
IDE is another possibility which I use sometimes.
On opening the Terminal Emulator you will need to choose the USB Virtual COM port to
connect to; this is different depending on whether you are using Windows or Linux.
1. On Linux, the QLG2 will appear as
/dev/ttyACM0
– or perhaps ACM1, ACM2 etc if
you already have similar devices connected to your system.
2. On Windows, the QLG2 will appear as a COM port for example, COM1, COM2 etc. I
don’t know of any easy way to find out which COM port number Windows has
assigned, except to open the device manager and look at the listed USB devices.
Note that it does not matter what baud rate you select in the terminal emulator, since USB
does not run at any particular rate, and the baud rate of the QLG2 USB to Serial converter
is determined by jumpers on the board (see later section).
On connecting the terminal emulator, you will see lots of text scroll by, in bursts once per
second; these are the NMEA sentences output by the QLG2’s GNSS module. By default,
the QLG2 jumpers are configured to route the GNSS module’s serial data to the
microcontroller’s USB to Serial port.
The following screenshot shows an example of what it could look like.
QLG2 manual for firmware 1.00a
7


