QNAP TVS-h 88X Series User Manual Download Page 65

USB One Touch Copy Button

The USB One Touch Copy button allows you to copy data backups from a USB device to the NAS or from
the NAS to a USB device.

This feature supports incremental backups. The NAS only copies files that were modified or added after the
last backup.

LCD Panel

The LCD panel allows you to perform the following operations:

• Restart and power off the device

• Configure or change the LCD panel password

• View and configure network settings

• View information on the system, physical disks, and volumes
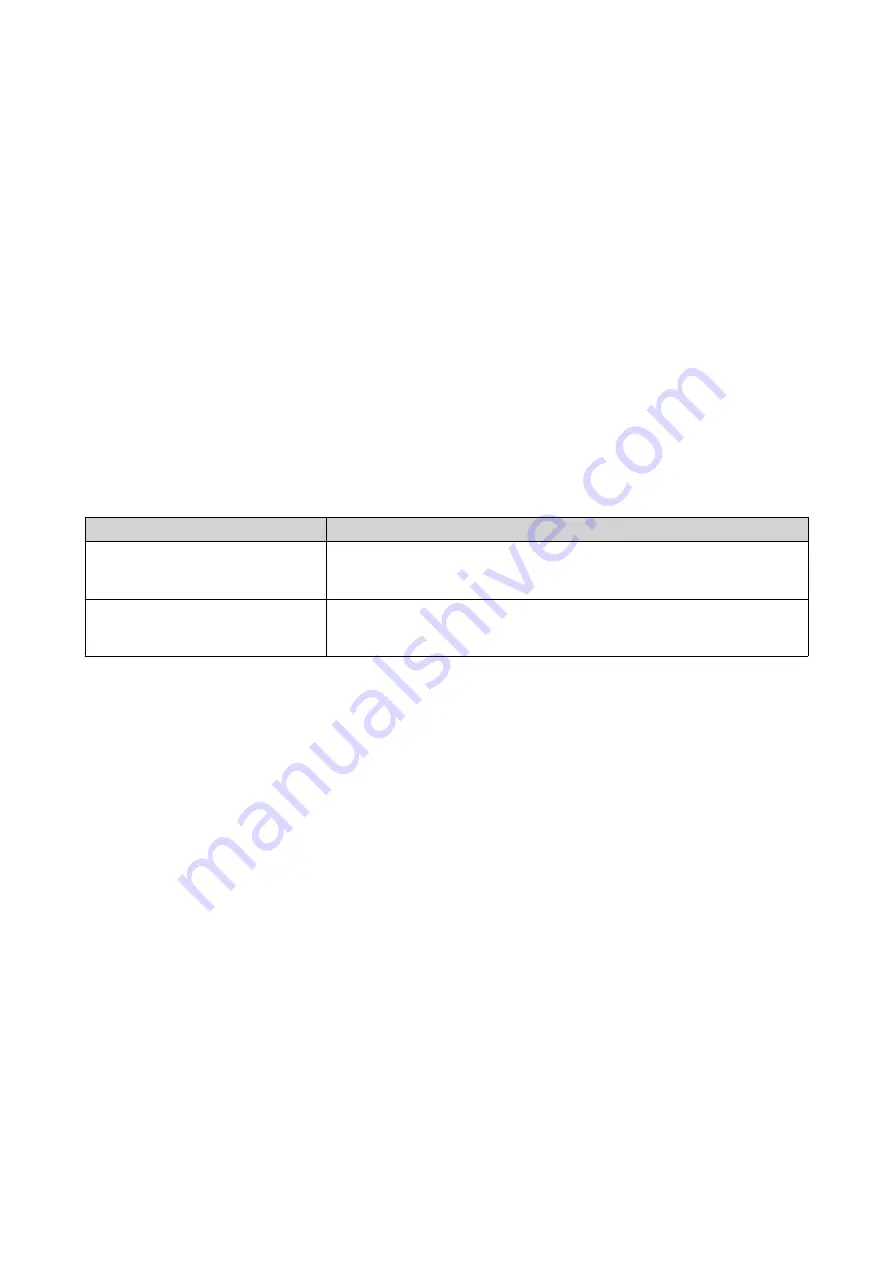
LCD Panel Buttons

Button

Usage

Enter

• Display a configuration screen.

• Move to the next item on the configuration screen.

Select

• Move to the next item on a menu.

• Modify a value on a configuration screen.

Viewing TCIP/IP Settings

You can view the following settings for each network adapter on the NAS.

• IP address

• Subnet mask

• Default gateway

• Primary DNS

• Secondary DNS

1.

Press 

Enter

 or 

Select

The panel displays the NAS name and QuTS hero version.

2.

Press and 

Enter

 for two seconds. 

The panel displays 

Main Menu 1. TCP/IP.

3.

Press and hold 

Enter

The panel displays the IP address of the first network adapter.

4.

Press and hold 

Select

 to view the next TCP/IP screen. 

Repeat this step as necessary.

TVS-hx88X User Guide

Basic Operations   

64

Summary of Contents for TVS-h 88X Series

Page 1: ...TVS hx88X TVS h1288X TVS h1688X User Guide Document Version 1 19 11 2020...

Page 2: ...ng Memory Modules 42 Replacing CPU Fans 47 Installing Expansion Units 53 QuTS hero Installation 58 Installing QuTS hero Using Qfinder Pro 58 Installing QuTS hero Using the Cloud Key 60 4 Basic Operati...

Page 3: ...e NAS 75 Hot swapping Failed Drives 75 Recovering Unintentionally Removed Healthy Drives 76 Support and Other Resources 76 7 Glossary Cloud Key 77 myQNAPcloud Link 77 myQNAPcloud 77 QNAP ID 77 Qfinder...

Page 4: ...ems This guide also assumes that the user is trained to recognize hazards including the appropriate actions the user needs to take to prevent personal injury and damage to data and property Document C...

Page 5: ...ns Warning If your QNAP product has hardware defects return the product to QNAP or a QNAP authorized service center for maintenance or replacement Any attempt to repair or perform maintenance procedur...

Page 6: ...Gbps 12 x 3 5 inch SATA 6 Gbps 4 x 2 5 inch SATA 6 Gbps Note The drives are backward compatible with 3 Gbps Drive compatibility 3 5 inch bays 3 5 inch SATA hard disk drives 2 5 inch SATA hard disk dri...

Page 7: ...ts 1 x 3 5 mm dynamic microphone jacks 1 x speaker 1 x 3 5 mm line out jack Note You cannot use speakers and line out jacks simultaneously Interface Display panel Monochrome backlit LCD display Button...

Page 8: ...For the list of compatible expansion cards go to https www qnap com compatibility Package Contents Item Quantity TVS h1288X or TVS h1688X NAS 1 Power cord 1 Ethernet cable 1 x Cat 6A Drive tray keys 2...

Page 9: ...e A port 3 Select button 8 Drive LEDs 4 M 2 LEDs 9 SSD LEDs 5 Power button TVS h1688X No Component No Component 1 Enter button 6 USB One Touch Copy button 2 Select button 7 USB 3 2 Gen 2 10Gbps Type A...

Page 10: ...mm line out jack 8 2 5 Gigabit Ethernet activity LEDs 14 3 5 mm dynamic microphone jack 3 USB 3 2 Gen 2 10Gbps Type A ports 9 2 5 Gigabit Ethernet speed LEDs 15 COM port Note This port is for engineer...

Page 11: ...This slot comes preinstalled with a NIC 7 Speaker 13 2 5 Gigabit Ethernet speed LEDs 2 3 5 mm dynamic microphone jack 8 Kensington security slot 14 USB 3 2 Gen 2 10Gbps Type C ports 3 USB 3 2 Gen 2 10...

Page 12: ...switch 11 HDMI 1 4b port 17 PCIe 3 0 x4 slot 2 Note Only the PCIe 3 0 x4 slot supports the QNAP QXP T32P Thunderbolt 3 expansion card 6 Power port 12 2 5 Gigabit Ethernet activity LEDs Left Panel TVS...

Page 13: ...TVS h1688X No Component No Component 1 PCIe 3 0 x8 slot Note This slot comes preinstalled with a NIC Right Panel TVS h1288X TVS hx88X User Guide Product Overview 12...

Page 14: ...3 Memory slot 1 7 PCIe 3 0 x4 slot 3 4 Memory slot 2 8 PCIe 3 0 x4 slot 2 TVS h1688X No Component No Component 1 M 2 SSD slot 1 5 Memory slot 3 2 M 2 SSD slot 2 6 Memory slot 4 3 Memory slot 1 7 PCIe...

Page 15: ...ions General Instructions The device should be stored in a secure location with restricted access controlled through the use of a tool lock and key or any means of security Only qualified skilled and...

Page 16: ...tial battery explosion causing injury or damage to components ensure that you replace the existing battery with a battery of the same type Dispose of used batteries properly according to local regulat...

Page 17: ...he drives For details see the following topics Installing 3 5 inch Hard Drives on 3 5 inch Trays Installing 2 5 inch or Solid State Drives on 3 5 inch Trays Installing 2 5 inch Hard Drives on 2 5 inch...

Page 18: ...5 inch hard drives and 2 5 inch solid state drives Installing 3 5 inch Hard Drives on 3 5 inch Trays Warning Installing a drive deletes all data on the drive Observe electrostatic discharge ESD proced...

Page 19: ...ote The preinstalled drive trays come unlocked Important Ensure the drive tray keys are stored in a safe place 3 Install a drive on the tray a Remove the fastening panels from the sides of the drive t...

Page 20: ...es on the sides of the drive are aligned with the holes on the sides of the tray c Attach the fastening panels to lock the drive to the tray d Attach the screws to lock the drive to the tray TVS hx88X...

Page 21: ...ng screws provides futher security and stability for the drives 4 Load the tray into the bay a Insert the tray into the bay b Push the handle c Lock the tray TVS hx88X User Guide Installation and Conf...

Page 22: ...tic discharge ESD procedures to avoid damage to components Moving fan blades Keep your hands and other body parts away from moving fan blades Other moving components Keep your hands and other body par...

Page 23: ...ut Note The preinstalled drive trays come unlocked Important Ensure the drive tray keys are stored in a safe place 3 Install a drive on the tray a Remove the right fastening panel from the drive tray...

Page 24: ...he holes on the sides of the drive are aligned with the holes on the sides of the tray c Attach the screws 4 Load the tray into the bay a Insert the tray into the bay b Push the handle TVS hx88X User...

Page 25: ...5 inch Drive Trays Warning Installing a drive deletes all data on the drive Observe electrostatic discharge ESD procedures to avoid damage to components 1 Power off the NAS 2 Remove the drive tray a...

Page 26: ...TVS h1288X TVS h1688X b Pull the handle to release the tray c Pull the tray out TVS hx88X User Guide Installation and Configuration 25...

Page 27: ...ocked Important Ensure the drive tray keys are stored in a safe place 3 Install a drive on the tray a Align the SATA connector on the drive with the opening at the end of the tray b Place the drive on...

Page 28: ...4 Load the tray into the bay a Insert the tray into the bay b Push the handle TVS h1288X TVS hx88X User Guide Installation and Configuration 27...

Page 29: ...TVS h1688X c Lock the tray TVS h1288X TVS hx88X User Guide Installation and Configuration 28...

Page 30: ...tes all data on the drive Observe electrostatic discharge ESD procedures to avoid damage to components Moving fan blades Keep your hands and other body parts away from moving fan blades Other moving c...

Page 31: ...nnect the power cord from the electrical outlet 3 Disconnect all cables and external attachments 4 Remove the case cover a Loosen the screws b Slide the cover back c Lift the cover off the device 5 Re...

Page 32: ...stall a heatsink on the M 2 SSD a Locate the controller on the M 2 SSD Note The controller location varies depending on the model and manufacturer of the M 2 SSD For details refer to the documentation...

Page 33: ...c Install the heatsink on the controller 7 Install the M 2 SSD a Optional To install the M 2 22110 move the pushpin TVS hx88X User Guide Installation and Configuration 32...

Page 34: ...M 2 22110 b Pull out the pushpin TVS hx88X User Guide Installation and Configuration 33...

Page 35: ...M 2 2280 c Insert the M 2 SSD into the slot d Insert the pushpin to secure the drive TVS hx88X User Guide Installation and Configuration 34...

Page 36: ...odule with the hole on the chassis below the M 2 SSD slot b Push the module toward the system board until the clip locks the module into place c Attach the screws d Connect the fan cable to the right...

Page 37: ...er on the device b Slide the cover forward c Tighten the screws 10 Connect all cables and external attachments 11 Connect the power cord to the electrical outlet 12 Power on the device TVS hx88X User...

Page 38: ...amage to components 1 Check the expansion cards and brackets supported by your model on the QNAP website a Go to www qnap com compatibility b Click Search by NAS c Specify the number of bays and the s...

Page 39: ...ures the cover to the chassis b Hold the card by the edges c Carefully pull the card out of the slot 7 Remove the PCIe cover a Remove the screw that secures the cover to the bracket b Pull the cover a...

Page 40: ...hase a bracket kit and replace the original bracket with a half height bracket For details go to https shop qnap com a Remove all screws of the existing bracket b Carefully pull the bracket away from...

Page 41: ...that the bracket does not move 9 Install the expansion card a Hold the card by the edges b Insert the card into the slot c Attach the screw PCIe 3 0 x8 TVS hx88X User Guide Installation and Configura...

Page 42: ...ch the PCIe power connector to the expansion card Note Larger expansion cards may require you to attach the PCIe power connector before inserting the card into the slot The PCIe power connector can on...

Page 43: ...ends installing modules in pairs Ensure that each pair uses identical modules Always install a single module in slot 1 For details on slot numbering see Right Panel Module Pair Slot Number First pair...

Page 44: ...ord from the electrical outlet 3 Disconnect all cables and external attachments 4 Remove the case cover a Loosen the screws b Slide the cover back c Lift the cover off the device 5 Place the device on...

Page 45: ...g module a Push the retention clips outward simultaneously to release the module b Verify that the module has tilted upward and is completely released from the slot Warning Attempting to remove a modu...

Page 46: ...nd the module 8 Install a new module a Align the notch with the ridge in the slot b Insert the module into the slot c Verify that the metal connectors are completely inserted into the slot d Carefully...

Page 47: ...the chassis below the M 2 SSD slot b Push the fan module toward the system board until the clip locks the fan module into place c Attach the screw that secures the fan module to the chassis d Connect...

Page 48: ...e in its normal upright position 11 Attach the case cover a Place the cover on the device b Slide the cover forward c Tighten the screws Replacing CPU Fans Warning TVS hx88X User Guide Installation an...

Page 49: ...g components 1 Power off the device 2 Disconnect the power cord from the electrical outlet 3 Disconnect all cables and external attachments 4 Remove the case cover a Loosen the screws b Slide the cove...

Page 50: ...fan module to the chassis c Press the clip and then pull the fan module away fom the system board 6 Remove an existing fan a Remove the screws that secure the fan to the fan chassis TVS hx88X User Gui...

Page 51: ...from the fan chassis 7 Install a new fan in the same location a Position the fan chassis so that the cable clips face upward b Align the holes on the fan with those on the fan chassis c Attach the scr...

Page 52: ...gn the protruding part of the fan module with the hole on the chassis below the M 2 SSD slot b Push the fan module toward the system board until the clip locks the fan module into place c Attach the s...

Page 53: ...Connect the fan cable to the system board 9 Attach the case cover a Place the cover on the device b Slide the cover forward c Tighten the screws TVS hx88X User Guide Installation and Configuration 52...

Page 54: ...s and the maximum number of applicable expansion units go to http www qnap com go compatibility expansion Expansion Unit Model Description Required Accessories TL D400S Uses a SAS 6 Gbps SFF 8088 inte...

Page 55: ...pansion card SFF 8644 mini SAS cable RAIL B02 TR 002 Uses a USB 3 2 Gen 2 Type C interface Supports SATA drives USB 3 2 Gen 2 Type A to Type C cable USB 3 2 Gen 2 Type C to Type C cable TR 004 Uses a...

Page 56: ...the NAS a Log on to QuTS hero as administrator b Go to Main Menu Storage Snapshots Overview System c Verify that the expansion units are listed Connecting SATA Expansion Units To connect the device t...

Page 57: ...ecting SAS Expansion Units To use SAS expansion units an SAS 12G2E storage expansion card must be installed on the NAS and connected to the expansion units using mini SAS SFF 8644 cables You can purch...

Page 58: ...at the expansion units are recognized by the device a Log on to QuTS hero as administrator b Go to Main Menu Storage Snapshots Overview System c Verify that the expansion units are listed TVS hx88X Us...

Page 59: ...device myQNAPcloud account Cloud Key Installing QuTS hero Using Qfinder Pro Warning Installing QuTS hero deletes all data on the drives Back up your data before proceeding Note You can revert to QTS...

Page 60: ...aracters The password supports all ASCII characters 8 Click Next 9 Specify the time zone date and time Tip QNAP recommends connecting to an NTP server to ensure that the NAS follows the Coordinated Un...

Page 61: ...the uninitialized QNAP NAS devices on the local network 4 Locate the NAS in the list and then click Initialize Note If your NAS is not listed follow the instructions on the web page to specify the Cl...

Page 62: ...Click Open Starts firmware installation Skip Click Skip Skips firmware installation 11 Specify the following information NAS name Specify a name with 1 to 14 characters The name supports letters A to...

Page 63: ...drive before installing QuTS hero 21 Click Confirm QuTS hero is installed 22 Optional Click Go to NAS Management Tip Click Go to NAS Management to set more advanced QuTS hero configurations and settin...

Page 64: ...or example if the MAC address of adapter 1 is 11 22 33 44 55 66 then the admin password will be 112233445566 Tip You can find the MAC address of adapter 1 using Qfinder Pro A label attached to the dev...

Page 65: ...el Buttons Button Usage Enter Display a configuration screen Move to the next item on the configuration screen Select Move to the next item on a menu Modify a value on a configuration screen Viewing T...

Page 66: ...iewing Drive Information The LCD panel can display the temperature and capacity of each drive installed in the NAS 1 Press Enter or Select The panel displays the NAS name and QuTS hero version 2 Press...

Page 67: ...displays the CPU and system temperature 5 Press and hold Select The panel displays the system fan speed Powering Off the NAS 1 Press Enter or Select The panel displays the NAS name and QuTS hero versi...

Page 68: ...n Select Change a number in the New Password and Verify Password screens 7 Press Enter The NAS saves the password LCD Error Messages System Message Description Sys Fan Failed System fan has failed Sys...

Page 69: ...n the device is powered on The following LED information applies only when the drive is correctly installed and when the device is connected to the network or to a host For details on the location of...

Page 70: ...each its full capacity The system fan is not functioning An error occurred when accessing read write the data A bad sector is detected on the hard drive The device is in degraded read only mode two me...

Page 71: ...hes orange The device is being accessed from the network Off There is no network connection M 2 SSD Flashes red The drive is being located Red A drive read write error has occurred Flashes green The d...

Page 72: ...pacity A storage pool status error occurred The disk volume is about to reach its full capacity The disk volume has reached its full capacity The USB device is being removed USB one touch copy button...

Page 73: ...and QuTS hero NAS is not supported Warning Migrating drives between QTS NAS and QuTS hero NAS can cause data corruption The destination NAS must have sufficient free drive bays to accommodate all the...

Page 74: ...rated Warning QNAP recommends deactivating licenses on the source NAS before data migration Applications If the destination NAS has less RAM than the source NAS the following features and applications...

Page 75: ...tall source NAS drives onto the destination NAS drive trays b Insert the drive trays into the destination NAS 4 Power on the destination NAS 5 Log on to QuTS hero as an administrator on the destinatio...

Page 76: ...AID 6 4 One or two member drives fail RAID 10 4 Must be an even number One or two member drives in two different pairs fail RAID 50 6 One disk per subgroup fails RAID 60 8 Two disks per subgroup fail...

Page 77: ...6 Yes 4 2 RAID 10 No 4 Must be an even number One or two member drives in two different pairs fail RAID 50 Yes 6 One disk per subgroup fails RAID 60 Yes 8 Two disks per subgroup fail Triple Mirror Yes...

Page 78: ...ings myQNAPcloud Provides various remote access services such as DDNS and myQNAPcloud Link QNAP ID User account that enables you to use myQNAPcloud remote access and other QNAP services Qfinder Pro QN...

Page 79: ...QNAP makes no warranty or representation expressed implied or statutory with respect to its products or the contents or use of this documentation and all accompanying software and specifically disclai...

Page 80: ...his version of the GPL to prohibit the practice for those products If such problems arise substantially in other domains we stand ready to extend this provision to those domains in future versions of...

Page 81: ...he work The Corresponding Source need not include anything that users can regenerate automatically from other parts of the Corresponding Source The Corresponding Source for a work in source code form...

Page 82: ...not combined with it such as to form a larger program in or on a volume of a storage or distribution medium is called an aggregate if the compilation and its resulting copyright are not used to limit...

Page 83: ...urs as part of a transaction in which the right of possession and use of the User Product is transferred to the recipient in perpetuity or for a fixed term regardless of how the transaction is charact...

Page 84: ...overed work except as expressly provided under this License Any attempt otherwise to propagate or modify it is void and will automatically terminate your rights under this License including any patent...

Page 85: ...uch an agreement or commitment not to enforce a patent against the party If you convey a covered work knowingly relying on a patent license and the Corresponding Source of the work is not available fo...

Page 86: ...ublished by the Free Software Foundation If the Program specifies that a proxy can decide which future versions of the GNU General Public License can be used that proxy s public statement of acceptanc...

Page 87: ...harmful interference to radio communications However there is no guarantee that interference will not occur in a particular installation If this equipment does cause harmful interference to radio or t...

Page 88: ...1364 2006 RoHS RoHS Pb Hg Cd CR VI PBB PBDE 0 0 0 0 0 0 0 0 0 0 0 0 0 0 0 0 0 0 0 0 0 0 0 0 0 0 0 0 0 0 0 0 0 0 0 0 0 0 0 0 0 0 0 0 0 0 0 0 O SJ T11363 2006 X SJ T11363 2006 TVS hx88X User Guide Notic...

Reviews: