Using a Serial
Interface
3-17
Interfaces and Daughterboards
5
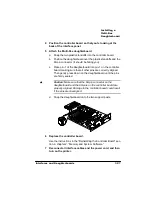
Replace the controller board.
6
Secure the serial interface to the printer with the two screws
you removed earlier.
7
Reconnect all interface cables and the power cord, and then
turn on the printer.
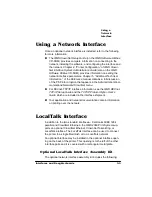
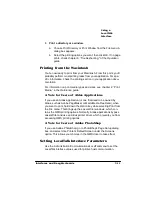
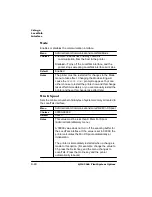
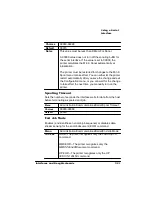
Using a Serial Interface
Connecting your printer to a PC via the optional serial port involves
assembling the proper interface cabling, making the connection, and
installing the necessary PC printing software.
Before Making a Serial Connection
Before connecting the printer to the PC, you should follow the manu-
facturer’s instructions for setting up the PC and installing (if neces-
sary) any operating system software, such as DOS and/or Windows.
What You Need for a Serial Interface
Interface cables are not included with your printer. If you’re replacing
a printer, you may already have the necessary cables. If not, you’ll
need to purchase the cables from your QMS vendor or a local com-
puter store.
To connect your printer to a single PC, you need a serial cable with
either a 9- or 25-pin connector (depending on your PC’s serial port)
and a 9- or 25-pin null modem assembly to connect to the serial
cable. Depending on the type of null modem assembly you have, you
may also need a 9-to-25-pin adapter. See your cable vendor for more
specific cable assembly information.
»
Note: See appendix B, the “Cable Pinouts” section in the Reference
Summary of Contents for 2060
Page 1: ...406 3ULQW 6 VWHP 2SWLRQV...
Page 9: ...QWURGXFWLRQ Q 7KLV KDSWHU About This Manual on page 1 2 Typographic Conventions on page 1 3...
Page 126: ......
Page 127: ...6HFXULW H DQG DUQLQJ X HU Q 7KLV KDSWHU Security Key on page 6 2 BuzzBox Lite on page 6 6...
Page 146: ......
Page 154: ......
Page 160: ......


