Making the
Connection
3-5
Connecting to a PC
n
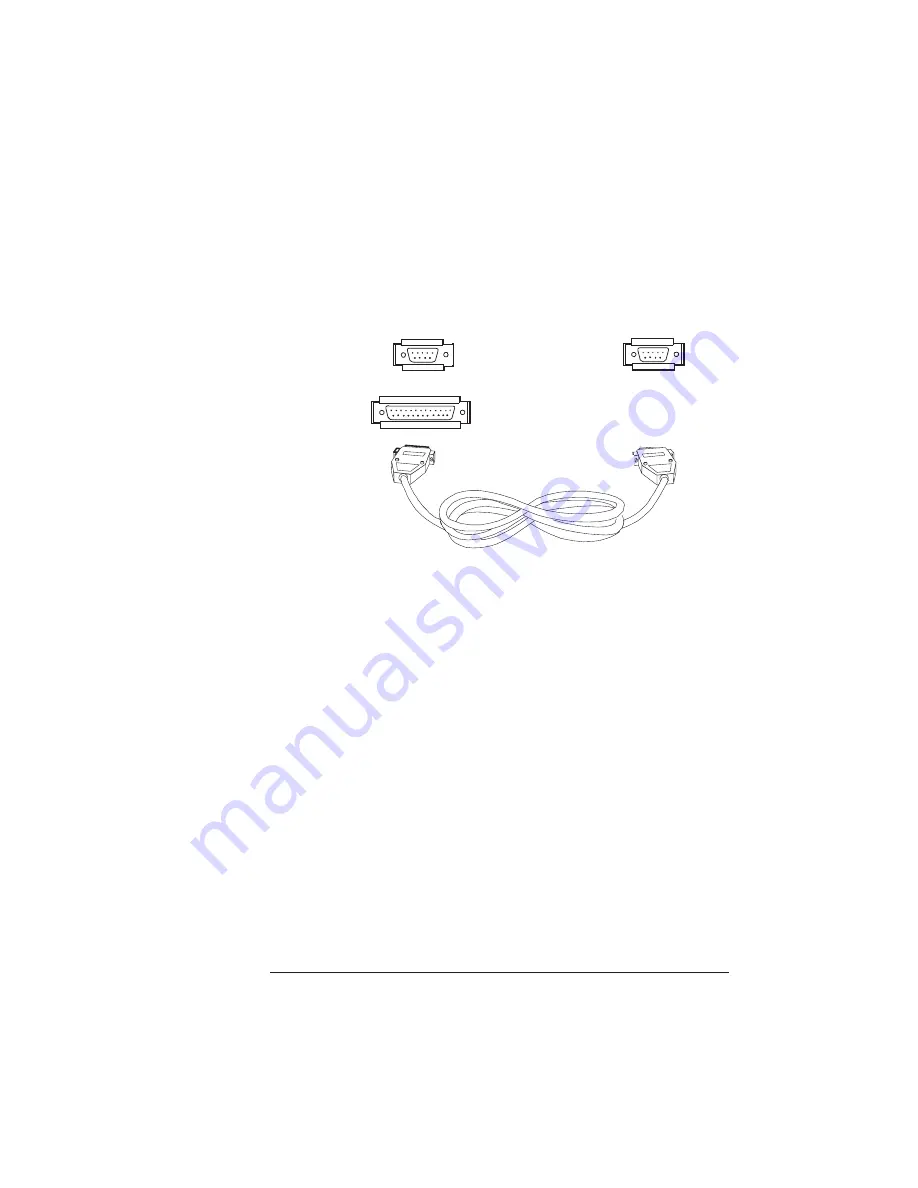
Serial Cable
a
Connect the serial cable, null modem assembly, and, if
necessary, an adapter.
b
Connect one end of the serial cable-null modem
assembly to the printer’s serial port (labeled “SERIAL”)
and the other end to the PC’s serial port.
c
Tighten the screws.
2
Turn on both the printer and the PC.
A start-up page should print. If it doesn’t, see the “Printer Problem
Checklist” in chapter 6, “Troubleshooting,” of the
Operation
guide.
3
Test communication between the printer and the PC.
You can do this by sending a file from one of your applications, or
you can refer to “Testing Communication” in chapter 6, “Trouble-
shooting,” of the
Operation
guide.
Printer
9-pin Female Port
PC
9-pin Male Port OR
25-pin Male Port
To PC
To Printer
Summary of Contents for 1660E
Page 1: ...QMS 1660E Print System Getting Started 1800382 001B...
Page 4: ......
Page 54: ......
Page 82: ......
Page 83: ...In This Chapter n Sources of customer support n QMS world wide offices A QMS Customer Support...
Page 88: ......
Page 89: ...B Configuration Menu In This Chapter n Configuration menu diagram...


