


8.2 – Point to point
Standing start mode; thanks to the internal accelerometer, Start Plus will retrieve the starting point; the finish line
will be retrieved using the GPS coordinates stored on the device, like with a normal circuit, in the TRACKS folder of
the memory card.
For a standing start, you need to set on MANUAL the start mode of the recording (see chap. 5); this way you can first
position the vehicle up to the starting point, then press YES to request the beginning of the storage when the vehicle
is standing and ready to start the lap.
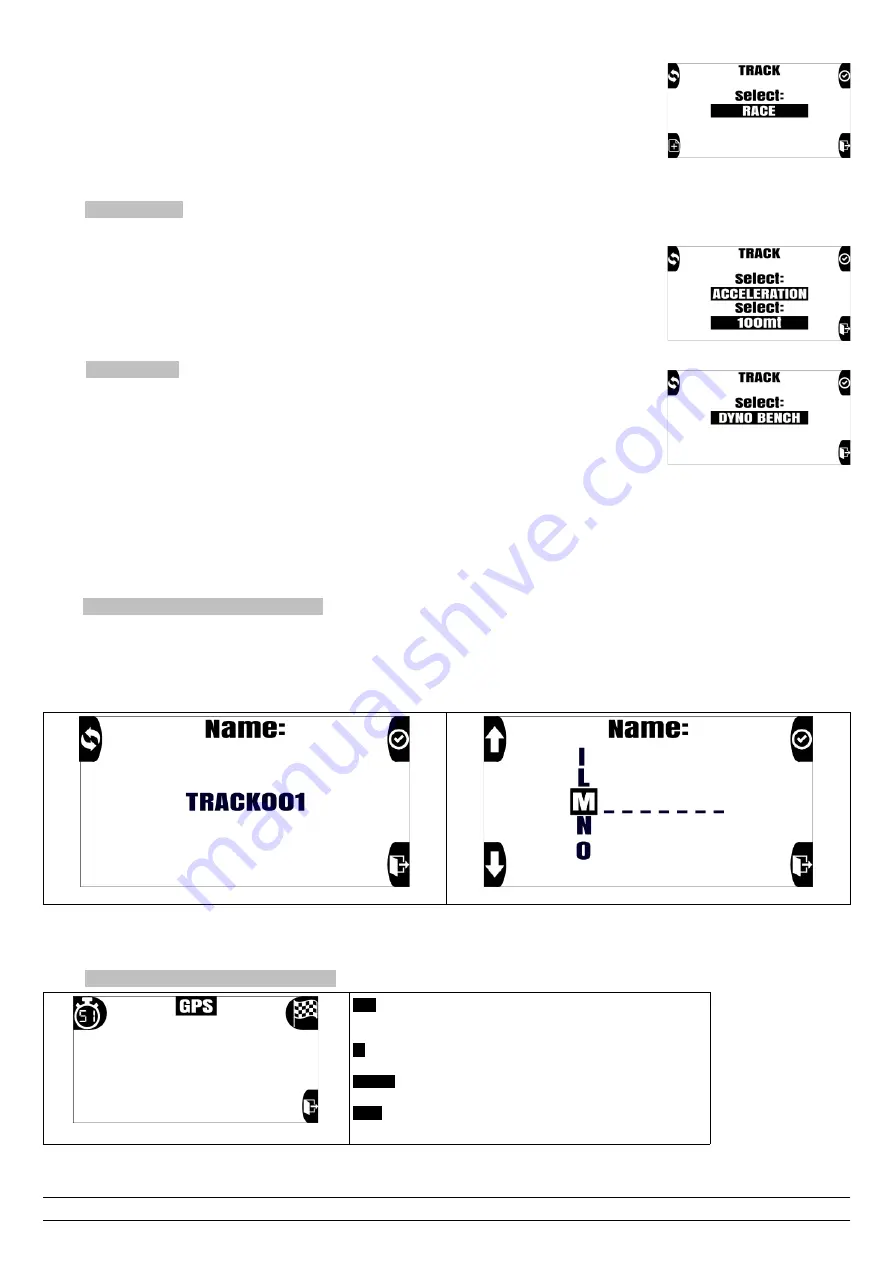
In the TRACK menu, press "Select" and choose RACE (you can change your choice by clicking on SHIFT), press
CONFIRM to confirm your choice.
8.3 – Acceleration
Standing start mode; thanks to the internal accelerometer, Start will retrieve the starting point; the finish line will be retrieved using one of the options
suggested depending on the type of race you are doing. Using this mode, each session has a single lap.
Press "Select" and choose ACCELERATION (you can change your choice by clicking on SHIFT), press NEXT to
confirm your choice.
You will then be asked the finish line "Mode"; you can choose from the following entries: 100mt, 150mt, 400mt,
800mt, 1000mt, 0-100Km/h, 0-160Km/h, 0-60mph, 0-120mph, 1/2mile, 1/4mile, 1/8mile.
By choosing ACCELERATION, the storage function of a new session is automatically set to MANUAL so you can
position the vehicle on the starting line and then press YES when the vehicle is standing and ready to start.
8.4 – Dyno Bench
Dyno Bench mode is the ideal to record data from your bike without GPS signal, so you can use it even on a building
to record performance of your motorbike over a dyno bench.
Select DYNO BENCH and then press CONFIRM
9 – Storage of a new finish line/circuit
You can download a list of the most famous world circuits directly from our website; if your racetrack is not available, you can create a new circuit using
the RacePro software (see the software manual for details) or directly on the track by doing as follows.
Enter the TRACK menu and select the NEW icon (button 3), a screen entitled NAME and a generic name for the new track (TRACKxxx) will appear, at
this point you can press the CONFIRM and go to next step leaving the generic name or press the SHIFT button to modify the track name.
N.B: once the track has been created, it will no longer be possible to change the name assigned.
9.1 – Changing the name of the track
If you do not want to change the name of the track, press the CONFIRM button while the automatic track name is displayed, you will go directly to
storing the coordinates (chap 9.2), if you want to change the name, press the REPLACE button (button 1).
The track name consists of 8 characters, you will need to select one or more characters for the track name.
Select the first character by scrolling through all those available using the ARROW buttons 1 and 3, press the CONFIRM button to confirm and move to
the next character. So on for all characters.
If the name has less than 8 characters, press the CONFIRM button without selecting any characters. Once all eight characters have been confirmed, the
dashboard automatically switches to the creation of the track coordinates
9.2 – Setting of finish line coordinates
GPS
: it informs us whether the GPS receiver is connected to the
satellites.
S1
: saves the coordinates of split time 1.
FINISH
: saves the coordinates of the finish line
EXIT
: exits the procedure without saving
PZRacing Via de Gasperi 5 – 61032 Fano (PU) Italy - Tel: +39 0721 820434 – Email: [email protected]


