DIGITAL DRUM PED06
Instruction Manual
www.PyleAudio.com
All manuals and user guides at all-guides.com
all-guides.com
Page 1: ...DIGITAL DRUM PED06 Instruction Manual www PyleAudio com All manuals and user guides at all guides com a l l g u i d e s c o m...
Page 2: ...strument Physical shocks caused by dropping bumping or placing heavy objects on the instrument can result in scratches and more serious damage Clean the unit with a dry soft cloth A slightly damp clot...
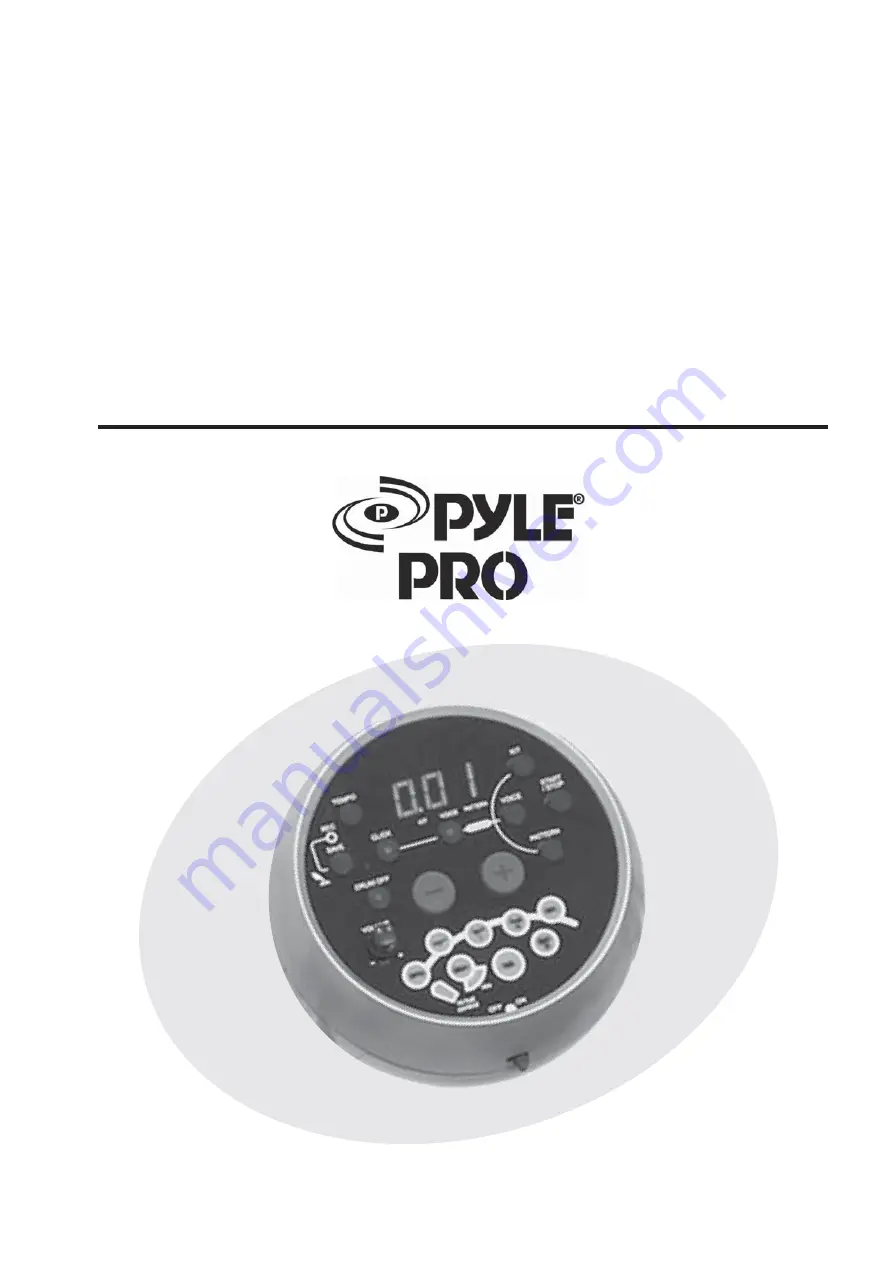
Page 3: ...it Adjust the kit volume Select a pad voice Adjust the pad volume Save kit Select a pattern Listen to the pattern Adjust the pattern volume Recording Drum off Adjust the pattern tempo Click Select a c...
Page 4: ...start stop Button Start or stop song playing 3 Panel Controls 4 Front Panel pattern Button Enter the pattern select mode and provide MIDI output format choice voice Button Enter the voice select mode...
Page 5: ...ks Support Line stereo output MIX Input Jacks Connect with external sound source USB Port Connect to computer or other USB host devices Trigger Input Jacks Connect with kick snare tom1 tom3 ride crash...
Page 6: ...t supports double triggering increase edge triggering cymbal includes ride and crash kick tom Hi Hat are mono input which can t response edge triggering Hi Hat pedal is stereo input half part of the p...
Page 7: ...n jack An optional set of stereo headphones can be connected with the PHONES jack located on the rear of the drum module Adjust the volume to a comfortable level Connect Headphones Make sure the power...
Page 8: ...button to enter MIDI output format choice mode LED displays that the current MIDI output format P N default setting internal format or N GM format it can be switched by pressing and button If the inte...
Page 9: ...KIT selecting mode 3 digit LED displays the current KIT number and KIT indicator lights up In kit selecting mode press or button to choose any KIT 001 015 in cycle as the current KIT Select a drum kit...
Page 10: ...ve During choosing the KIT the user KIT number will be kept flashing Press save button again the current KIT setting includes all pads voice numbers and volume is saved into the chosen user KIT When i...
Page 11: ...t stop button to stop pattern play Note The pattern and the MIDI IN use the same 16 midi channels when you use MIDI IN to play a song it maybe affect the built in pattern playing So you must reset the...
Page 12: ...it LED displays recording measures During recording the original data will be covered with the newly recorded user pattern One measure introductory beat such as 4 4 display 4 3 2 1 All parameter could...
Page 13: ...ting another kit when playbacking the user pattern the recorded kit data will also be changed to the current selected kit Recording notes The recording capacity is about 5000 notes Quick recording Aft...
Page 14: ...the current time signature Press click button again to turn off click 9 kinds of time signature can be chosen 1 4 2 4 3 4 4 4 5 4 6 4 7 4 3 8 6 8 As pattern playing the click indicator automatically f...
Page 15: ...ly step down the pedal Splash play the hi hat with the pedal fully stepped and then instantly releasing it Adjust the click volume In click time signature choice mode press volume button to enter clic...
Page 16: ...s and 1 user pattern POWER SWITCH START STOP SAVE RECORD KIT PATTERN VOICE KIT VOICE PATTERN CLICK VOLUME DRUM OFF CLICK HI HAT CRASH RIDE HI HAT CONTROL SNARE TOM 1 TOM 2 TOM3 KICK RECORD LIGHT VOLUM...
Page 17: ...3 Camco Tom 4 Camco Tom 5 Camco Tom 6 TR606 Tom 1 TR606 Tom 2 TR606 Tom 3 TR606 Tom 4 TR606 Tom 5 TR606 Tom 6 Rock Tom 4 057 058 059 060 RIDE Classic Ride Rock Ride Brush Ride TR606 Ride 061 062 063 0...
Page 18: ...Big Band1 Drum N Bass Ballad Swing Pop1 Funk2 Latin Jazz2 Pop Funk1 Latin Rock1 Big Band2 Pop Ballad Pop Funk2 022 023 024 025 026 027 028 029 030 031 032 033 034 035 036 037 038 039 040 041 3 4Pop Po...
Page 19: ...TR606 Pedal Hi Hat STD Mid Tom 2 45 Rock Mid Tom 2 Brush Mid Tom 2 Jazz Mid Tom 2 TR606 Mid Tom 2 Open Hi Hat 46 TR606 Open Hi Hat STD Mid Tom 1 47 Rock Mid Tom 1 Brush Mid Tom 1 Jazz Mid Tom 1 TR606...
Page 20: ...127 X X O O O 5 X Portamento Time 6 X Data Entry 7 X Volume 10 X Pan 11 X Expression 64 X Sustain Pedal 65 X Portamento ON OFF 66 X Sostenuto Pedal 67 X Soft Pedal 80 X Reverb Program 81 X Chorus Pro...
Page 21: ...x 2 Metal Rod ASSEMBLY INSTRUCTIONS Caution Inside This Package CYMBAL PADS box DRUM PADS box ACCESSORIES box Cymbal Pad x 3 Tom Pad x 2 Hexagon Key Cymbal holders L R Cymbal holder Screws x4 for Drum...
Page 22: ...t the clamp position then tighten the wing nuts on the clamp 2 Use hexagon key to loosen the screw of holder clamp 3 Insert the metal rod into the holder clamp and adjust the position 4 Use hexagon ke...
Page 23: ...felt washer of each Cymbal holders 4 Attach the Cymbal pads to the cymbal holders 5 Attach the felt washer and wing nut tighten the wing nut of each cymbal use a drum key to tighten the screws Wing nu...
Page 24: ...5 Attach the standard gauge tubing to the Double Braced Legs 6 Reattach the win nut and screw 7 Tighten the wing nut and screw DD501_Setup_G03_081120 7 Attaching the Kick Trigger 1 Attach the Rod to t...