23
Rev 1.4.1 6/21
Network Connection
1.
Operating Environment
Operating System: Windows 2000/2003/XP/Vista/7/8.1/10
Network Protocol: TCP/IP
Client PC: P4 / 128M RAM / 40GHD / support for scaled graphics card, support for DirectX8.0 or more advanced
version
.
2.
Equipment Installation
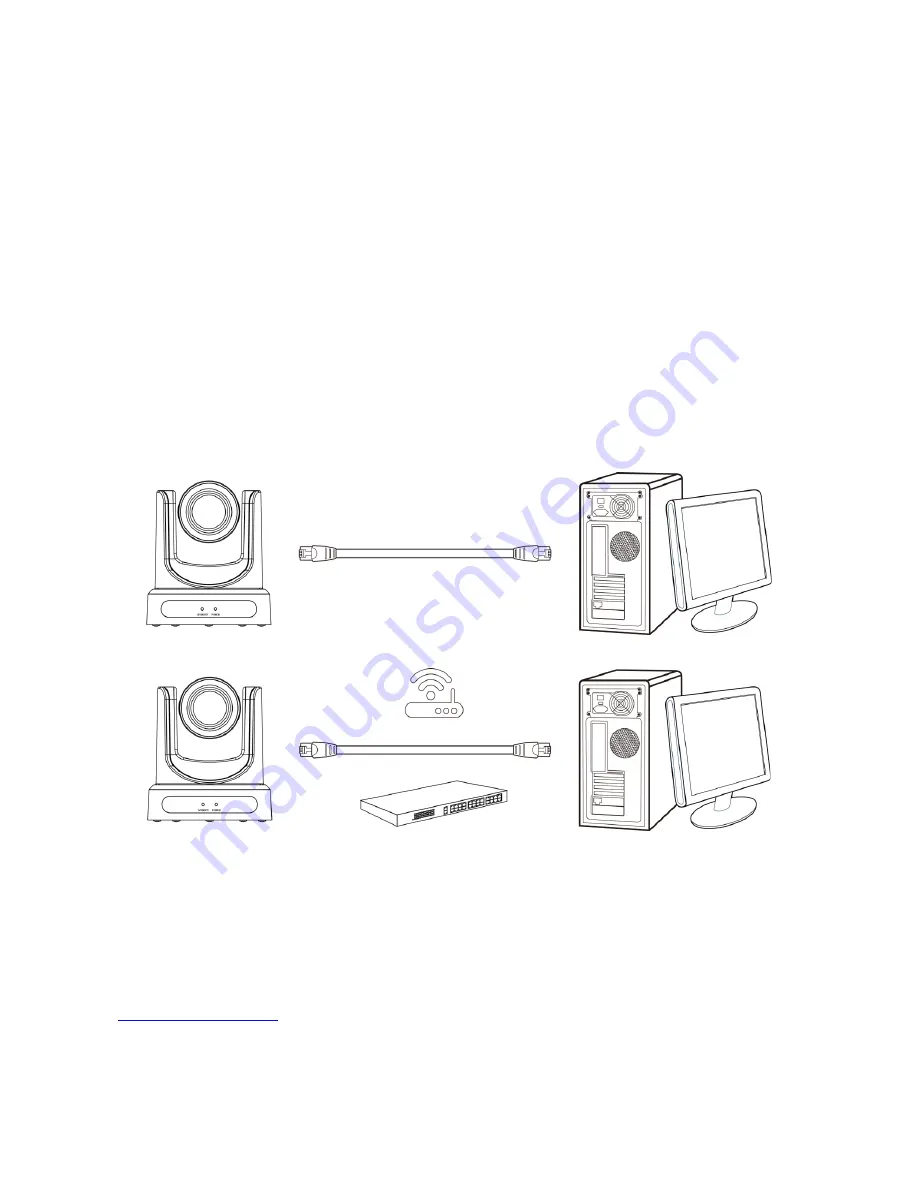
1) Connect camera to your network via a CAT5 or CAT6 patch cable or directly to your PC via a CAT5 or CAT6 cross
over cable.
2) Turn on camera power.
3) If successful, the orange network light will illuminate and the green light will start flashing. If unsuccessful, the cable
is bad, you are using the wrong cable, or you have connected to an inactive network jack.
3.
Network Connection
Connection method between network camera and computer, as in pictures 1.1 and 1.2, below:
Picture 1.1 Direct connections via “cross-over” network cable
Picture 1.2 Connections to LAN via patch cable to LAN wall jack or LAN switch
Setting up a Network Video Stream
1.
The first thing you are going to want to do to get your camera up and streaming on your network is to connect
your camera to power, an active network port on your network, and finally, power on the camera.
2.
Next, go online and download the IP Address Settings Tool. It’s available for Windows & Mac OS at
3.
Once you complete the download, launch the “Upgrade v2.8C” tool. Select your network connection type from
the “Interface” dropdown menu and click “Search”.


