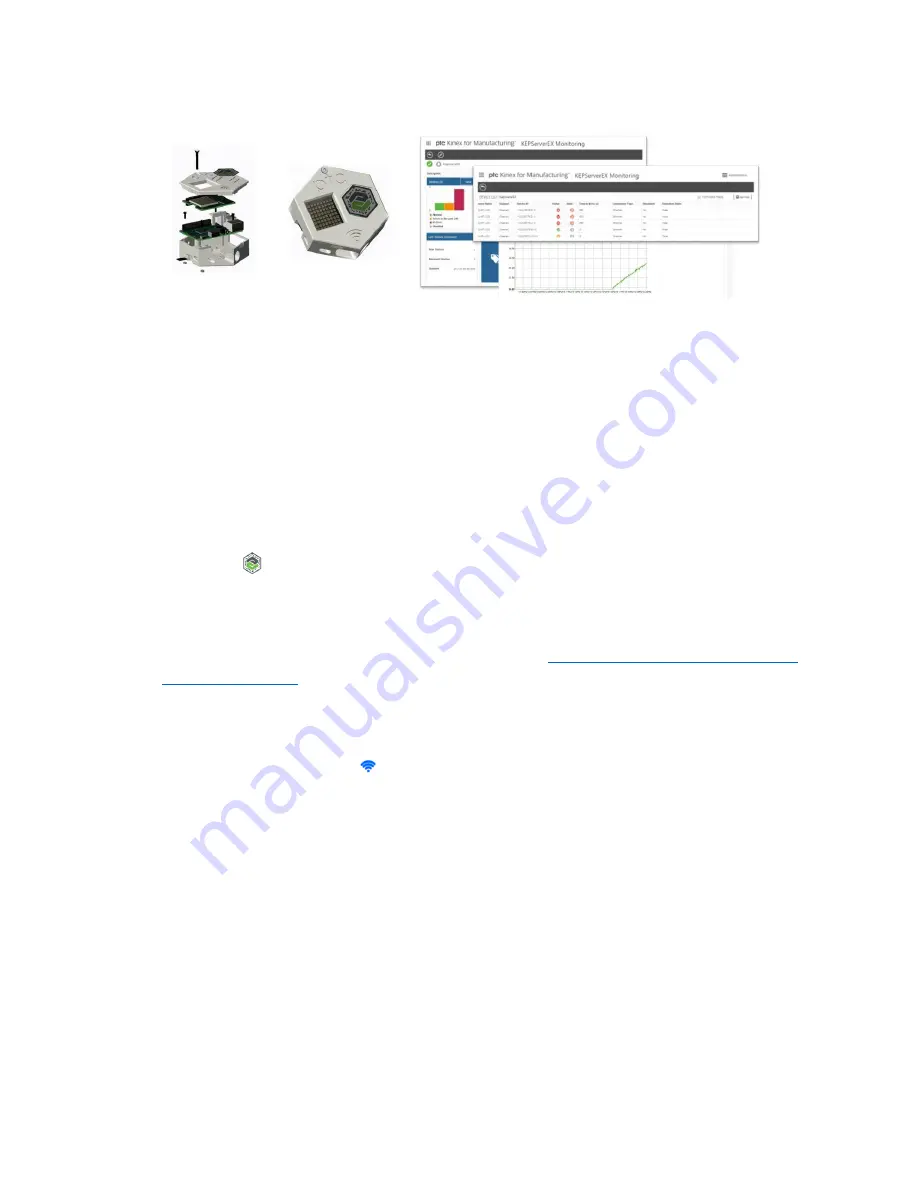
Sigma Tile
Quick Start Guide
The Sigma Tile is a very low cost IoT device, equipped with sensors that can act as Smart Connected
Product or as an Industrial Controller that you can build yourself. It is powered by the proven Raspberry
Pi 3 and the Raspberry Pi Sense Hat. It is intended to be used for IoT demonstration and IoT
applications development and testing purposes. After downloading and configuring the FREE trial of
Kepware KepServerEX
and of the
ThingWorx Manufacturing Apps,
you will be able to experience the
power of Industrial IoT with your Sigma Tile acting as PLC communicating to your KepServerEX server via
MODBUS and representing a device, an asset or a line streaming its sensor data: temperature, humidity,
acceleration, etc
Step 1: Understanding your Sigma Tile
1.
Using your mobile device, and the ThingWorx View App, scan the ThingMark on the cover of the
Sigma Tile
2.
Explore the assembly and disassembly operations
3.
Click on the “Learn More” link to be directed to the Sigma Tile webpage where you will find all
the necessary instructions and documentation to build, connect, experience and develop with
your Sigma Tile. Scan through the content on that page. (
http://www.ptc.com/manufacturing-
Step 2: Connecting your Sigma Tile to your network
1.
Power your SigmaTile with the MicroUSB cable. Within about 15 seconds a WIFI symbol will be
displayed on the LED display
, indicating that the Sigma Tile is searching for a network.
2.
Connect the Sigma Tile to a network with internet access using one of the following options:
a.
Ethernet:
i.
Connect your Ethernet cable
ii.
Watch the LED screen of the Sense HAT for its IP address. It will take
approximately 15 seconds. Make note of the IP address: __ . __ . __ . __
b.
Wi-Fi:
i.
Connect a mouse, keyboard, and monitor to your Raspberry Pi. You may have to
turn-off and repower the Sigma Tile to be able to connect to the monitor.
ii.
Log in: -user: pi -password: raspberry
iii.
Use the pixel GUI to configure the Raspberry Pi with your network.
iv.
Watch the LED screen of the Sense HAT for its IP address. It will take
approximately 15 seconds. Make note of the IP address: __ . __ . __ . __


