32
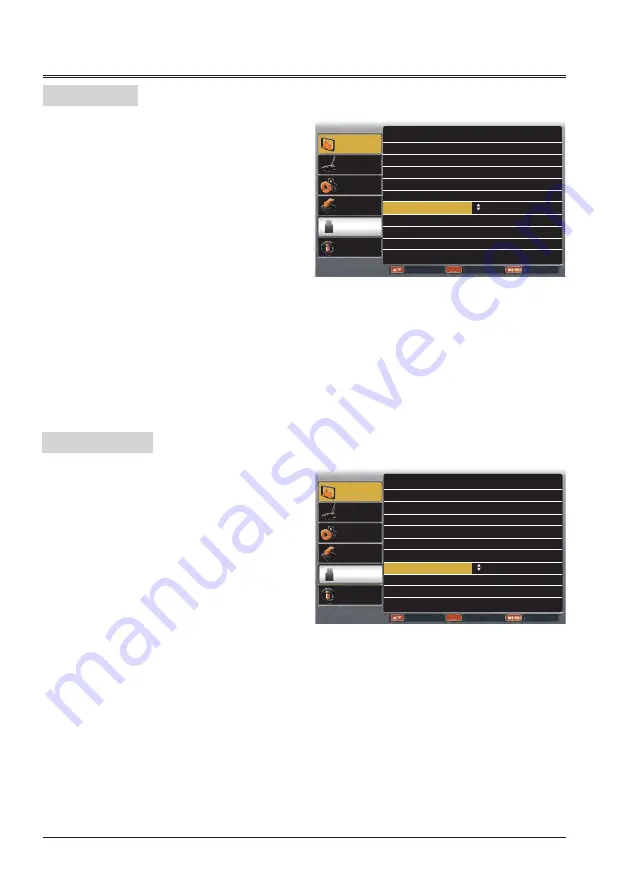
Project way menu
ENTER
Display
Color adjust
Setting
Expand
Info.
Adjust
Select
Back
Memory
Viewer
Auto PC adj.
Fine sync 0
H Position 0
H.Size 0
Aspect Normal
Project Way
Front
Menu Position Upper right
Background
Display Blue
System - - - -
V Position 0
This function is used to set the project way.
1 Press MENU button on remote control to
display screen menu. Press
button to
select "Display", then press OK button.
2 Press
button to select "Project Way",
press OK button.
3
Press
button to select the item you want
to set, press OK button.
Front ........ Project to front screen when
projector is front standing.
Rear ........ Project to rear screen when
projector is front standing.
Ceiling/Front ..... Project to front screen when
projector is in ceiling state.
Ceiling/Rear ..... Project to rear screen when
projector is in ceiling state.
Project Way
Menu Position
This function is used to change the position of
screen menu.
1 Press MENU button on remote control to
display screen menu. Press
button to
select "Display", then press OK button.
2 Press
button to select "Menu Position",
press OK button.
3
Press
button to select the item you want
to set, press OK button.
Upper left .... Menu locates on upper left of
the screen.
Upper right .. Menu locates on upper right of
the screen.
Center ......... Menu locates at the center of
the screen.
Lower left .... Menu locates on lower left of
the screen.
Lower right .. Menu locates on lower right of
the screen.
Menu position
ENTER
Display
Color adjust
Setting
Expand
Info.
Adjust
Select
Back
Memory
Viewer
Auto PC adj.
Fine sync 0
H Position 0
H.Size 0
Aspect Normal
Project Way Front
Menu Position
Upper right
Background
Display Blue
System - - - -
V Position 0
Display


