


Experiment Preparation
67
6. Remove the maintenance chip, and insert a sensor chip.
Flushing the System
Flushing the system pumps the selected buffer at the maximum flow rate
through the instrument fluidics, bypassing the flow cell (buffer does not flow
over the sensor chip). The flushing process replaces the previous buffer in the
fluidics with the new buffer and eliminates air bubbles in the system. You can
flush the system manually using the buffer control buttons on the instrument,
or in ProteOn Manager software.
See also Flushing and Priming the System on page 27.
To flush the system:
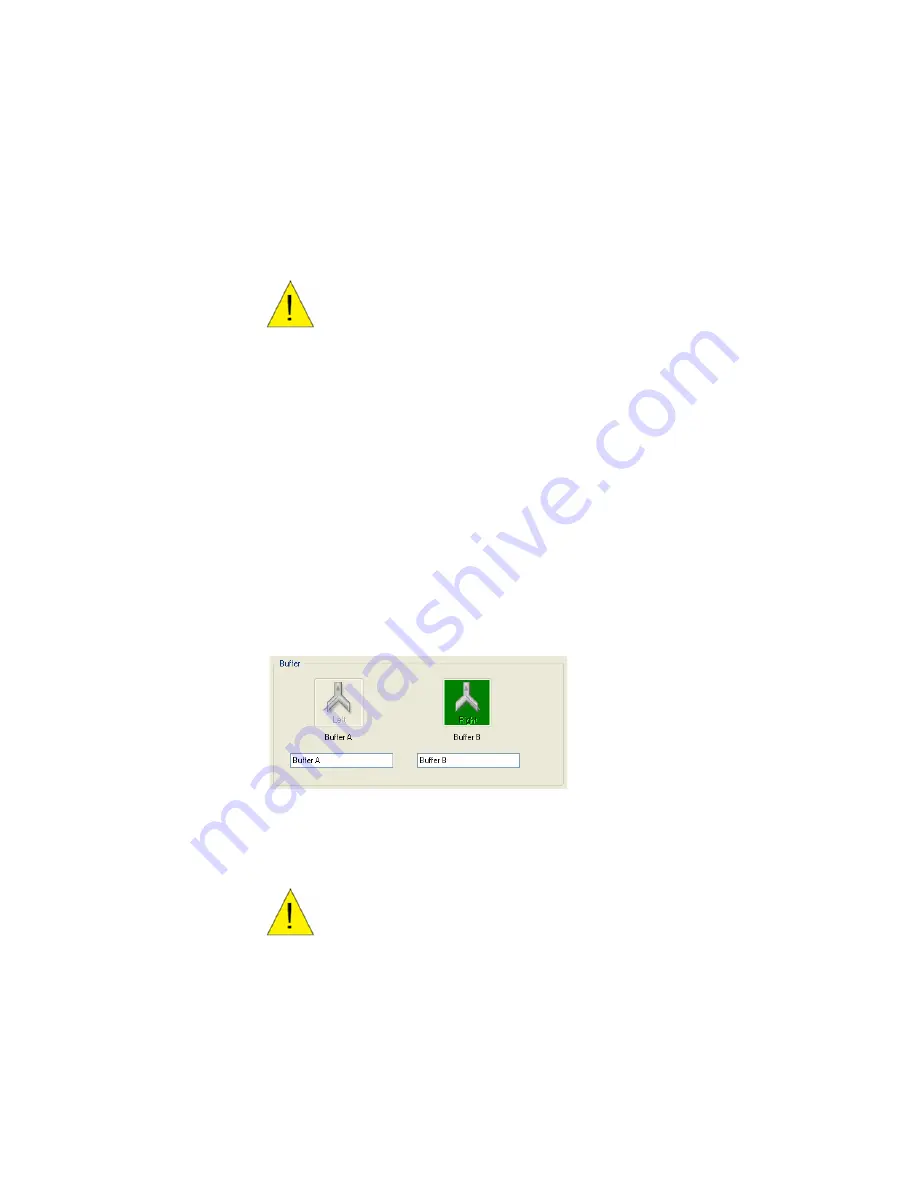
•
On the Instrument Control screen, click the Buffer button for the
valve you want to flush
•
The Buffer A button flushes the left buffer bottle, and the Buffer B
button flushes the right buffer bottle. You cannot cancel the
flushing process after it starts.
Caution:
Do not allow the buffer bottle to run
dry.
Caution:
Do not allow the buffer bottle to run
dry.
Summary of Contents for XPR36
Page 1: ...ProteOn XPR36 Protein Interaction Array System Protein Interaction Analysis User Manual...
Page 2: ......
Page 3: ...ProteOn XPR36 Protein Interaction Array System Version 3 1 User Manual...
Page 4: ......
Page 10: ...ProteOn XPR36 System viii...
Page 166: ...ProteOn XPR36 System Analysis 148...
Page 188: ...ProteOn XPR36 Maintenance 170...
Page 194: ...ProteOn XPR36 System ProteOn System Troubleshooting 176...
Page 226: ...ProteOn XPR36 System A ProteOn XPR36 Instrument and Peripherals 208...
Page 250: ...ProteOn XPR36 System E Ordering Information 232...
Page 264: ...ProteOn XPR36 System F Security Edition Configuration Guide 246...
Page 276: ...ProteOn XPR36 System Glossary 258...
Page 287: ......


