


Maintenance manual Universal-1000
P R O M E T A L
48
-turn
ON
main electric switch
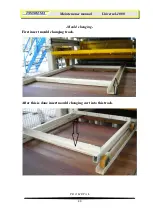
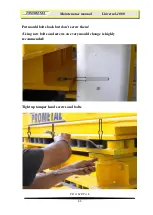
-Move mould in down position
–
mould and tamper head together are laying on holders
-move machine in direction
FORWARD
-mould and tamper head are than laying on floor disconnected from machine
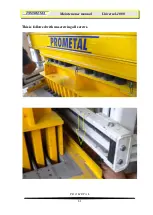
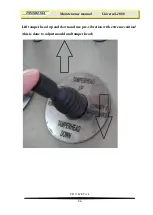
-Dismantle vibrator
–
motor sets from mould
-Important hints for mould changing-
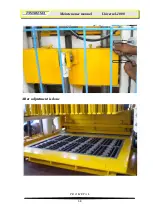
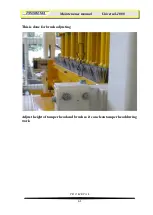
1. For every change of moulds, please attend to the correct setting of the supporting screws at
the quick change devices. These screws must be adjusted uniformly l
–
2 mm lower than the
rubber buffers are high. They have one purpose only; during demoulding, the buffers are
pressure strained and somewhat compressed. It is in this moment that the supporting screws
enter into action. They prevent the mould from tilting whereby the just manufactured concrete
components could possibly be destroyed.
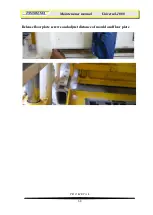
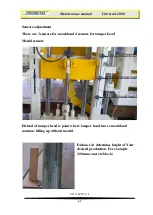
2. The short metal buffers attached to the mould enable a free vibration behavior of the
mould standing in filling position. Moulds lying on the production floor are braking the
oscillations of the vibrators. Result: A bad compaction of the stones. If after a certain period
the metal buffers wear out, they have to be renewed in time or to be lined with sheet metal,
the floor clearance of the moulds after filling should be 2 - 3 mm, this distance allowing an
irreproachable vibration of the mould above the production floor.
3. One supporting screw each is attached laterally to the mould lifting angles. After
installation of the mould, these screws should have abt, 1 mm clearance between screw head
and mould and have to be nut looked in this position.
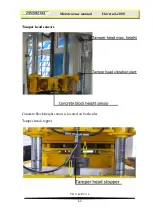
4. For even newly installed mould, the lowering speed must be adjusted accordingly. The
speed should be set in such a way that the mould will never thump hard on the production
floor as this would destroy the mould lower side.
5. Tamper head and mould must well fit into each other. A pad filling leads to an early wear
and to a possible demolition of the mould.
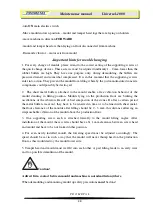
Caution!
A direct firm contact between mould and machine is not admitted anywhere
.
When demoulding and mounting mould up safety precautions
must
be done!
Summary of Contents for UNIVERSAL 1000
Page 19: ...Maintenance manual Universal 1000 P R O M E T A L 19 ...
Page 25: ...Maintenance manual Universal 1000 P R O M E T A L 25 Hydraulic system ...
Page 26: ...Maintenance manual Universal 1000 P R O M E T A L 26 ...
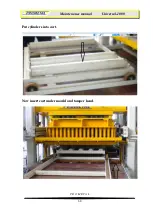
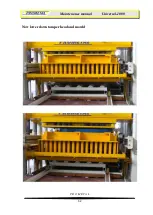
Page 52: ...Maintenance manual Universal 1000 P R O M E T A L 52 Now lower down tamper head and mould ...
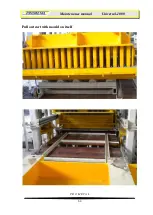
Page 53: ...Maintenance manual Universal 1000 P R O M E T A L 53 Pull out cart with mould on itself ...
Page 58: ...Maintenance manual Universal 1000 P R O M E T A L 58 After adjustment is done ...
Page 65: ...Maintenance manual Universal 1000 P R O M E T A L 65 Vibrator table maintenance ...


