


2-12
Installing the Access Point
Installation Procedures
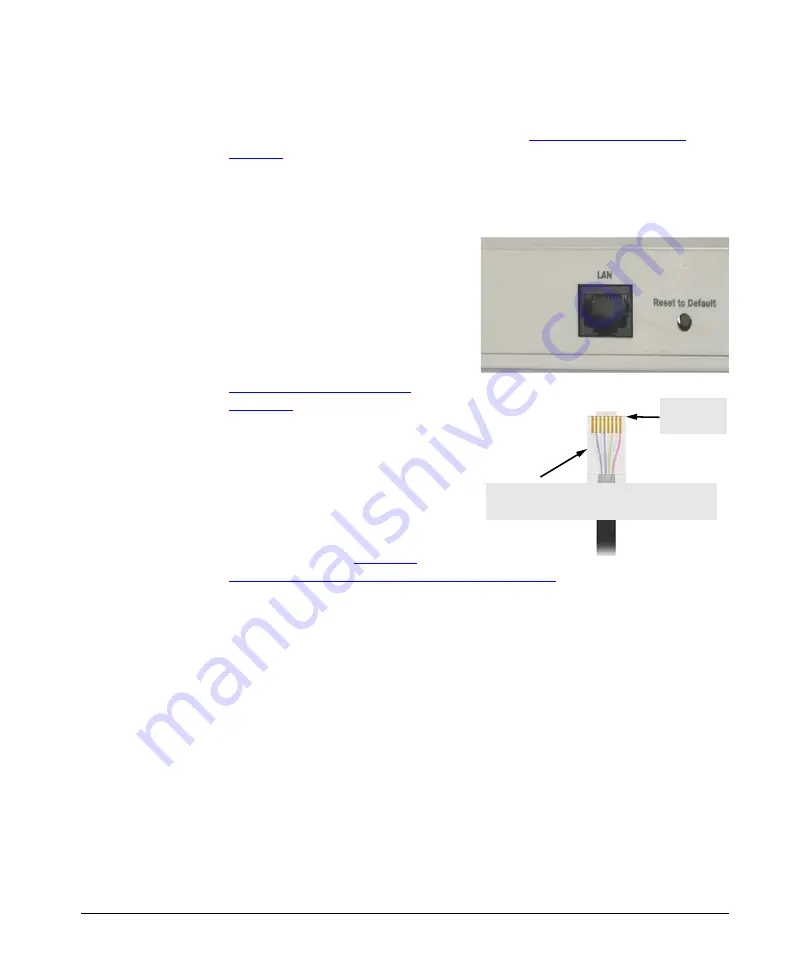
Step 6. Connect the Network Cable
Connect the network cable, described under “
, from the network device or your patch panel to the LAN port on the
access point.
Using the RJ-45 Connectors
To connect:
Push the RJ-45 plug into the LAN port
until the tab on the plug clicks into
place. When power is on, one of the
two LAN LEDs should turn on to
confirm a valid network connection.
If
neither
LAN LED turns on, see
Congratulations!
You have
completed installing your access
point. You are now ready to start
configuring your access point
settings.
Please continue to
,
“Getting Started With Access Point Configuration”
for an introduction of the
Web interface and a summary of essential configuration tasks that you should
perform.
RJ-45
connector
Category 5 cable for 10/100 Mbps ports (UTP)
Maximum distance: 100 meters
Summary of Contents for 10ag
Page 2: ......
Page 3: ...ProCurve Wireless Access Point 10ag Installation and Configuration Guide...
Page 10: ......
Page 20: ......
Page 68: ......
Page 102: ...C 8 Safety and EMC Regulatory Statements Safety Information Japan Safety Information Japan...
Page 103: ...C 9 Safety and EMC Regulatory Statements Safety Information Korea Safety Information Korea...
Page 104: ...C 10 Safety and EMC Regulatory Statements Safety Information China Safety Information China...
Page 112: ...C 18 Safety and EMC Regulatory Statements EMC Regulatory Statements...
Page 130: ......
Page 131: ......