User Manual
Please read this manual before use.
V 3.03
8344624
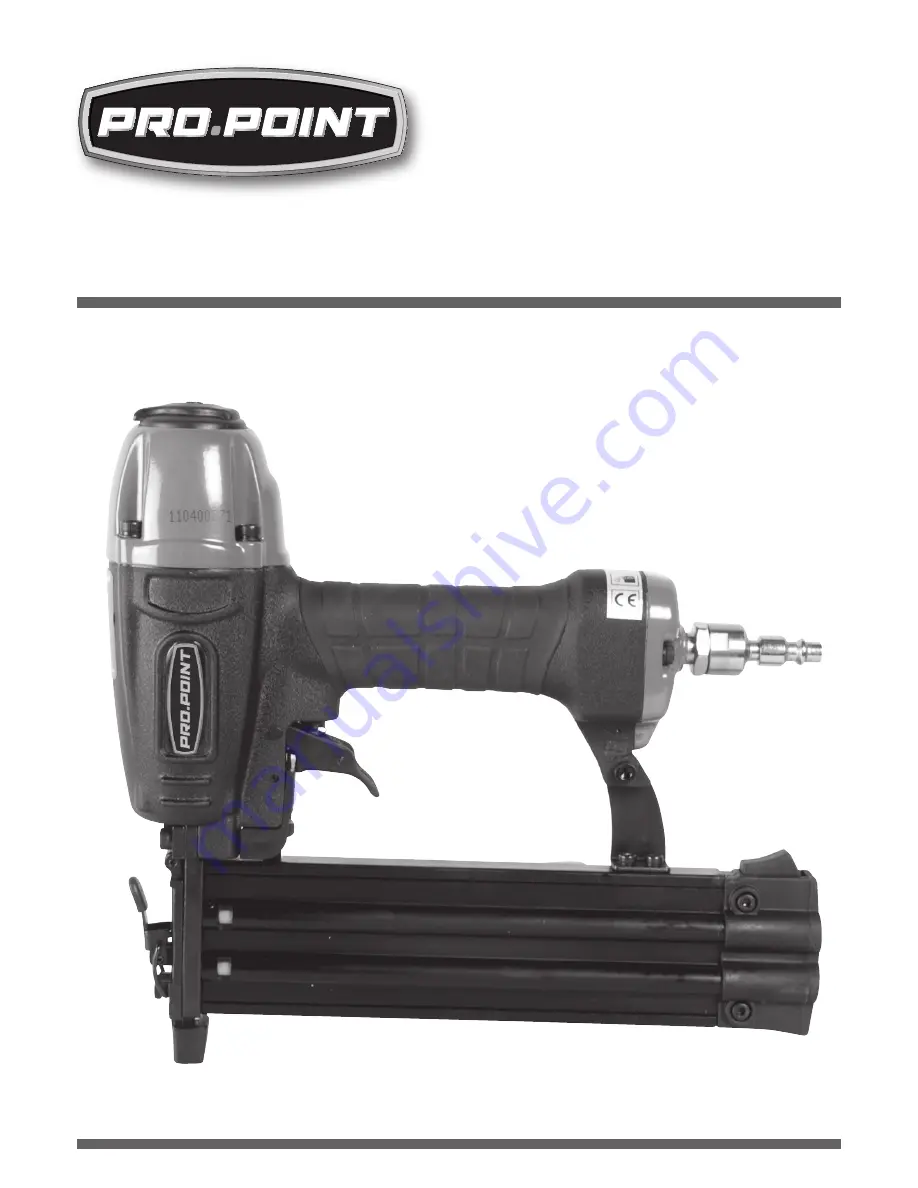
BRAD NAILER
18 GAUGE AIR
Page 1: ...User Manual Please read this manual before use V 3 03 8344624 BRAD NAILER 18 GAUGE AIR ...
Page 2: ...uctions When using this tool basic precautions should always be followed to reduce the risk of personal injury and or damage to the equipment Note that when this manual refers to a part number it refers to the parts list included WORK AREA 1 Keep your work area clean and well lit Cluttered and dark areas invite accidents 2 Operate in a safe work environment Do not use in damp or wet locations Do n...
Page 3: ...op of a previously nailed fastener or the fastener can ricochet causing personal injury 3 Do not drive any fasteners close to the edge of the work piece The work piece could split allowing a fastener to fly free or ricochet causing personal injury 4 Make sure the correct fasteners are being used as specified TOOL USE AND CARE 1 Use the right tool for the job Do not attempt to force a small tool or...
Page 4: ... the air line will damage the tool 8 Clean air inlet filter weekly 9 Avoid using an unnecessarily long air hose Avoid using too long of an air hose The longer the hose the lower the pressure will be at the end of the hose to the point that it may not meet the minimum required for the tool As well a longer hose can become a tripping hazard 10 Keep hose away from heat oil and sharp edges Check hose ...
Page 5: ...oil should be avoided 4 Air tool oil is the only recommended lubricant for use in all air tools Do not try to use other types of lubricants to oil your tools Using the wrong lubricant will cause premature tool failure and or loss of power Use only recommended lubricants specially made for pneumatic applications Substitutes may harm the rubber compounds in the tool s O rings and other rubber parts ...
Page 6: ...ult Never fire fasteners into air because fasteners may injure operator or others and damage to tool may result MAINTENANCE WARNING Disconnect the nailer from air supply before reloading servicing or performing maintenance Replace or repair damaged parts 1 Check for damaged parts Before using any tool any part that appears to be damaged should be carefully checked to determine that it will operate...
Page 7: ...s or bumper 1 Tighten screws 2 Check and replace O rings or bumper Air leak between body and cylinder cap 1 Loose screws 2 Worn or damaged O rings or seals 1 Tighten screws 2 Check and replace O rings or seals Blade driving fastener too deep 1 Worn bumper 2 Air pressure is too high 1 Replace bumper 2 Adjust air pressure Tool does not operate well cannot drive fastener or operates sluggishly 1 Inad...
Page 8: ...LUTIONS Tool Jams 1 Incorrect or damaged fasteners 2 Damaged or worn driver guide 3 Magazine or nose screw is loose 4 Magazine is dirty 1 Change and use correct fastener 2 Check and replace the driver 3 Tighten the magazine 4 Clean the magazine IMPORTANT Repairs should be carried out by a qualified person ...
Page 9: ...18 GAUGE AIR BRAD NAILER Visit www princessauto com for more information 9 8344624 V 3 03 PARTS BREAKDOWN ...
Page 10: ...ket A 1 28 Safe bracket B 1 29 Safe bracket C 1 29a Safe rubber 1 30 Latch sleeve 1 31 Latch assembly 1 32 Spring pin 1 33 Spring pin 1 34 Seal 1 35 Trigger valve head 1 PART Nº DESCRIPTION QTY 36 O ring 15 x 1 9 1 37 Trigger valve guide 1 38 O ring 5 5 x 1 5 1 39 Spring 1 40 Trigger valve stem 1 41 Washer 1 42 Trigger assembly 1 43 Trigger pin 1 44 Front plate 1 45 Spring pin 1 46 Screw 1 47 Plat...
Page 11: ...V 3 03 8344624 Manuel d utilisateur PNEUMATIQUE CALIBRE 18 Veuillez lire ce manuel avant d utiliser cet outil CLOUEUSE DE FINITION ...
Page 12: ...t outil vous devez toujours respecter les précautions fondamentales Notez bien que quand ce manuel donne un numéro à une pièce de l outil il faut se référer à la liste de pièces du manuel AIRE DE TRAVAIL 1 Servez vous de cet outil dans un endroit sécuritaire Votre lieu de travail doit toujours être propre et bien éclairé Des établis encombrés et des zones obscures invitent les accidents 2 Servez v...
Page 13: ...enir l ouvrage de manière stable Si vous tentez de tenir la pièce dans une main ou contre votre corps cela pourrait entraîner une perte de la maîtrise CONSIGNES SPÉCIFIQUES DE SÉCURITÉ 1 Ne pointez pas l outil vers vous ou vers les autres Gardez les mains et les autres parties du corps loin du nez ceci aidera à prévenir les blessures 2 Ne posez pas une fixation par dessus une autre fixation déjà i...
Page 14: ... l air comprimé employez une canalisation et des raccords d une grosseur appropriée et du type recommandé Pour un outil à raccord de 1 4 po on recommande une tuyau avec un diamètre interne d au moins 3 8 po 4 Avant de vous servir de l outil assurez vous toujours que la source d air a été réglée à la pression prévue ou dans une gamme acceptable Si l outil est soumis à une surpression il pourrait éc...
Page 15: ...tes AVIS Éteignez le compresseur d air déconnectez l outil du boyau et éliminez tout air comprimé restant dans l outil avant de changer d accessoire ou de faire n importe quel ajustement à l outil Le cas échéant vous risquez de vous blesser gravement ou d endommager l outil ou votre travail LUBRIFICATION 1 Afin de prévenir la corrosion de leurs pièces internes durant le transport et l entreposage ...
Page 16: ...de la boîte 2 Assurez vous que vous avez reçu tous les articles mentionnés sur la liste des pièces 3 Examinez soigneusement les pièces pour vous assurer qu aucun bris ni dommage n est survenu durant l expédition 4 Ne jetez pas le matériau d emballage avant d avoir soigneusement examiné le moteur et de l avoir fait fonctionner de manière satisfaisante ATTENTION Si vous trouvez qu il y a une piece m...
Page 17: ...s de l outil et des évents d aération N utilisez pas de produits chimiques ou de solvants pour nettoyer l outil Ces produits pourraient endommager sérieusement les pièces en plastique et en caoutchouc de l outil 4 Faites une inspection régulière de tout les vis pour vous assurer qu ils sont serrés Revissez immédiatement une vis desseré 5 Si des réparations sont nécessaires apportez votre outil à u...
Page 18: ...e gouttes d huile dans l admission d air 3 Vérifiez et remplacez les joints toriques ou les bagues d étanchéité 4 Remplacez les pièces internes endommagées L outil présente des ratés d activation 1 Butée usée ou ressort endommagé 2 De la saleté dans la plaque avant 3 La saleté ou les dommages empêchent les fixations de bouger librement dans le magasin 4 Joint torique usé ou sec sur le piston ou lu...
Page 19: ...CLOUEUSE DE FINITION PNEUMATIQUE CALIBRE 18 8344624 V 3 03 Visitez www princessauto com pour plus d informations 9 PARTS BREAKDOWN ...
Page 20: ...Support de sécurité C 1 29a Caoutchouc de sécurité 1 30 Manchon de verrouillage 1 31 Ensemble de verrouillage 1 32 Tige de ressort 1 33 Tige de ressort 1 34 Joint d étanchéité 1 35 Tête de soupape de déclenchement 1 36 Joint torique 15 x 1 9 1 LISTE DES PIÈCES Part Nº Description Qty 37 Guide de soupape de déclenchement 1 38 Joint torique 5 5 x 1 5 1 39 Ressort 1 40 Tige de soupape de déclenchemen...