


Chapter 7
Troubleshooting
71
thermal-protection switch that shuts the cooler circuits down if the internal
temperature exceeds a preset limit. Typically, camera operation is restored
automatically in about ten minutes. Although the thermo-protection switch will
protect the camera, you are nevertheless advised to power down and correct the
operating conditions that caused the thermal-overload to occur.
Gradual Deterioration of Cooling Capability
While unlikely with the PhotonMAX camera (guaranteed permanent vacuum for the life
of the camera), if you see a gradual deterioration of the cooling capability, it might due to
damaged camera vacuum. This can affect temperature performance such that it may be
impossible to achieve temperature lock at the lowest temperatures. In the kind of
applications for which cooled CCD cameras are so well suited, it is highly desirable to
maintain the system’s lowest temperature performance because lower temperatures result
in lower thermal noise and better the signal-to-noise ratio. Contact the factory to make
arrangements for returning the camera to the support facility.
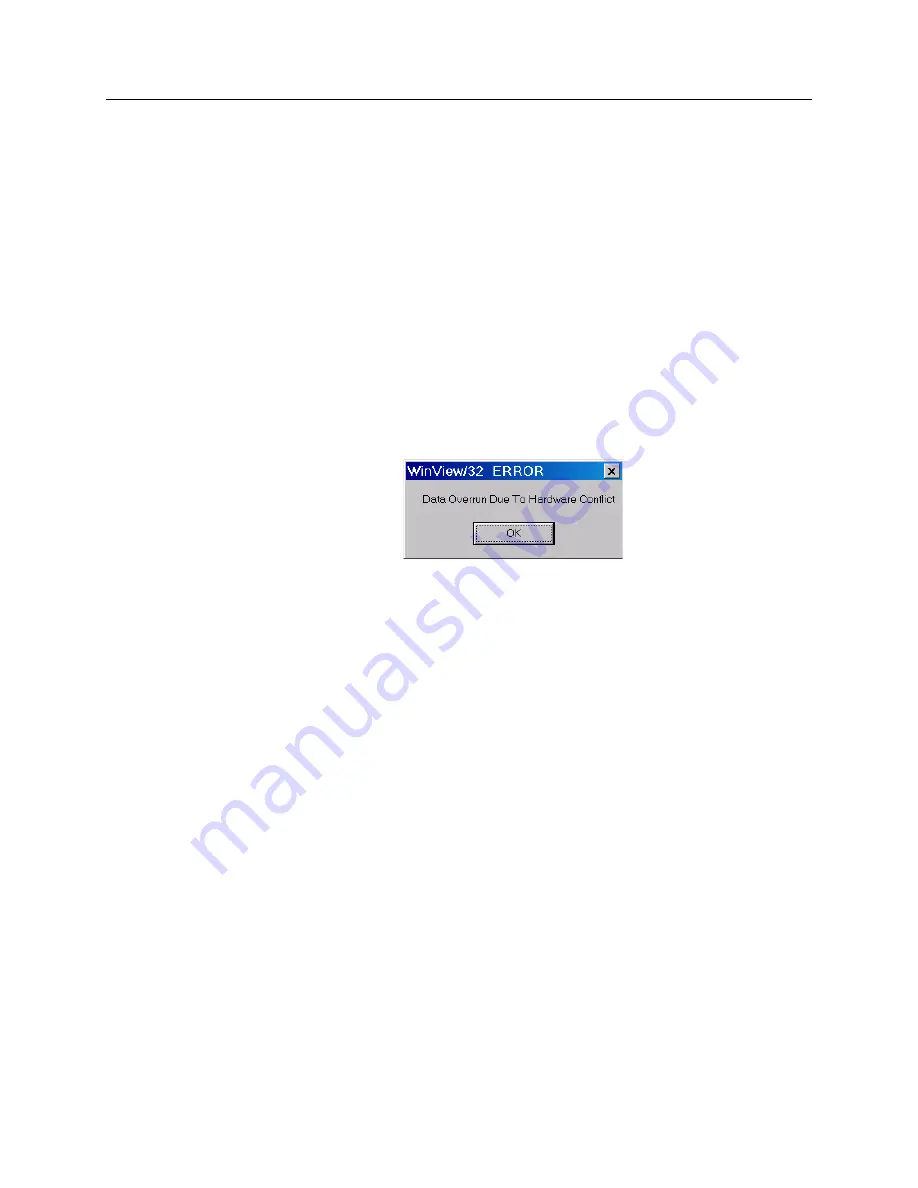
Data Overrun Due to Hardware Conflict message
Figure 57. Data Overrun Due to Hardware Conflict dialog box
If this dialog box appears when you try to acquire a test image, acquire data, or run in
focus mode, check the CCD array size and then check the DMA buffer size. A large array
(for example, a 2048x2048 array), requires a larger DMA buffer larger setting than that
for a smaller array (for example, a 512x512 array).
To change the DMA buffer setting:
1.
Note the array size (on the
Setup|Hardware|Controller/CCD
tab page or the
Acquisition|Experiment Setup|Main
tab page Full Chip dimensions).
2.
Open
Setup|Environment|Environment
dialog box.
3.
Increase the DMA buffer size to a minimum of 32 Mb (64 Mb if it is currently
32 Mb or 128 Mb if it is currently 64 Mb), click on
OK
, and close the WinX
application (WinView or WinSpec).
4.
Reboot your computer.
5.
Restart the WinX application and begin acquiring data or focusing. If you see
the message again, increase the DMA buffer size.
Demo is only Choice on Hardware Wizard:Interface dialog
(Versions 2.5.19.0 and earlier)
If RSConfig.exe has not been run, the Hardware Wizard will only present the choice "Demo"
in the Interface dialog box (Figure 58). Clicking on
Next
presents an "Error Creating
Controller. Error=129." message, clicking on
OK
presents "The Wizard Can Not Continue
Without a Valid Selection!" message, clicking on
OK
presents the Interface dialog box again.
Summary of Contents for PhotonMAX System
Page 1: ...4411 0107 Version 1 B January 26 2006 4411 0107...
Page 12: ...12 PhotonMAX System Manual Version 1 B This page intentionally left blank...
Page 20: ...20 PhotonMAX System Manual Version 1 B This page intentionally left blank...
Page 66: ...66 PhotonMAX System Manual Version 1 B This page intentionally left blank...
Page 78: ...78 PhotonMAX System Manual Version 1 B This page intentionally left blank...
Page 81: ...This page intentionally left blank...
Page 82: ...82 PhotonMAX System Manual Version 1 B This page intentionally left blank...
Page 88: ...88 PhotonMAX System Manual Version 1 B PhotonMAX Camera C mount Liquid Cooled...
Page 89: ...Appendix B Outline Drawings 89 CoolCUBE Circulator...
Page 90: ...90 PhotonMAX System Manual Version 1 B This page intentionally left blank...
Page 98: ...98 PhotonMAX System Manual Version 1 B This page intentionally left blank...