3
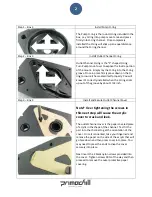
Step
4
–
Box
1
Face
Plate
Prep
for
Install
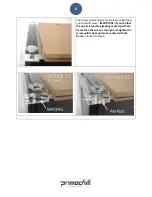
Remove
acrylic
face
plate
from
Box
1
and
place
it
face
down
on
your
flat
work
area.
The
countersink
holes
and
LED
Light
channels
should
be
facing
down.
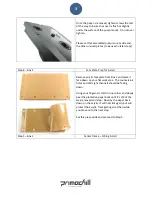
Using
your
fingernail,
start
in
one
corner
and
slowly
peel
the
protective
paper
back
until
it’s
3/4
of
the
way
removed
and
stop.
Now
lay
the
paper
back
down
on
the
acrylic.
It
will
not
stick
again,
but
will
protect
the
acrylic
from
getting
scratched
while
you
move
onto
the
next
step.
Set
this
piece
aside
and
proceed
to
Step
5.
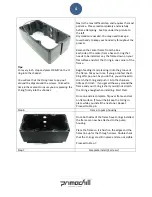
Step
5
–
Box
2
Center
Frame
–
O
‐
Ring
Install
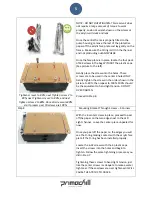
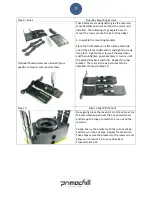
Once
the
paper
is
removed,
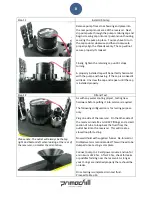
tighten
screws
the
rest
of
the
way
to
insure
the
cover
is
flush
or
slightly
under
the
surface
of
the
pump
mount.
Do
not
over
tighten.
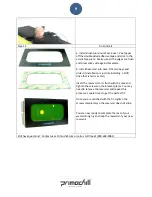
Please
set
this
assembled
pump
mount
aside
and
the
other
unused
pieces
(to
be
used
in
later
steps).


