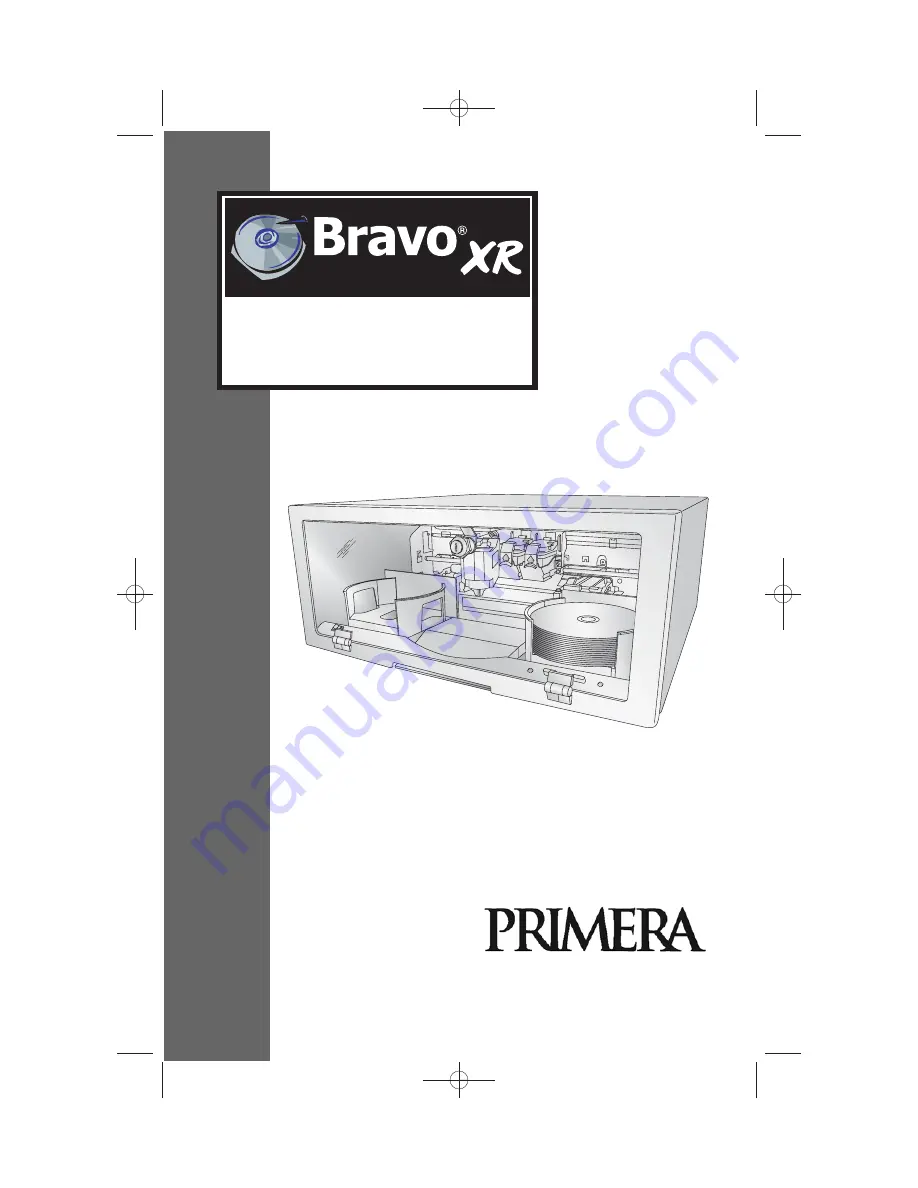
USER’S MANUAL
©
2009 All rights reserved.
112509-510930
Automated Optical Disc
Duplication & Printing System
For the most recent version of this manual please visit
http://www.primera.com/manuals.html
510930.qxd 11/25/2009 2:17 PM Page i
Page 1: ...009 All rights reserved 112509 510930 Automated Optical Disc Duplication Printing System For the most recent version of this manual please visit http www primera com manuals html 510930 qxd 11 25 2009...
Page 2: ...terference to radio or television reception which can be determined by turning the equipment off and on the user is encouraged to try to correct the interference by one or more of the following measur...
Page 3: ...tep 1 Add Data 20 Step 2 Add Print 21 Step 3 Start Project Summary Settings 22 B3 Robot Options Bin Selection 25 B4 Publisher Status 26 B5 Backup Project PC Disc Publisher Only 27 B6 Rip Audio PC Disc...
Page 4: ...document will jump to that p age If you want to return to the Table of Contents move the icon to the top of the page and click on the arrow marked T OC Navigating through the Index is similar Place th...
Page 5: ...CD RWs DVD Rs and more are all referred to as CDs or discs A NOTE ON MODEL DIFFERENCES The Bravo XR comes in two different models which are Bravo XR Disc Publisher 1 DVD Drive Burns and Prints CD DVDs...
Page 6: ...lied accessories are included with your unit The following items should be included Optical Disc Publisher Gray Plastic Input and Output Bins Located inside the cardboard insert Switching Power Supply...
Page 7: ...lled automatically and this button is not used The Control Panel contains LED Status Lights and Buttons to control the Publisher The right LED Status Light indicates that Power is ON The left LED Stat...
Page 8: ...discs The right side bin is the Input Bin for blank media the left side bin is the Output Bin for finished discs The Reject Area is where discs are dropped if they do not pass a software verification...
Page 9: ...s the recommended system requirements G5 or Intel CPU running OS X version 10 5 or higher 512 MB RAM Free hard drive space of at least 10 GB Available USB 2 0 Port Do not connect the Publisher to any...
Page 10: ...ecorder Then the Robotic Disc Transporter will pick a disc from the Input Bin 3 The Recorder Tray opens automatically and the Robotic Disc Transporter places a disc into the recorder 4 The Recorder Tr...
Page 11: ...ng the Recorder Tray opens automatically The Robotic Disc Transporter will lift the disc out of the Recorder Tray The Recorder Tray will close and the Printer Tray will open The Robotic Disc Transport...
Page 12: ...lisher s Printer Disc Tray opens automatically The Robotic Disc Transporter moves the finished disc to the Output Bin 9 The process starts over and repeats until all blank discs are gone or the number...
Page 13: ...CD drive containing the Software Installer disc Double click Installer exe 2 In the Installer Application click the QuickStart Install button The QuickStart Install will guide you step by step through...
Page 14: ...tep 1 Applying Power Locate the power adapter supplied with your Publisher Place one end of the adapter cord into the power port on the rear panel of the Publisher Unit will initialize for approximate...
Page 15: ...e center position allowing for easy access to the bins Load the Input Bin the bin located on the right hand side of the Publisher with 25 blank discs and place the bins on the mounting pegs Step 3 Ins...
Page 16: ...A Insert the ink cartridges into the carrier copper end first and snap the cartridge cover in place Insert the color in the left holder monochrome black in the right cartridge holder Close the Publish...
Page 17: ...in a drive on your computer You may see a notice like the one shown below stating that the device has not passed Windows Logo Testing Click Continue Anyway to continue installing the printer driver fo...
Page 18: ...Cable The printer driver will automatically install To verify the driver installed or reinstall go to the Mac System Preferences Apple System Preferences Click the Print and Fax Icon The driver will a...
Page 19: ...nt File 3 Set the number of copies and adjust options Summary The instructions below explain how to do the most common project A Copy Project A Copy Project can be used to copy any CD DVD DVD DL or Bl...
Page 20: ...you have selected print label file click the next arrow There are several ways to select a print file See the explainations below for more information For any job type you choose you will be prompted...
Page 21: ...n the specific discs you are using Each disc media brand or type has a different sized non printable outer margin or inner diameter It also has a different printable surface For Primera TuffCoat brand...
Page 22: ...you Click the Go button to start the job B USING PTPUBLISHER PTPublisher allows you to record and print CDs DVDs and BDRs Blu ray using a variety of project types described below When the software is...
Page 23: ...audio CD using WAV MP3 AIFF or WMA files Note this procedure is not for copying already created and mastered original audio CDs If you have already created a master audio CD in another application or...
Page 24: ...then use it in the project The master disc is read from the specified drive to the hard drive of your computer The master is stored in the Global Image format gi in a user specified location on your...
Page 25: ...int file is selected a preview will be displayed 4 At this point you may choose to move on to the next step by clicking the next arrow However there are print quality and print area settings that you...
Page 26: ...ther design features 3 Save your label by going to the File menu Save as 4 Close SureThing or Disc Cover 5 You will be asked if you would like to use the label you just created in your current project...
Page 27: ...not include the data to be burned or the print file to be printed If these files are moved or deleted the project file will need to be edited to reflect these changes Schedule Project Click this butto...
Page 28: ...nother file system to the disc UDF1 02 with a Joliet bridge is the default Most of the differences between file system types relate to file name length and character restrictions and folder level dept...
Page 29: ...ins Finished media will be placed in Kiosk bin Kiosk Mode still requires the same type of media in both the right and left bins See Section 2D for instructions on setting up the Kiosk bin Bin Selectio...
Page 30: ...e progress bar along with the total size of the burn and the current amount burned Printer Robot Status shows the current status of the printer if it is printing or the robot if it is moving discs The...
Page 31: ...turn red To resolve this issue you may choose to span the data over several CDs or DVDs or change the media to a different type with more data capacity If you choose to check the span disc box you do...
Page 32: ...selected the data click the next arrow to add a print file There is a print template that has been designed for backup projects It is recommended that this template be used Check the Use Print Templa...
Page 33: ...ou will be prompted to save your project Do not move projects once you have saved them Always choose only one copy even if your project will be spanned across multiple discs Once the project has been...
Page 34: ...ou can view all scheduled projects edit the project or change the frequency or time of the automatic backup Note All backup runs are full backups PTPublisher does not do incremental or differential ba...
Page 35: ...PTPublisher software help file To protect DVDs you must first insert the PTProtect USB Dongle 100 250 500 1000 or 5000 protections into a USB port on the same computer that the Disc Publisher is conn...
Page 36: ...te from the window that appears 2 Open the background panel by clicking the arrow on the background button Add your own background to the label by choosing Select Backgound 3A Browse to the location o...
Page 37: ...label These graphics will appear on top of the background image You can size them appropriately by dragging the corner of the selected graphic 6 When you have completed design work save your label by...
Page 38: ...age above the Gallery button is the highlighted center color wheel button on the left side of the top tool bar 3 Choose Backgrounds from the drop down box Click the design that you would like as your...
Page 39: ...Resize or move text images or shapes with this tool Text Create a standard text box Circular Text Create circular text that follows the contour of the outside or inside of your disc Zoom Zoom out or i...
Page 40: ...ow change thickness or color of geometric objects Image Add transparency or a gradient to images clipart or backgrounds Text Change line spacing character spacing fonts size or justifications of any s...
Page 41: ...the Windows button and choose Printers For Windows 7 click the Windows button and choose Devices and Printers Click on the Disc Publisher XR icon with the right mouse button and select Printing Prefer...
Page 42: ...color cartridge The Monochrome Black setting prints using the Monochrome Black cartridge only Color Matching Click on the Color Matching down arrow and choose the color matching option that s right fo...
Page 43: ...This number is incremented by 0 1mm so a change of 10 for inner diameter changes the diameter by 1mm For Primera TuffCoat TM media use 230 for the inner diameter Centering Test Print NOTE Your printer...
Page 44: ...the OK button Your images should now be centered when printed on a disc After your selections have been made close out of the printer setup window You are now ready to go to an application program and...
Page 45: ...ng cartridges Select Clean button to send a simple test pattern to the printer Be sure to have a disc in the Bravo s input bin and the front cover closed The test pattern shown below purges ink throug...
Page 46: ...curately keep track of ink cartridge ink levels Select the Details button for information on the drivers firmware alignment and number of discs printed with your Publisher Disc Output Location This ca...
Page 47: ...printing If Bi Di Printing is enabled or if you use Color Black as a cartridge type in the driver settings it is important to perform this calibration every time you change a cartridge To print click...
Page 48: ...you are finished The following is a description of the printer driver settings Cartridge to use The Black and Color setting will use both cartridges when printing your image Color will only use the C...
Page 49: ...lity while Ultra Photo 4800 delivers the best quality at a slower print speed PrimaColor Click on this Check box to enable PrimaColor color matching The PrimaColor profiles were written specifically f...
Page 50: ...millimeters allowing you to print all the way to the edge regardless of the type of disc you are using Enable Low Ink Warning The Low Ink Warning basically keeps you from printing discs if one ore mo...
Page 51: ...note that it may require more than one cleaning to fully clear all nozzles If the nozzles are not fully clear after a few cleaning prints it may be necessary to remove the cartridge and actually clea...
Page 52: ...ibration whenever you change cartridges if using the Black and Color ink cartridge setting in the printer driver Image Alignment The Image Alignment button will allow you to nudge the image up down le...
Page 53: ...ignment is 3 Enter this in the alignment dialog box Find the number whose lines touch Vertical Calibration Find the number whose lines touch 5 4 3 2 1 0 1 2 3 4 5 5 4 3 2 1 0 1 2 3 4 5 Horizontal Cali...
Page 54: ...to a larger value or more positive value the image will move down on the disc G USING OTHER GRAPHICS PROGRAMS While SureThing or Disc Cover will handle most labeling needs other graphics programs can...
Page 55: ...ne another be installed and the lid to be closed See Section 2 E on solid flashing rapidly The printer tray or ink cartridge carrier has stalled Press the Ink button to retry the operation flashing ra...
Page 56: ...mage the paint and plastic materials from which the parts are manufactured Always disconnect your Publisher s power cords before cleaning Resume operation only after the surfaces are completely dry B...
Page 57: ...ee cloth with water 3 Hold the cloth against the nozzles for three seconds This will wick some additional ink onto the damp cloth 4 Wipe in the direction shown 5 Repeat the process D TRANSPORTING THE...
Page 58: ...the spacer inside the unit and close the cover If you don t have the cardboard spacer secure the arm and cartridges to the sides of the unit with tape and close the cover E TECHNICAL SUPPORT If you ha...
Page 59: ...more free hard drive space available USB 2 0 port Minimum MAC System G5 or Intel CPU running OS X version 10 5 or higher 512 MB RAM Free hard drive space of at least 10 GB Disc Capacity 25 disc input...
Page 60: ...Rear Panel 4 Controls Front Panel 3 Data Project 19 Disc Cover 15 33 Disc Output Location 42 Enable Ink Low Warning 41 File System 24 Gallery 35 Global Image 15 18 20 Identifying the Parts 3 Image Pro...
Page 61: ...ype 24 Reject Area 4 7 Resolution 38 55 Rip Audio 30 Robot Options 25 Save Project 23 Schedule Project 23 Set Time and Date to Mastering Time 25 Span Discs 27 Specifications 55 System Requirements 5 T...
Page 62: ...510930 qxd 11 25 2009 2 20 PM Page 58...
Page 63: ...510930 qxd 11 25 2009 2 20 PM Page 59...
Page 64: ...Printed in the United States of America P N 510930 510930 qxd 11 25 2009 2 20 PM Page 60...