


P r i m a L u c e L a b i S r l
S p i d e r 2 3 0 u s e r m a n u a l
h) Correct DEC deviation: select this option to adjust the capture of pixels that generate the radio-image
based on the position in declination (we recommend that you always enable this option).
!
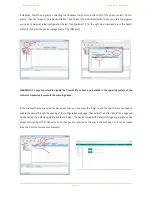
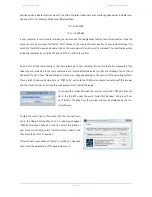
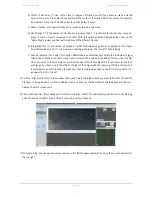
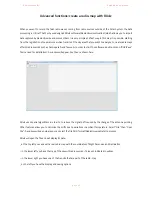
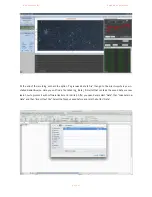
5) Click the button “Filename": in the window that opens, select the folder where you want to save the file and the
file name to be registered. For radio-images, RadioUniverse creates a FITS file that you can open and edit with
different astronomy software (also free such as FITS Liberator:
http://www.spacetelescope.org/projects/fits_li-
berator/
).
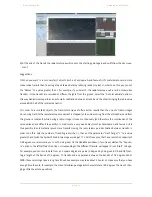
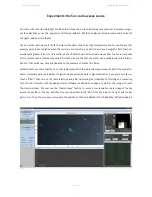
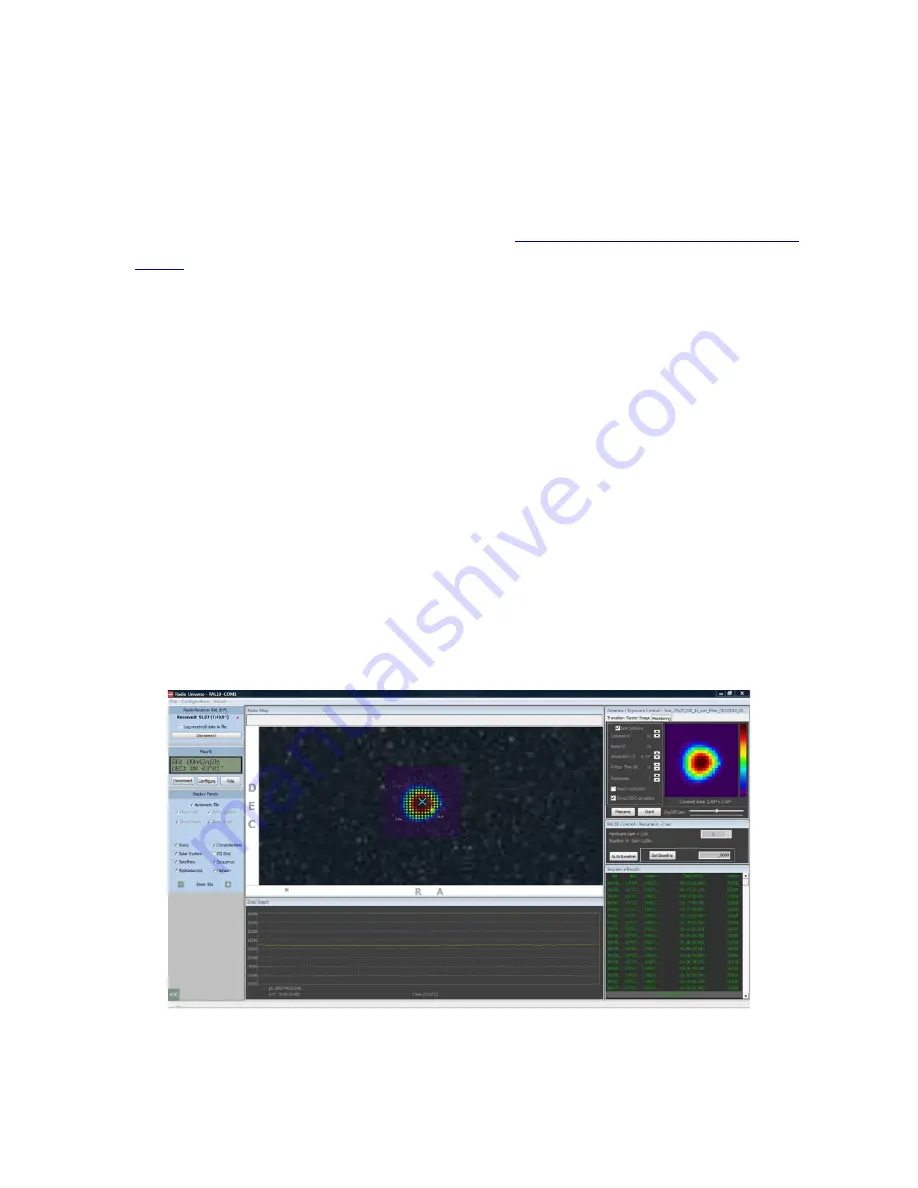
6) Then click the "Start Sequence"button to start recording the radio-picture.
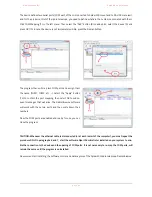
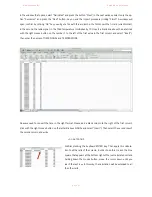
The generation of the radio-image requires a variable time as a function of the acquisition parameters, but in gene-
ral, it is never short. You can see the image that is progressively generated both on the radio map and in the "An-
tenna/Exposure Control” panel.
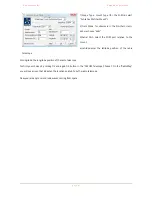
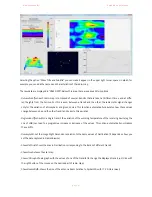
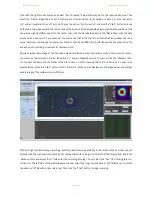
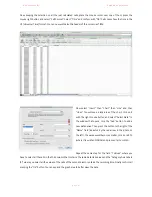
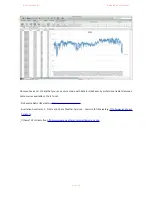
You can change the way the picture is displayed (also while it is being created, not only at the end of the recording)
clicking the right mouse button on the image and select the option "Greyscale" or "Rainbow". For both it is possible
to select the "Streched" In this way, the software does not display the full histogram but will compress automati-
cally assigning black to the lowest value recorded and white the higher (in the case of “Greyscale”, different colors
in case “Rainbow”). It’s also available the "logaritmic" mode that serves to highlight the weakest details. To save
the acquired image, you can move the mouse pointer over the image in the "Antenna/Exposure Control” panel, click
with the right mouse button and choose "Save BMP".
!
!
!
p a g e
!
5 4