background image


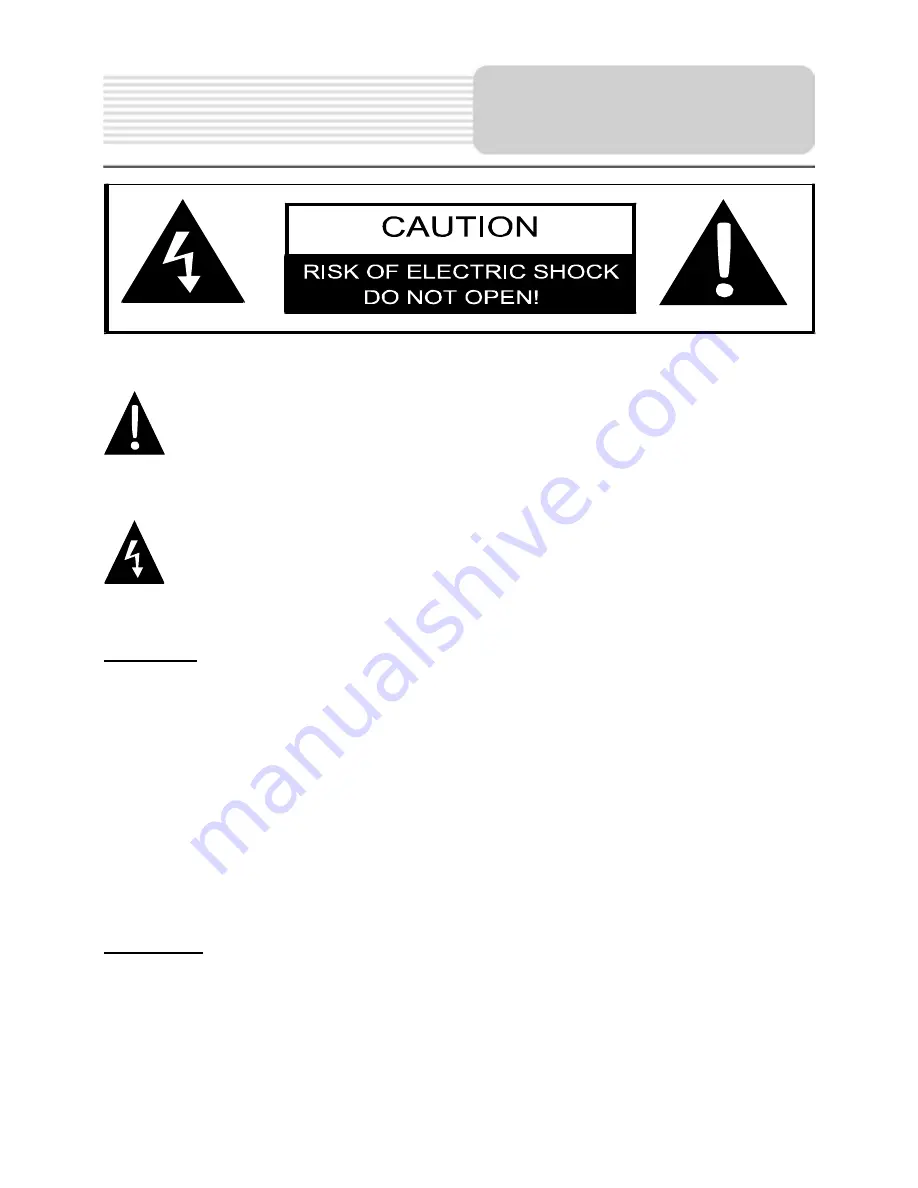
CAUTION 

1. 

To reduce the risk of electric shock, do not remove the cover (or back). No 

user-serviceable parts inside. Refer servicing to qualified service personnel. Unplug 

the product from the wall outlet before servicing or when it is unused for a long 

period of time. 

2. 

The manufacturer should not hold responsibility for the damage caused by any 

substitutions and modifications of the product without authorization from the 

manufacturer or authorized unit.


3. 

Danger of explosion if battery is incorrectly replaced. Replace only with the same or 

equivalent type.


WARNING 

The apparatus shall not be exposed to dripping or splashing and that no objects filled 

with liquids, such as vases, shall be placed on the apparatus. 


The exclamation point within an equilateral triangle is intended to alert the 
user to the presence of important operating and maintenance (servicing) 
instructions in the literature accompanying the appliance.


The lightning flash with arrowhead symbol, within an equilateral triangle, is 
intended to alert the user to the presence of un-insulated “dangerous 
voltage” within the product’s enclosure that may be of sufficient magnitude to 
constitute a risk of electric to persons.


Important Safety 

Instructions 

Summary of Contents for GeoVision 3120

Page 1: ...aced Replace only with the same or equivalent type WARNING The apparatus shall not be exposed to dripping or splashing and that no objects filled with liquids such as vases shall be placed on the apparatus The exclamation point within an equilateral triangle is intended to alert the user to the presence of important operating and maintenance servicing instructions in the literature accompanying th...

Page 2: ...3120 4120 5120 Accessories List ITEM NAME QTY Car Charger 1 Mounting Cradle 1 USB Cable 1 Touch Pen 1 Leather Carrying Case GeoVision 5120 Only 1 Driver Documentation CD 1 User Manual 1 Warranty Card Accessories EN EN 1 1 ...

Page 3: ...in bright amber color when battery is fully charged and in red color when charging 3 microSD Slot Receives microSD memory card for data access or memory expansion 4 Mini USB Port Connects to USB Cable for data access or battery charging 5 Headphone Port Connects to stereo headphones or headsets 6 Reset Button Press to reboot the device View of Main Unit 1 2 3 4 5 6 EN 2 EN ...

Page 4: ...Rear and Top View 1 Speaker Emits sound voice or music 2 Power Button Press to power ON OFF device View of Main Unit 1 2 ...

Page 5: ...l towards the front side of the device To remove a microSD card gently press the edge of the card to release the safety lock and pull the card out of the slot NOTE Please always make sure that no application is accessing the microSD card before extraction Connecting to External USB Device Charging Flip open the protective rubber cover towards the front of the device Insert USB connector into the a...

Page 6: ...volume before connecting the earphone and gradually turn up the volume to a comfortable level Connecting to Car Charger Flip open the protective rubber cover towards the front of the device Insert USB connector into the appropriate USB port Insert car charger connector into vehicle 5V accessory cigarette socket to start charging NOTE Please connect the car charger to vehicle 5V accessory cigarette...

Page 7: ...ly 2 hours Working conditions and precautions for the rechargeable battery Device with new batteries should be fully charged before initial use Battery should only be used and charged when temperatures are between 0 37 C It is not necessary to start charging the device before the battery is fully discharged NOTE Please connect the car charger to vehicle 5V accessory cigarette socket after vehicle ...

Page 8: ...o make sure that the device has a clear view of sky to attain best GPS reception Place device on the bracket with bottom positioned on the appropriate socket as illustrated by Arrow 1 Push on the top edge as illustrated by Arrow 2 to securely install device onto the cradle Lift the suction cup lever and press the suction cup at desired location Press down the suction cup lever as illustrated by Ar...

Page 9: ...displayed 3 Tap the corresponding buttons with touch pen included to navigate various functions 4 Press and hold Power Button to turn off the device or to allow device to enter sleep mode 5 Tap Sleep icon to instruct device to enter sleeping mode or OFF icon to complete turn off the device Getting Started Sleep OFF ...

Page 10: ...ap on a language for a short voice sample and tap to confirm selection 6 Select desired time format and units and tap to confirm selection 7 Select desired route navigation option and tap to confirm selection 8 The initialization is now complete Tap to continue 9 Tap to start tutorial that review the basic steps of navigation Tap to skip introduction 10 Tap to activate navigation software right aw...

Page 11: ...art History Tap My Route icon to display routing parameters including cancelling current route selecting route alternatives simulating navigation and adding destination to Favorites NOTE The button remains inactive when no destination is selected Tap More icon to adjust software settings go through Demo Tutorial execute additional applications or received extra content from www naviextras com Tap ...

Page 12: ...unction Enter an address as routing destination Select a POI as routing destination Select a location on the map to navigate to Select a routing destination from favorite list Navigate to the latest destination as displayed Select one of latest destinations from history list Navigation ...

Page 13: ...atically matches character strings with names of location in database 6 Tap to confirm selection or to correct entry 7 Tap to browse a list of location names matching input Tap an item to select 8 Tap and enter a few characters of desired street name 9 Tap to select street name automatically generated or tap to browse a list of all street names matching input Tap an item to select 10 Tap to enter ...

Page 14: ...ast known location Displays a list of restaurants along the route around current position or last known location Displays a list of parking lots near destination Displays a list of accommodations near destination Displays all available POI near the following locations Near current position In a desired city town Near destination of active route Along the active route Navigation EN 7 EN ...

Page 15: ...en destination is not selected With a confirmed destination next instruction of maneuver or next street road in the route navigation will be displayed Tap anywhere on the map to open quick menu with control options Tap to explore around the current location Press directional buttons to navigate Tap to toggle between distance reminders including remaining distance to destination estimated time of a...

Page 16: ...on Download additional games from www naviextras com Tap any of the travel applications to start program Start tutorial and demo session that offers basic device function introduction Obtain additional content such as new maps or 3D landmarks Configure device settings Activate the software NOTE Some of the applications may require system activation More Menu prestigio naviextras com ...

Page 17: ...th images Set device daytime and night time color themes Temporarily disable GPS receiver function and set a different starting position Change system language voice profile time format units and input language List all content items installed in the device Adjust basic system parameters set during the initialization Restore all system settings to factory default values Display Software and Databa...

Page 18: ... may be turned down or mute Turn up the volume or turn on the sound output Users can t turn on the unit The adaptor doesn t connect well Connect the adaptor correctly The built in rechargeable battery is weak Use the adaptor to supply power or charge the battery There is no picture The brightness may be turned down Adjust the brightness of the LCD The unit can t receive satellite signals or can t ...

Page 19: ...able The built in rechargeable battery is weak Use the adaptor to supply power or charge the battery The unit may be obstructed by veil such as heat insulation paper Remove the veil Swing of the unit is too great Avoid great swing of the unit PROBLEM POSSIBLE CAUSE POSSIBLE SOLUTION EN 10 EN ...

Page 20: ...ync software for operating system Microsoft XP or earlier versions http www microsoft com windowsmobile en us downloads microsoft activesync dow nload mspx and or Microsoft Mobile Device Center software for operating system Microsoft Vista http www microsoft com windowsmobile en us downloads microsoft device center d ownload mspx Please refer to its user manual for more detailed instructions PC Co...

Reviews: