AIRE ACONDICIONADO PORTATILPORTABLE AIR CONDITIONER
PPA9004J
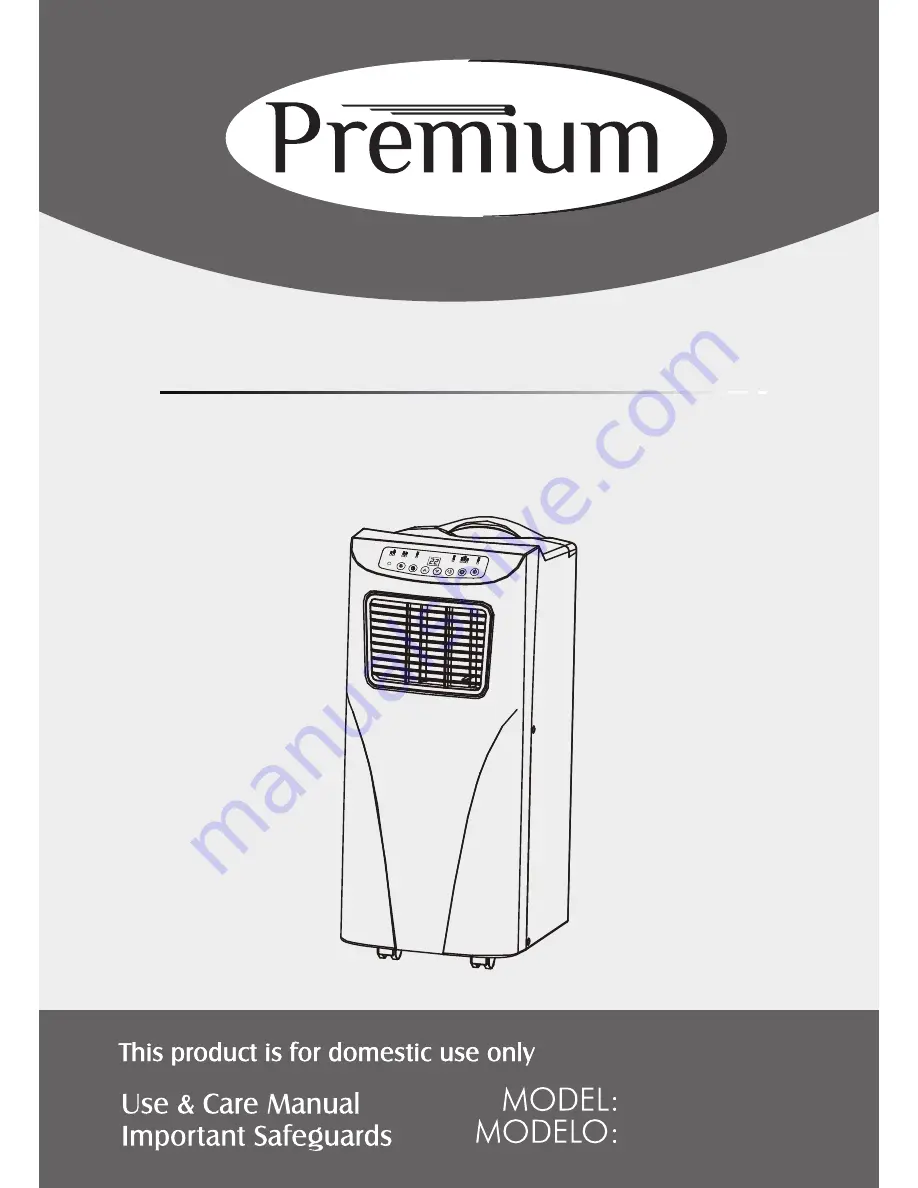
Page 1: ...AIRE ACONDICIONADO PORTATIL PORTABLE AIR CONDITIONER PPA9004J PPA9004J ...
Page 2: ...1 CONTENTS IMPORTANT SAFEGUARDS 2 PLACEMENT AND INSTALLATION 3 PARTS NAME 5 CONTROL PANEL 6 REMOTE CONTROL 7 OPERATION METHODS 8 WATER DRAINAGE 9 MAINTENANCE 9 TROUBLE SHOOTING 10 WIRING DIAGRAM 11 ...
Page 3: ...e plug when the machine is under cleaning parts replacement or leaving unused Please clean the machine based on the instruction in user s manual Please make sure using voltage meet requirements the damages caused by connection error is out of the scope of warranty Don t let little children touch the machine Don t run the machine when no one there even if a short leave please turn off it Don t tug ...
Page 4: ... and air outlet Don t use spraying agent such as pesticides paint or other flammable materials otherwise plastic deformation or even electric damage of the machine may be caused POWER SUPPLY Make sure no damage in plug Don t use connector instead of plug Insert plug into socket first then turn on socket switch press key POWER to run machine PLEASE SAFEKEEP THIS USER S MANUAL PLACEMENT AND INSTALLA...
Page 5: ...o adjustable slide bar adjust window open width in order slide bar match window well and the length of slide bar is adjustable fig 2 fig 2 INSTALLATION ERRORS Free access of exhaust pipe is important installation errors will bring bad influence of machine Avoid exhaust pipe with sharp bend fig 3 Make sure air in exhaust pipe can run smoothly fig 4 fig 3 fig 4 ...
Page 6: ...exhaust pipe is 1500mm please shorten the length as much as possible and keep it level as much as possible when installing PARTS NAME FRONT SIDE fig 5 1 Handle 2 Control Panel 3 Air outlet 4 Fan blade 5 Castor BACK SIDE fig 6 6 Filter frame upper 7 Exhaust Connector 8 Power Cord Location 9 Filter frame lower 10 Rubber plug 11 Plug cap 12 Power Cord 1 3 2 fig 5 6 7 8 9 10 11 12 4 5 ...
Page 7: ...p button 4 Down button 5 Up button 6 Timer button 7 Fan button 8 Receiver for remote control 9 Water Full indicator 10 Indicator for compressor 11 High fan speed indicator 12 Low fan speed indicator 13 Timer mode indicator 14 Display window 15 Sleep mode indicator 16 Cooling mode indicator 17 Dehumidify mode indicator 18 Fan mode indicator 19 Power indicator 1 2 3 4 5 6 7 8 9 10 11 12 13 14 15 16 ...
Page 8: ...rns on press this key to select fan speed high and low 4 DOWN under cooling mode press this key to downward setting temperature from 16 31 5 UP under cooling mode press this key to upward temperature from 16 31 6 SLEEP under cooling mode press this key to turn on off sleeping function 7 TIMER under power on or standby mode press this key to setup on off time from 1 24 REMOTE CONTROL 1 POWER 2 TIME...
Page 9: ...ss TIMER to setup power off timer Timer indicator turns on DEHUMIDIFYING MODE Press MODE to select dehumidifying mode dehumidifying mode indicator turns on Under dehumidifying mode sleeping function cannot be setup and fan speed is low SLEEPING MODE Press key SLEEP enter into sleeping mode default value of fan speed is low When sleeping mode turns on under cooling mode the first one hour later set...
Page 10: ...KS PLEASE POWER OFF THE MACHINE AND PULL OUT PLUG BEFORE MAINTENANCES OR REPAIRS CLEANING Please pull out plug before cleaning Use soft semi dry cloth to clean the machine Don t use chemical agents such as benzene alcohol gasoline and so on otherwise the machine surface will be damaged or even the machine itself Don t spatter water into the machine FILTER Clean the filters every two weeks if filte...
Page 11: ...g Compressor cannot work Compressor time delay protection turns on Wait for 3 minutes then restart the machine after temperature reduces Note when abnormal situations are occurred turn off machine and pull out plug then contact with professional electrician for help THE DISPOSAL OF ELECTRICAL AND EL ECTRONIC EQUIPMENT WASTE PRODUCTS ON THE PART OF FINAL USERS IN THE EUROPEAN UNION This symbol on t...
Page 12: ...11 WIRING DIAGRAM PPA1004J Remarks The wiring diagram is for maintenance purpose only ...
Page 13: ...ENIDO PRECAUCIONES DE SEGURIDAD 13 INSTALACIÓN 14 COMPONENTES 15 PANEL DE CONTROL 16 MANDO A DISTANCIA 17 FUNCIONAMIENTO 18 DRENAJE 19 MANTENIMIENTO Y LIMPIEZA 19 20 SOLUCION DE PROBLEMAS ESQUEMA ELÉCTRICO 21 ...
Page 14: ...r el riesgo de incendio descargas eléctricas o daños a personas cuando se usa el aire acondicionado siga las precauciones básicas incluyendo las siguientes Antes de enchufar el aparato asegúrese que el voltaje indicado en el aparato es el mismo que contiene la toma de corriente de su casa y compruebe que el aparato dispone de la conexión a tierra apropiada No utilice el aparato si el cable de corr...
Page 15: ...spacio mínimo de 1 metro por delante y por detrás del aparato fig 1 Instalación Gire la barra desplazable del conector en el tubo de escape a continuación gire el tubo de escape en el conector de escape en sentido contrario a las agujas del reloj Coloque el conector en la barra de deslizamiento ajustable y ajústela según el ancho de la ventana y la longitud de la barra de deslizamiento ajustable f...
Page 16: ...La longitud del tubo de extracción ha de oscilar entre 0 50 1 50 metros fig 3 fig 4 COMPONENTES PANEL FRONTAL 1 Asa 2 Panel de Control 3 Salida de aire 4 Ventilador 5 Ruedas Lado Posterior fig 6 6 Marco de filtro superior 7 Conector de Escape 8 Ubicación para cable de poder 9 Marco de Filtro inferior 10 Tapón de goma 11 Tapa del Enchufe 12 Cable de poder 6 7 8 9 10 11 12 5 4 3 2 1 ...
Page 17: ...ón para subir 7 Temporizador 8 Botón del ventilador 9 Receptor para el control remoto 10 Indicador WF de Deposito lleno 11 Indicador del compresor 12 Indicador de alta velocidad del ventilador 13 Indicador de baja velocidad del ventilador 14 Indicador de modo temporizador 15 Ventana de Display 16 Indicador de modo de dormir 17 Indicador de modo de enfriamiento 18 Indicador de modo deshumidificador...
Page 18: ...cla para seleccionar la velocidad del ventilador alta o baja 4 BAJAR en modo refrigeración presione esta tecla para bajar temperatura de 16 31 5 SUBIR en modo refrigeración presione esta tecla para subir temperatura desde 16 31 6 MODO DE NOCHE en modo refrigeración presione esta tecla para activar o desactivar la función de dormir 7 TEMPORIZADOR en modo encendido o en espera presione esta tecla pa...
Page 19: ...ra pulse la tecla de temporizador TIMER para configurar el tiempo de encendido Esto enciende el indicador del temporizador En modo de encendido pulse la tecla de temporizador TIMER para configurar el tiempo de apagado Esto enciende el indicador del temporizador Modo Deshumidificación Presione Modo MODE para seleccionar el modo deshumidificación y el indicador de modo de deshumidificación se encien...
Page 20: ...r normalmente MANTENIMIENTO Y LIMPIEZA aviso Desenchufar el cable de corriente antes de proceder a la limpieza del aparato LIMPIEZA DEL APARATO Limpie la superficie del dispositivo con un paño suave y húmedo No utilice detergentes ni materiales abrasivos que podrían deteriorar el aspecto del aparato LIMPIEZA DE LOS FILTROS El aparato tiene incorporado unos filtros de aire para eliminar cualquier t...
Page 21: ...elante y por detrás del aparato Demasiado ruido Está instalado en una superficie irregular Coloque el aparato en una superficie sólida plana y nivelada Compresor no funciona Protección del compresor ha saltado Espere unos 3 minutos para volver a encender el aparato EL DESECHO DE EQUIPOS ELÉCTRICOS Y ELECTRÓNICOS PRODUCTOS DE DESECHO POR PARTE DE USUARIOS FINALES EN LA UNIÓN EUROPEA Este símbolo en...
Page 22: ...21 ESQUEMA ELÉCTRICO Observaciones El esquema eléctrico es para el propósito de mantenimiento solamente PPA1004J ...
Page 23: ......